I love to spruce up the whole house for Halloween. Our dining room table is no exception. It’s just too fun!
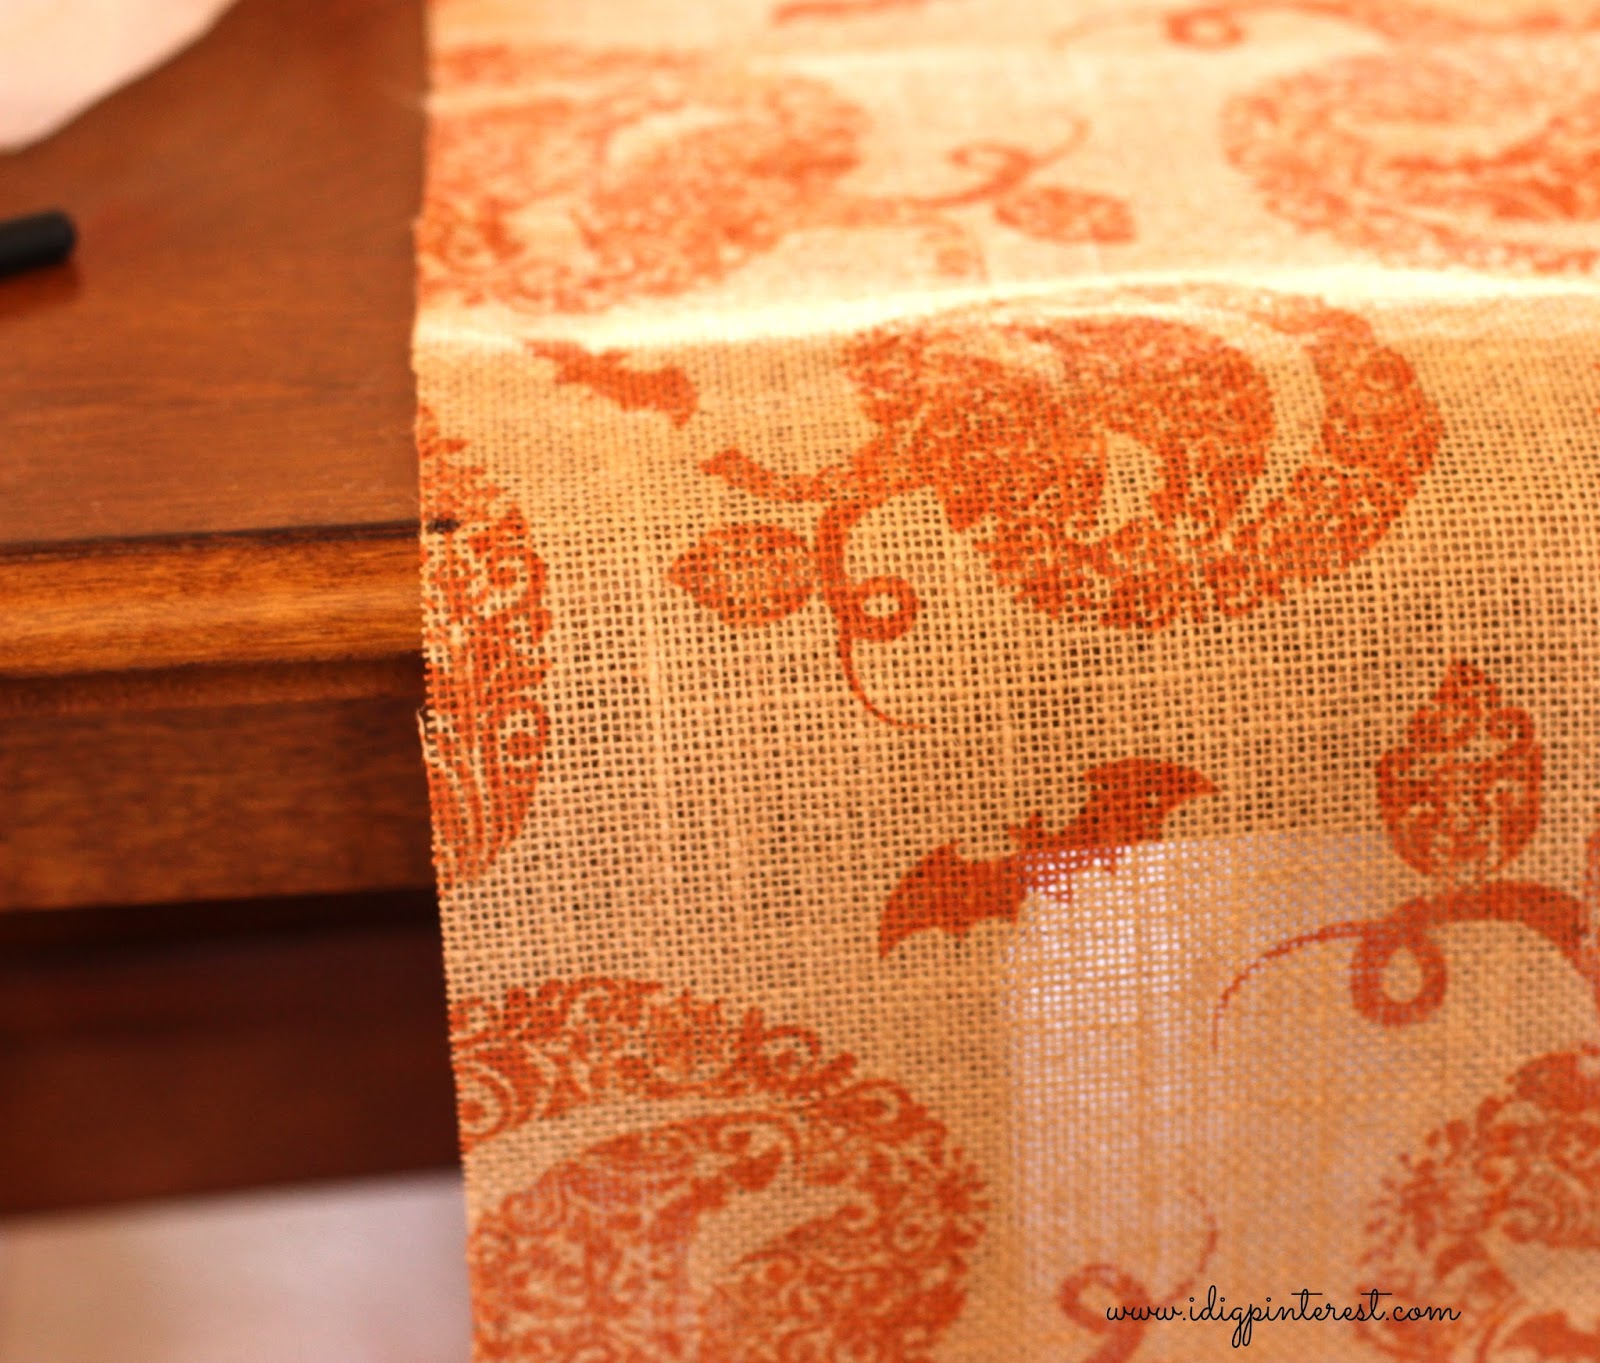
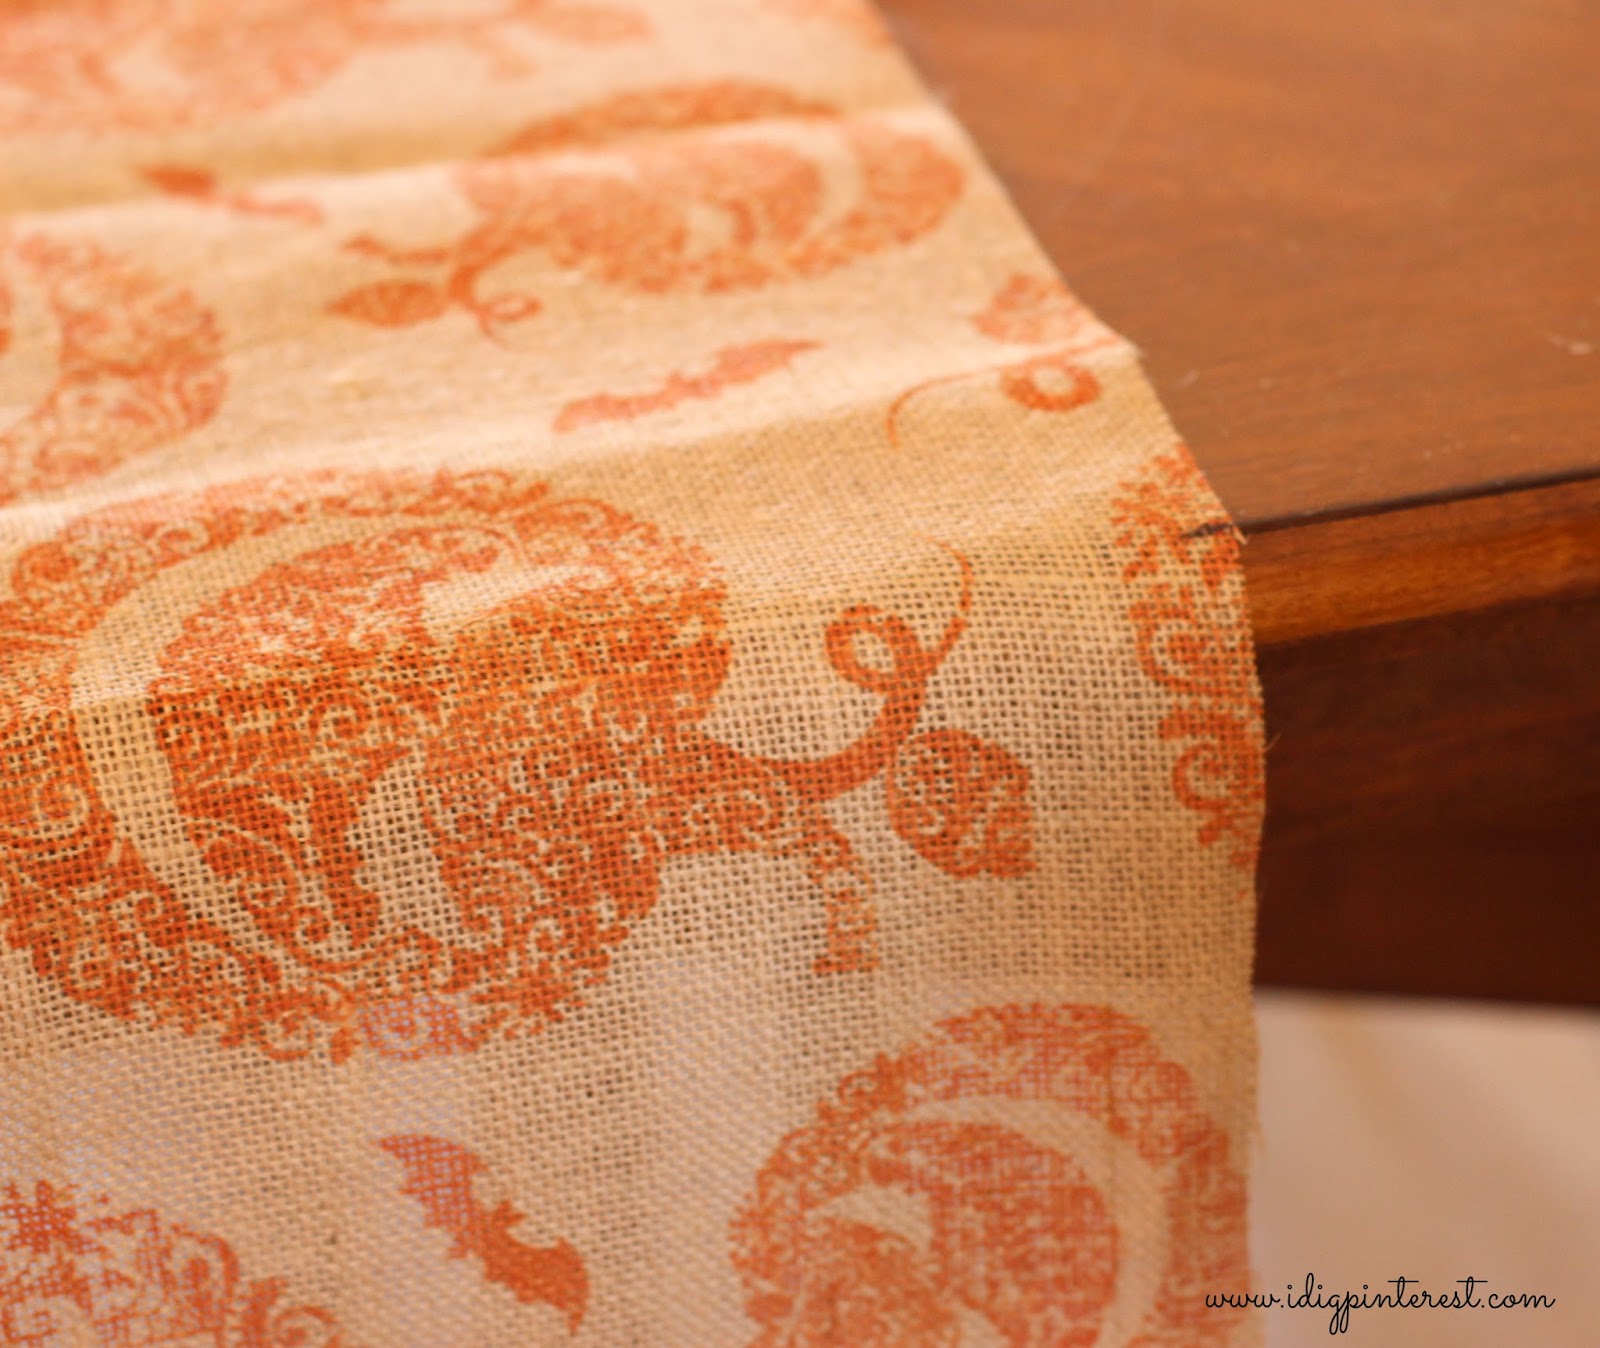
So when I found this adorable pumpkin and bat burlap at Hobby Lobby the other week, I just knew I had to find a use for it. I think I may have one sewing bone in my body (but only one), so I came up with an easy way to put it all together, keeping machine use to the bare minimum. Don’t judge me for my methods. 🙂
Hobby Lobby has these new fantastic rolls of burlap-feeling wide ribbon in some really fun patterns. I was drooling over way too many of them, but finally settled on the gingham.

Want to make one for your table? Here’s how. I whipped it up in a little over an hour, and I’m slow at this, so I bet you could have it done in no time flat.
{MATERIALS}
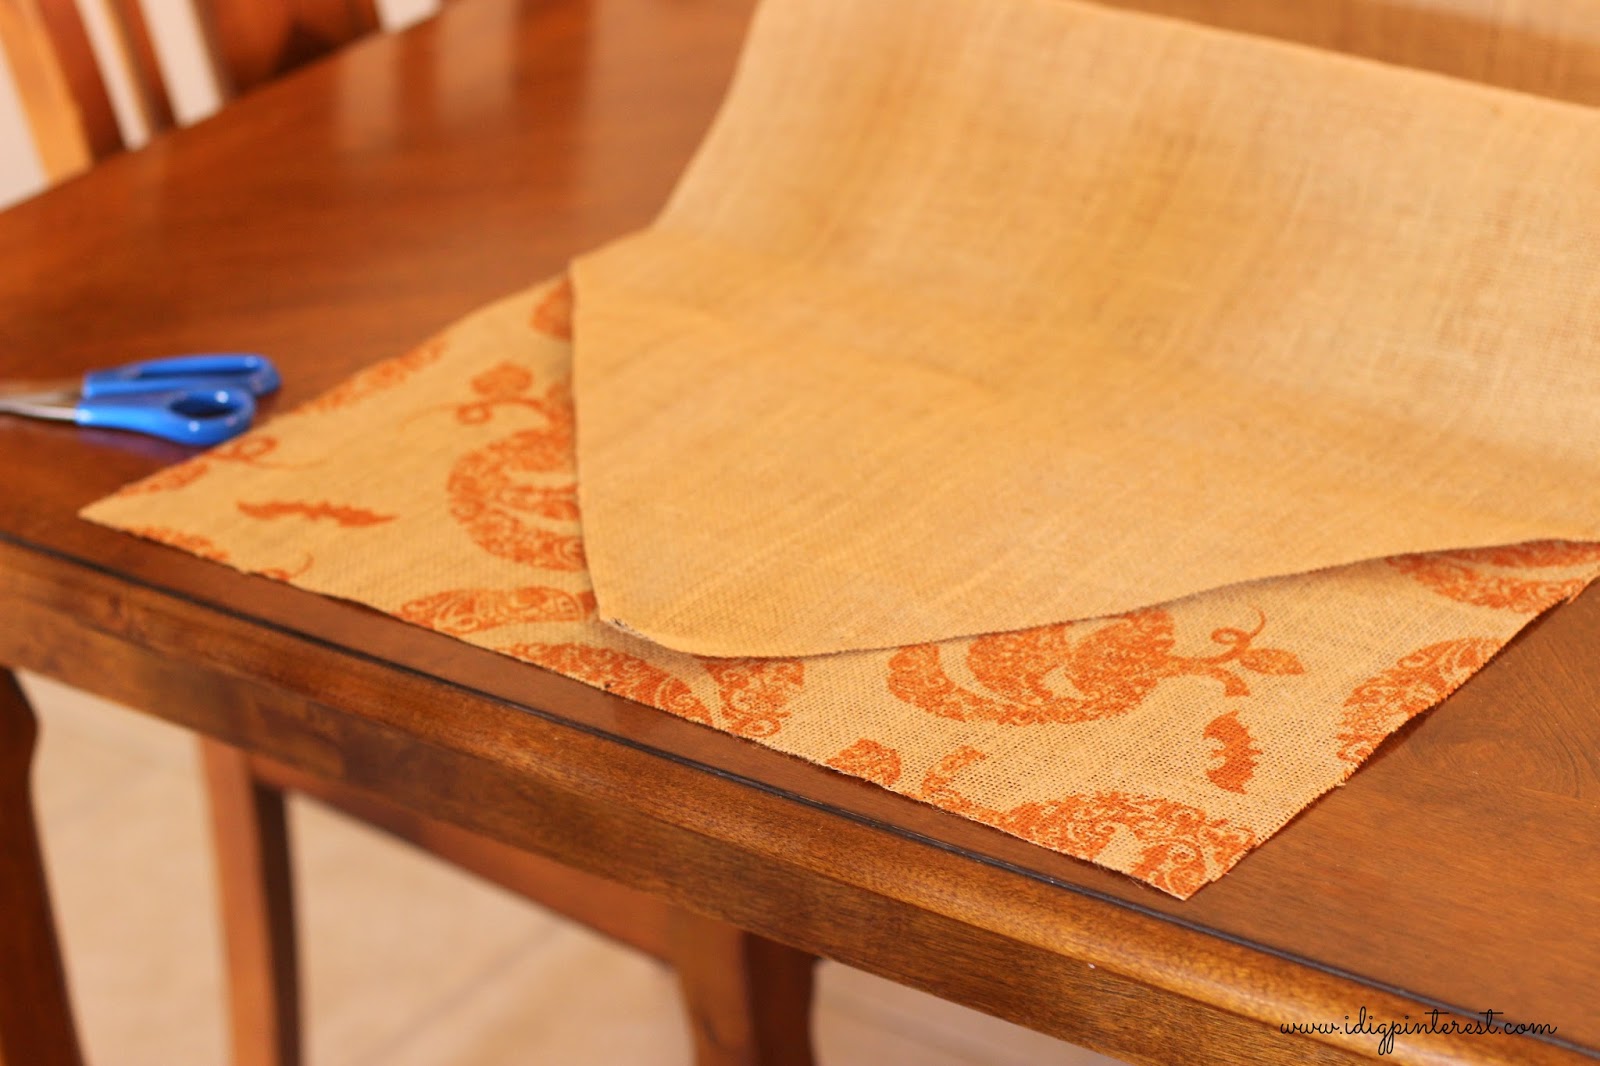
-Burlap fabric (my table is large, so I purchased 2 1/2 yards) You’ll have about half the fabric leftover, depending on how wide you make it.
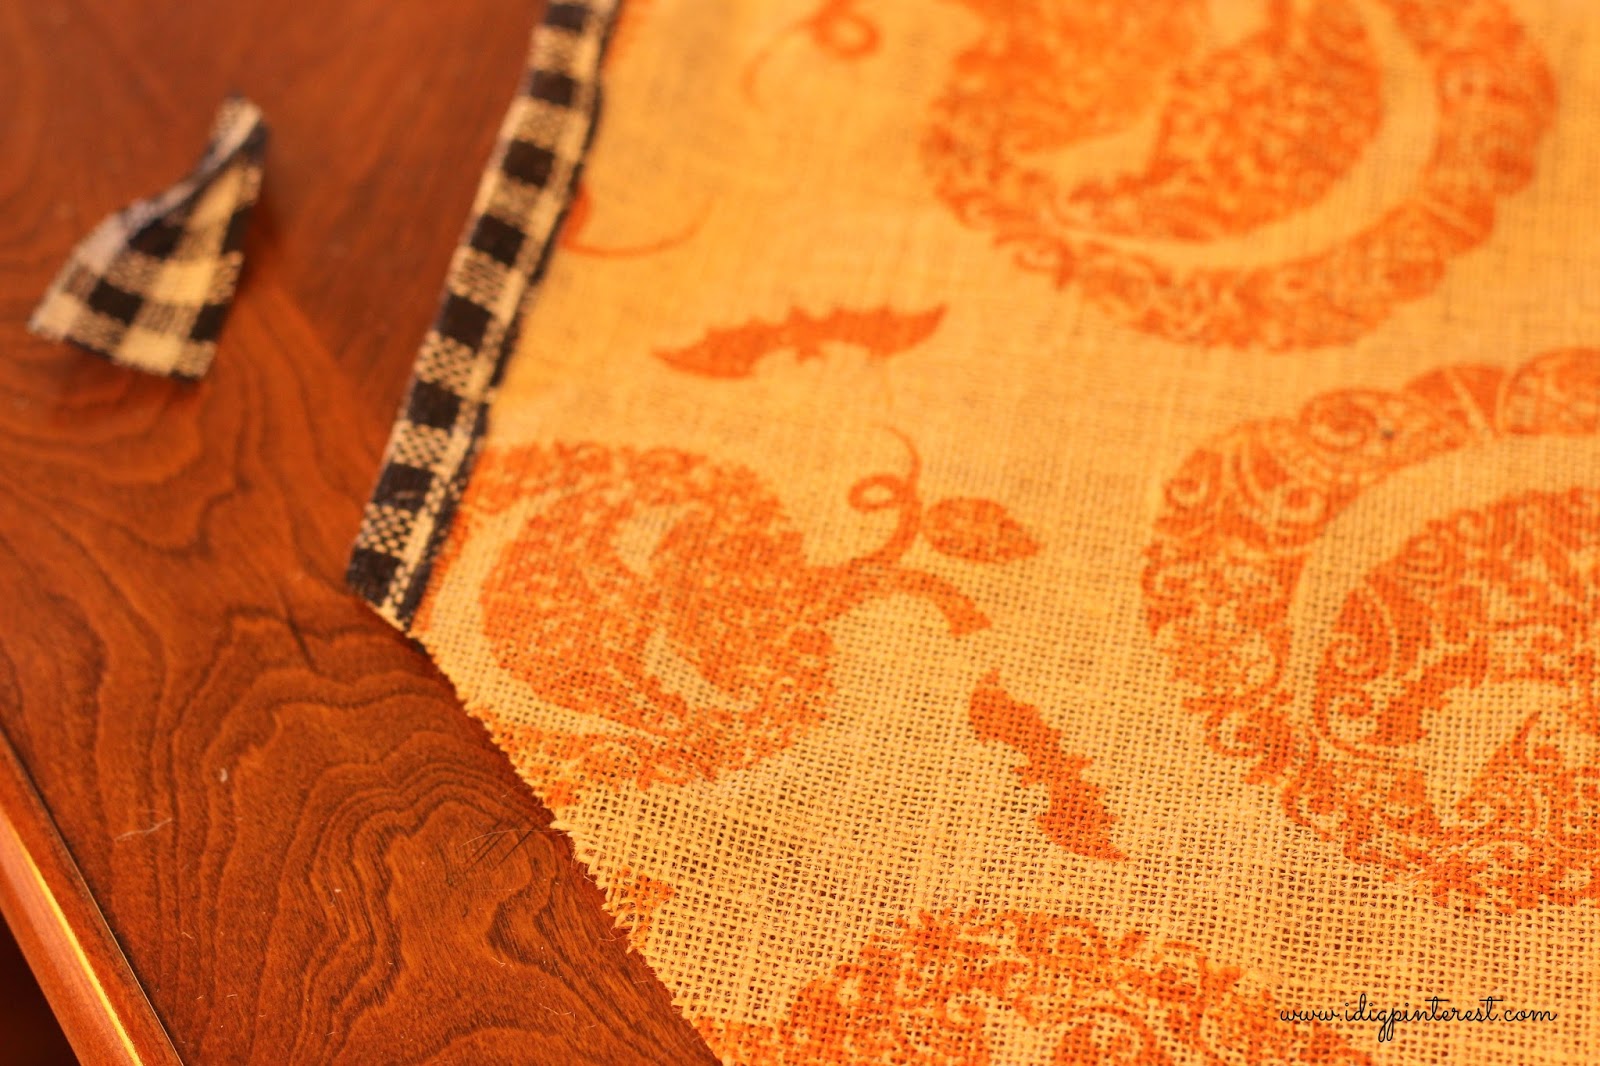
-Gingham burlap ribbon (also from Hobby Lobby near the floral section)
-Sewing machine
-Thread
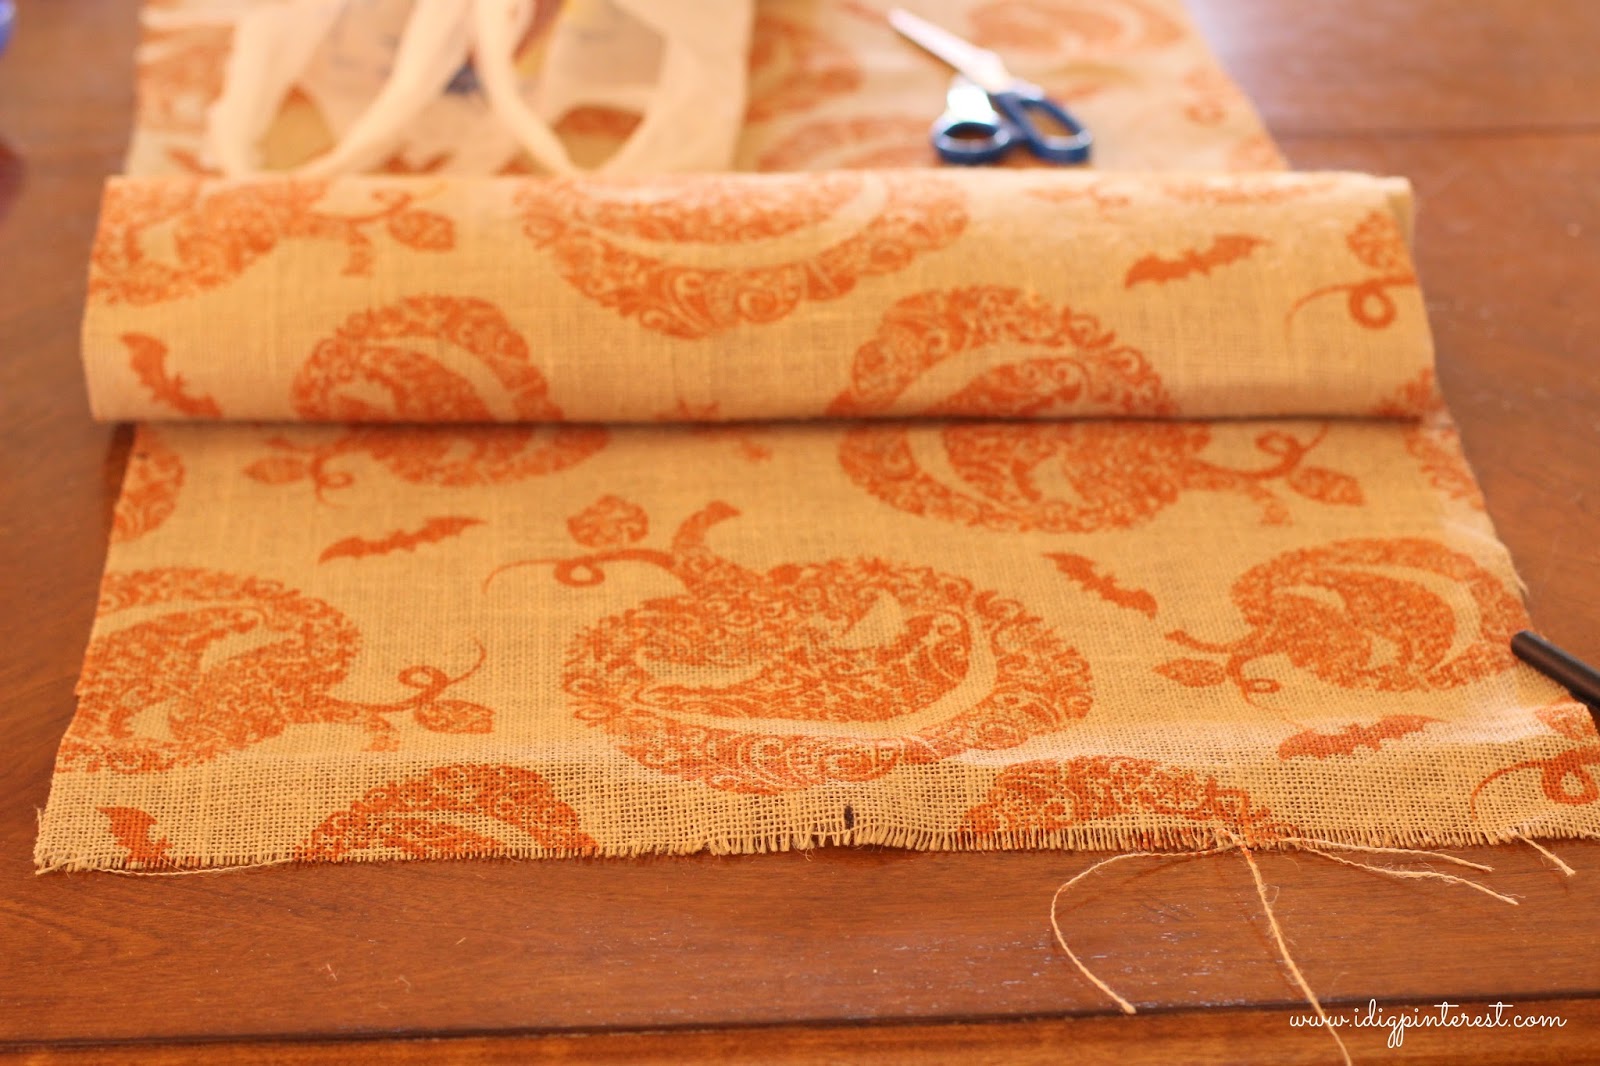
-Fabric Scissors
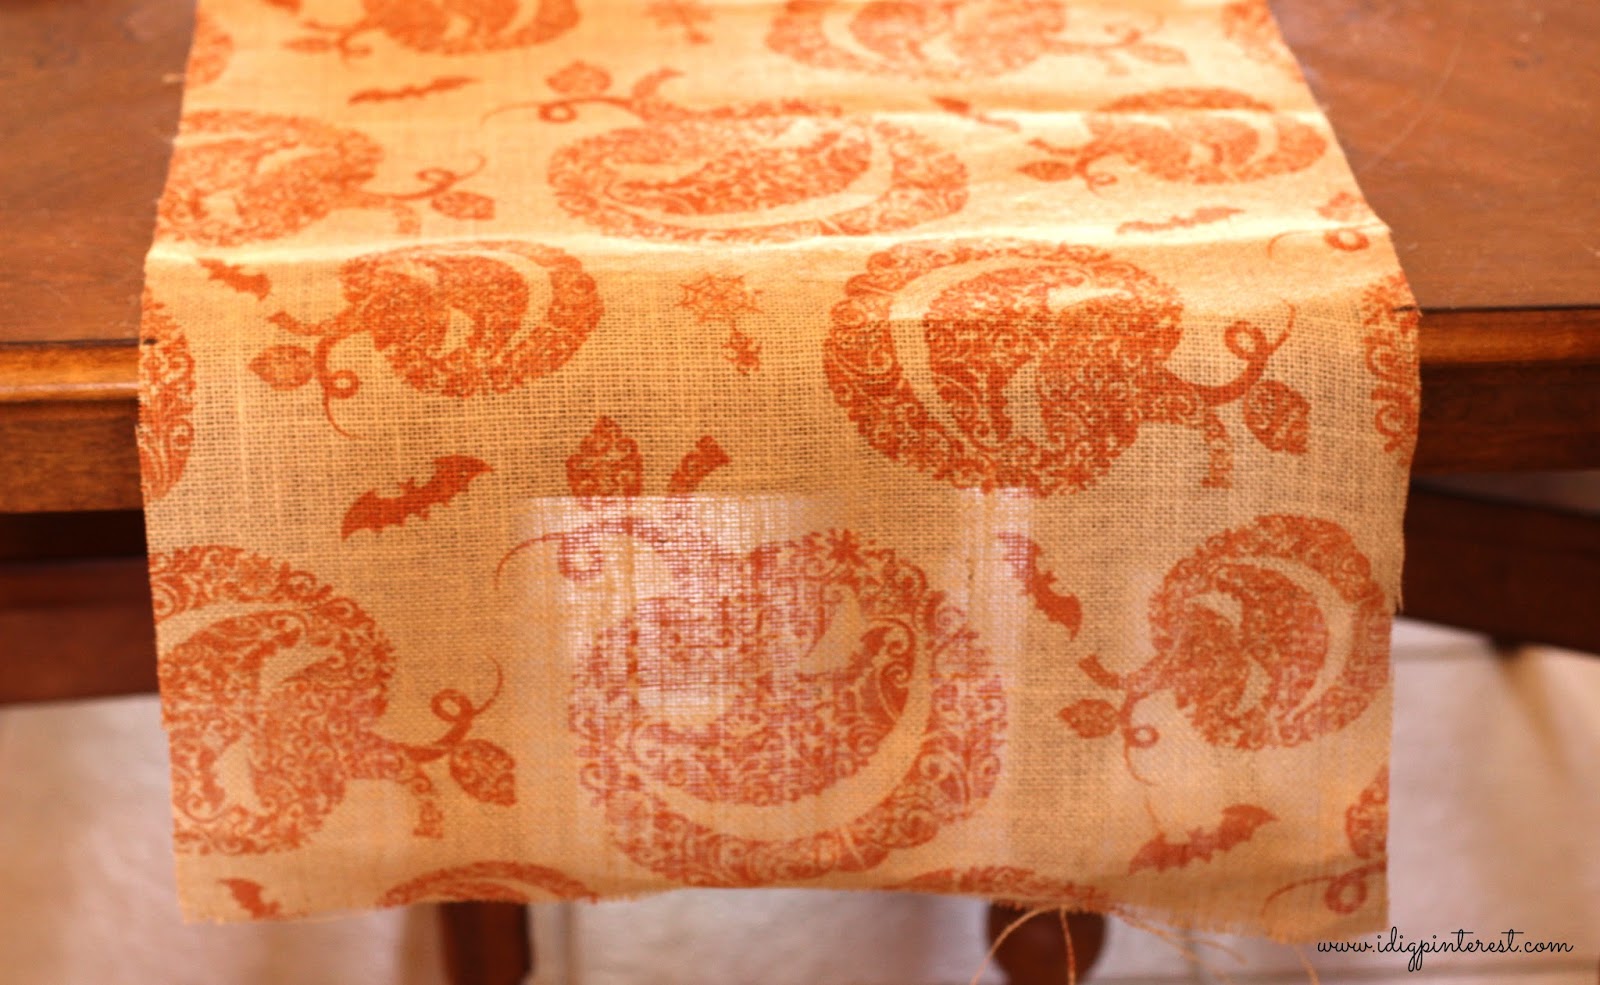
- Lay your fabric out on your table to figure out how wide it needs to be. I cut mine 20″ wide, leaving about 10.5″ of the table showing on either side. Then cut it for length. I allowed for 10″ to hang off the edge on both ends.
The gingham ribbon is really wide, so I cut mine down to be 1 1/2″ wide. My ribbon had wire edges, I made sure after cutting it that the finished wire edge ended up on top of the runner.
2. If you want to have it come off the table in a “V” like mine, mark where the top of the “V” will start at the edge of your table. Put one mark on the left side of your fabric.
3. Then put another mark straight across on the right side of your fabric.
You can kind of see the two marks here.
4. Now put a mark in the middle bottom of your fabric.
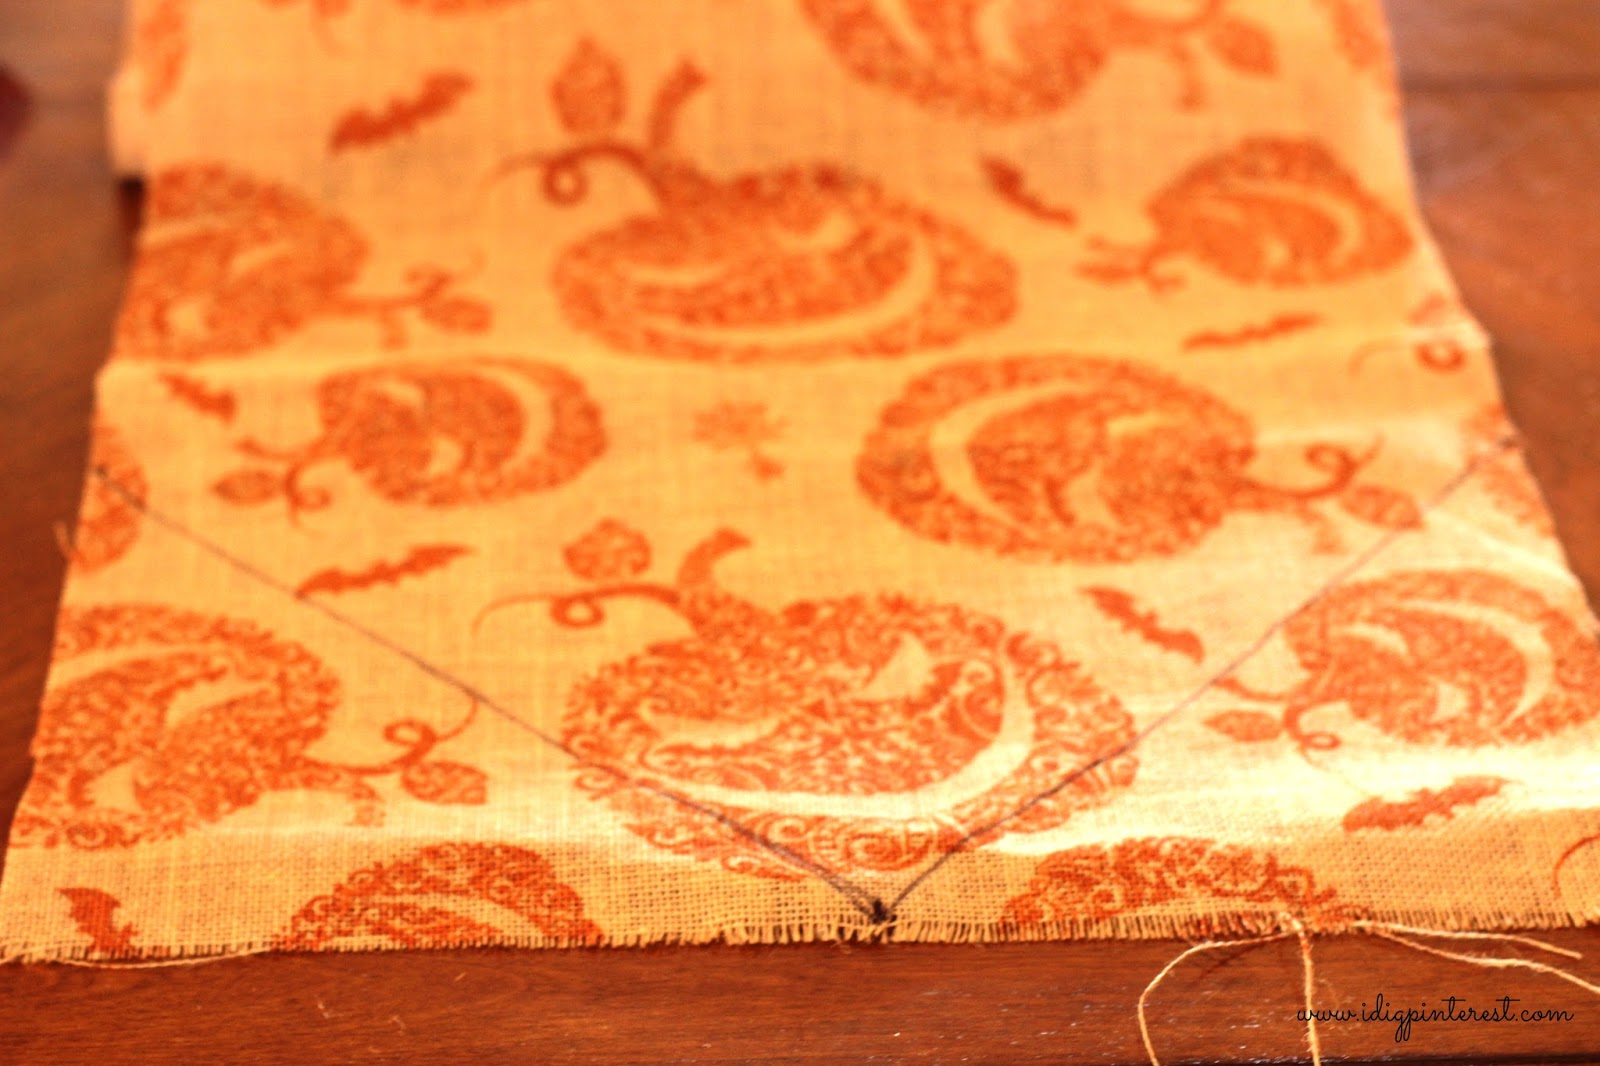
5. Use a straight edge to draw a line from the mark on the left side to the bottom middle. Then do the same for the right side, drawing a line from the top mark to the bottom middle.

6. Now cut along the lines.
7. Bring the cut side over the top of the un-cut end. Line it up and trace along the cut edges to make a “V” on the un-cut end.

8. Starting on the sides, sew the gingham ribbon on. If your ribbon is wired like mine, just be sure to sew next to, but not right over the wire or you might break a needle. Fold it in half over the edge and pin if you need to first.
9. Trim the excess off of the end on the angle. Then sew the ribbon onto the “V”s that will hang over your table, using the same method. Trim excess after sewing along each edge, then begin sewing another section of ribbon on.
You’re done!
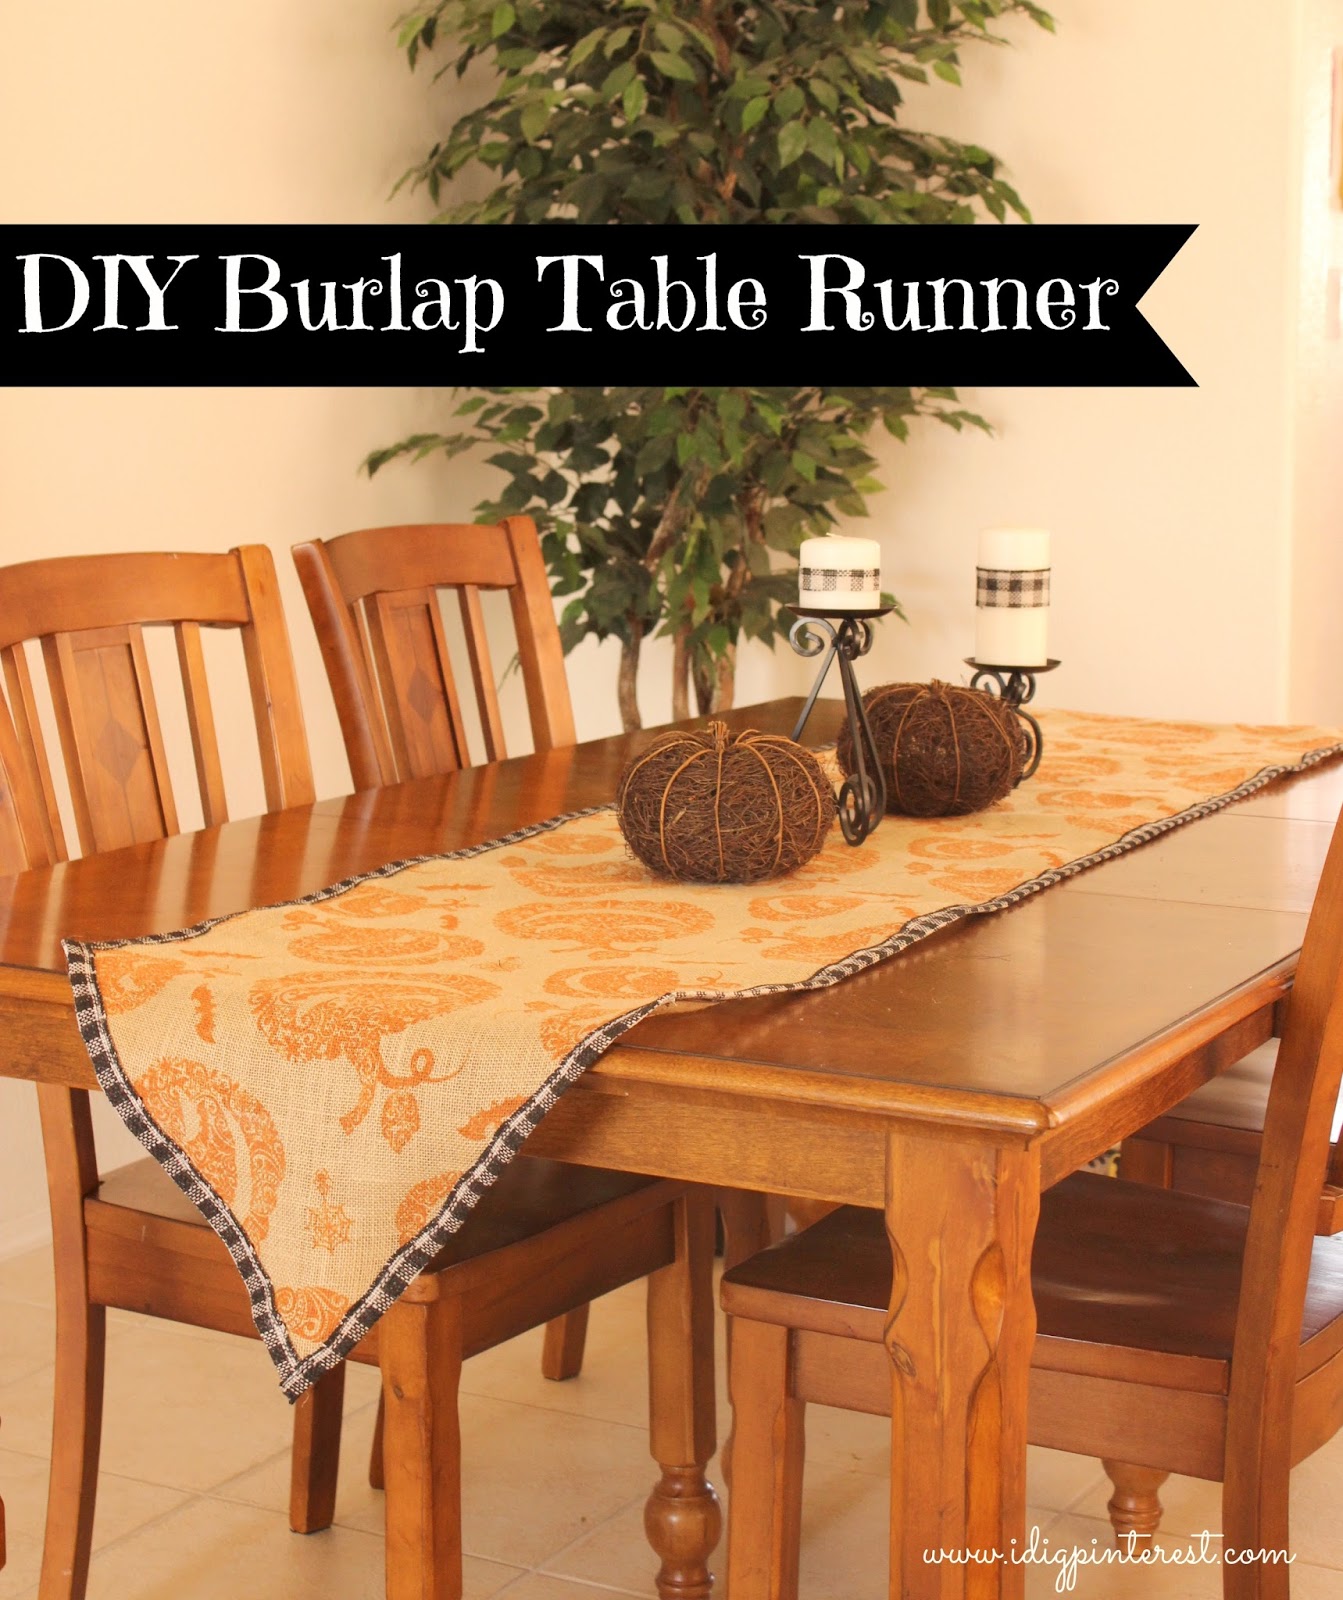
Super simple, cute and festive!
I hope my instructions made sense. Let me know if you have any questions.


Now I think I will go get a couple of pillow forms and use the rest of the burlap to make some throw pillows.
Shelly
minettesmaze.blogspot.com
Thanks for linking up to this week's Catch a Glimpse Party! I'll be featuring this tomorrow.
Thank you for linking to Raising Imperfection.
Please come back Friday to see if you were featured. :)
¤´¨)
¸.•*´
(¸¤ Lanaya | xoxo
Raising-Reagan.com
I need to make a burlap table runner for a friend for a party, so your post will help me tremendously, thanks so much for sharing it.