
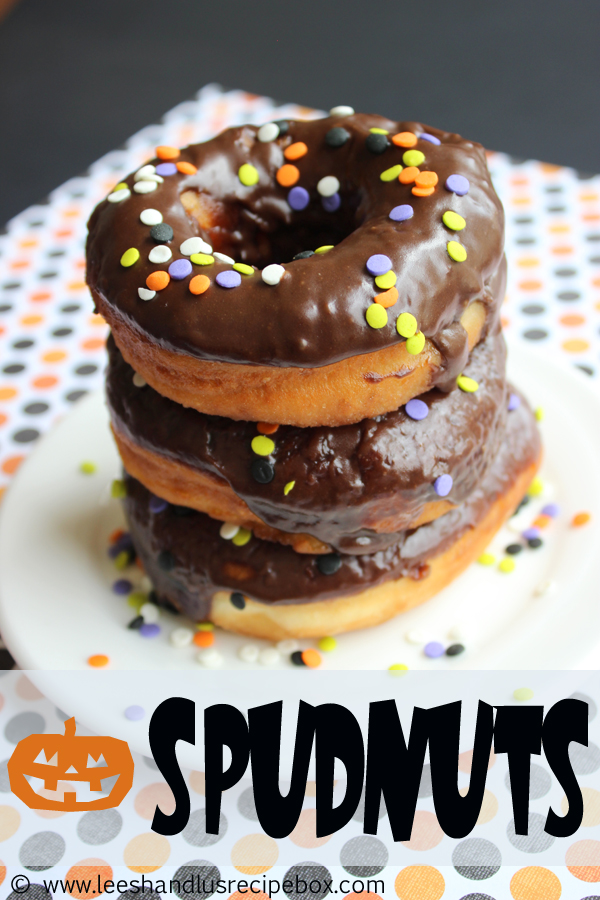
Hello, it’s Lu again, from Leesh and Lu’s Recipe Box. I’m excited to be here sharing a favorite fall recipe of ours, spudnuts. Have you heard of spudnuts? If you read the title of this post, you’re probably wondering why these are so good. Well, they are doughnuts – but not just any old doughnut, the dough has mashed potatoes (aka spuds) in it. So the result is a deliciously soft dough, so soft I just want to pinch and squeeze it. It’s then cooked til golden and frosted with chocolate icing, or dipped in a vanilla glaze or rolled in sugar or cinnamon sugar. It’s mouthwatering good! I’m drooling for a hot fresh one right now!!!
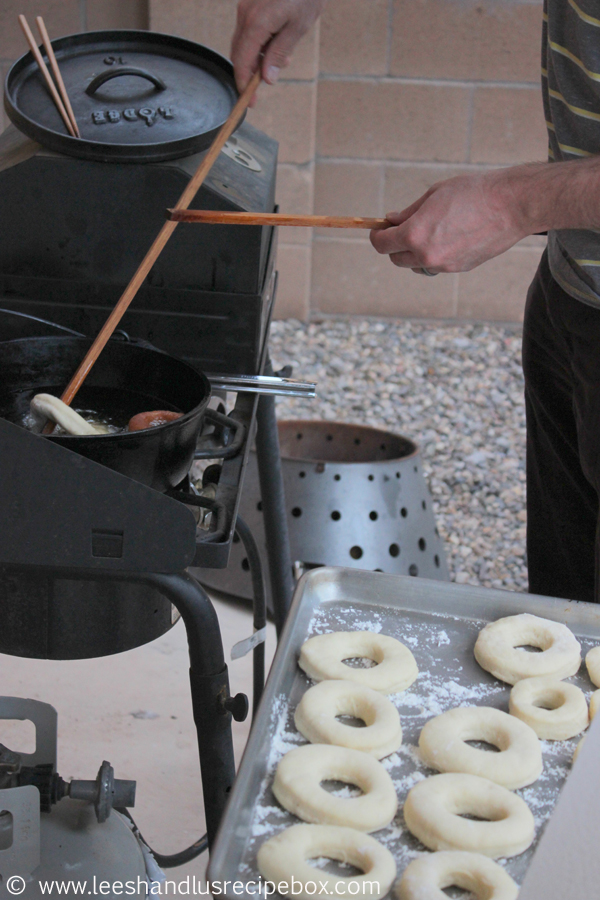
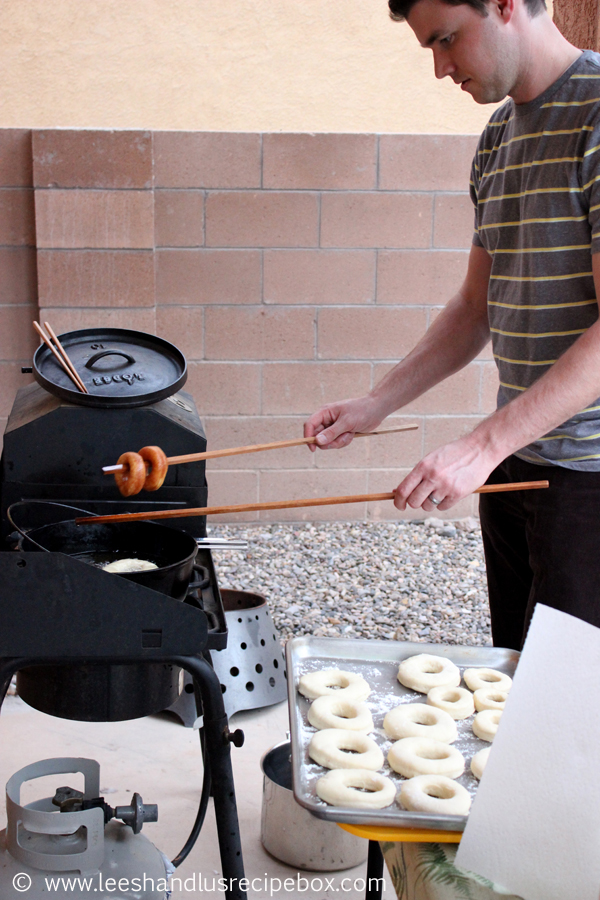
And here they are coming out and dripping a bit.
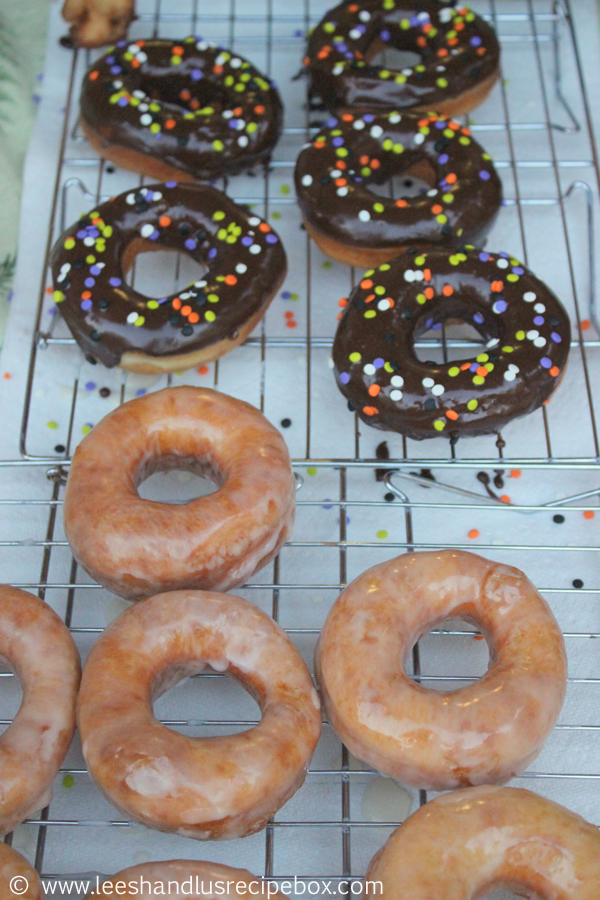 If you’re more of chocolate iced doughtnut person, like my daughter who is lost in thought is, then you’ll let the doughnut cool just a bit til it’s barely warm or completely cool and then dip the top half into the warm chocolate icing. Mmmm.
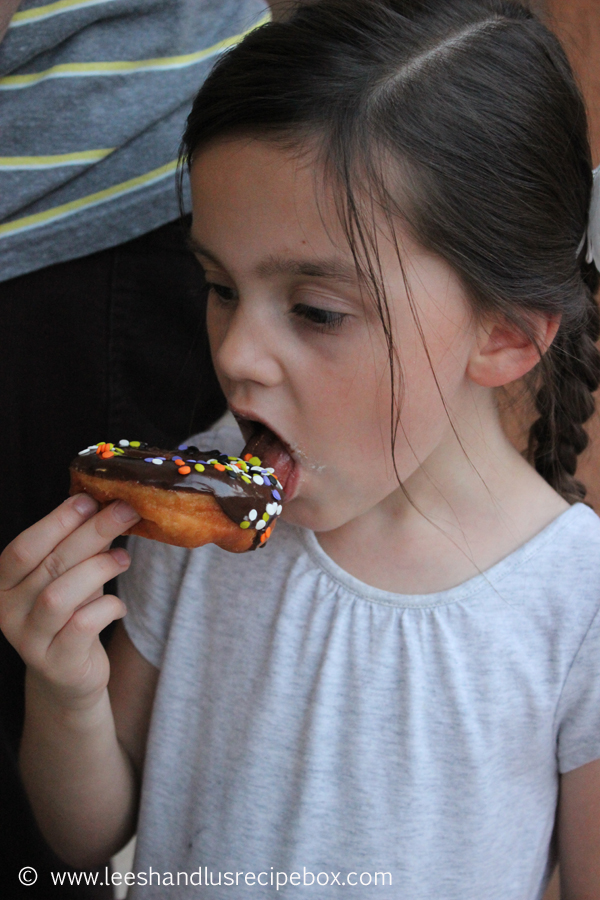
- Spudnuts {printable – click here}
- Spudnuts AND Chocolate Icing AND Vanilla Glaze Recipes (all 3 in 1 document) {printable – click here}
- Chocolate Doughnut Icing {printable – click here}
- Vanilla Doughnut Glaze {printable – click here}
Spudnuts
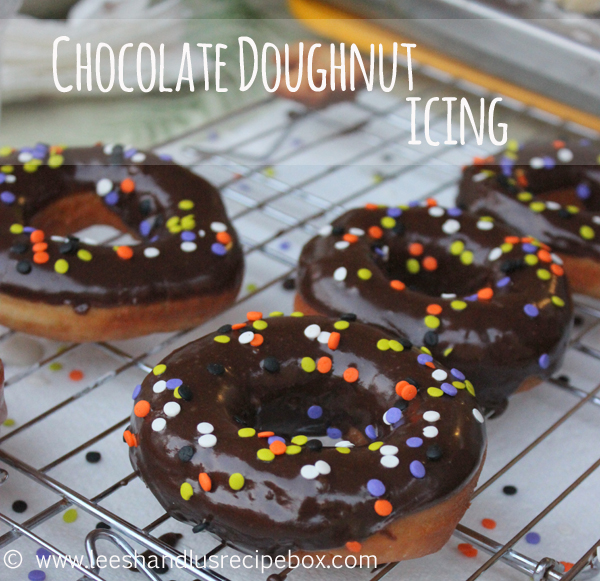
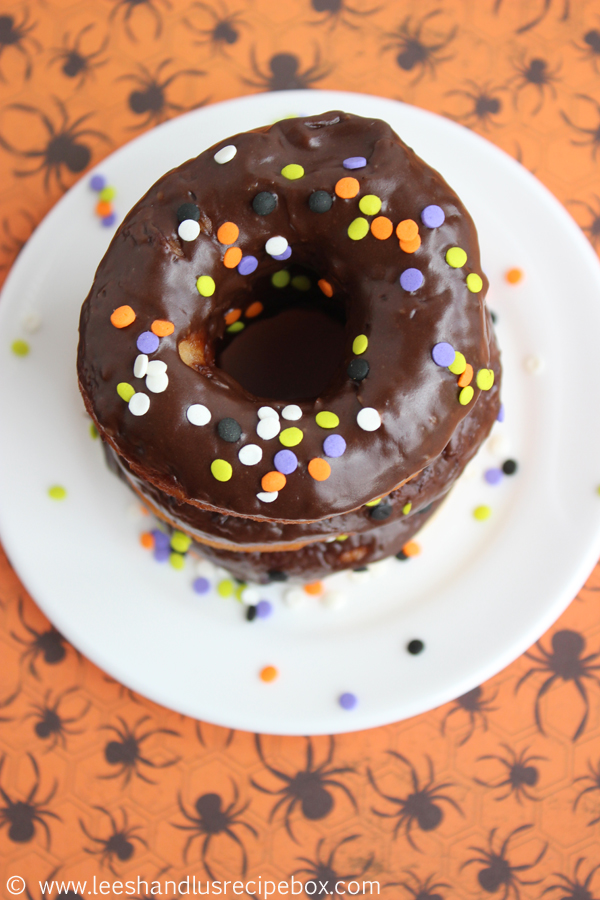
Chocolate Doughnut Icing
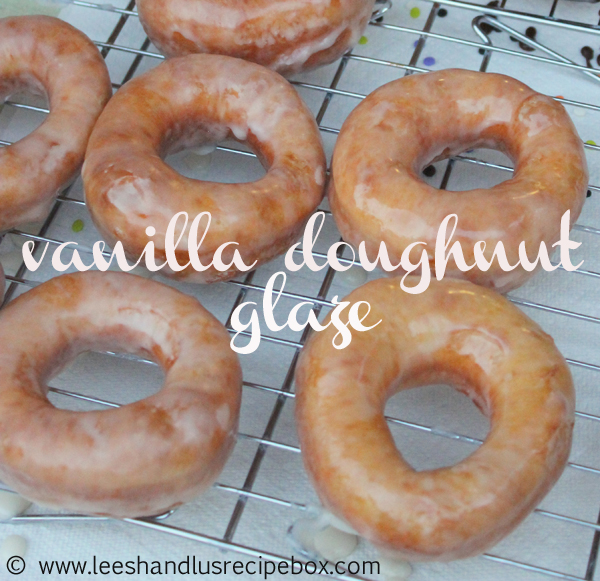
Vanilla Doughnut Glaze
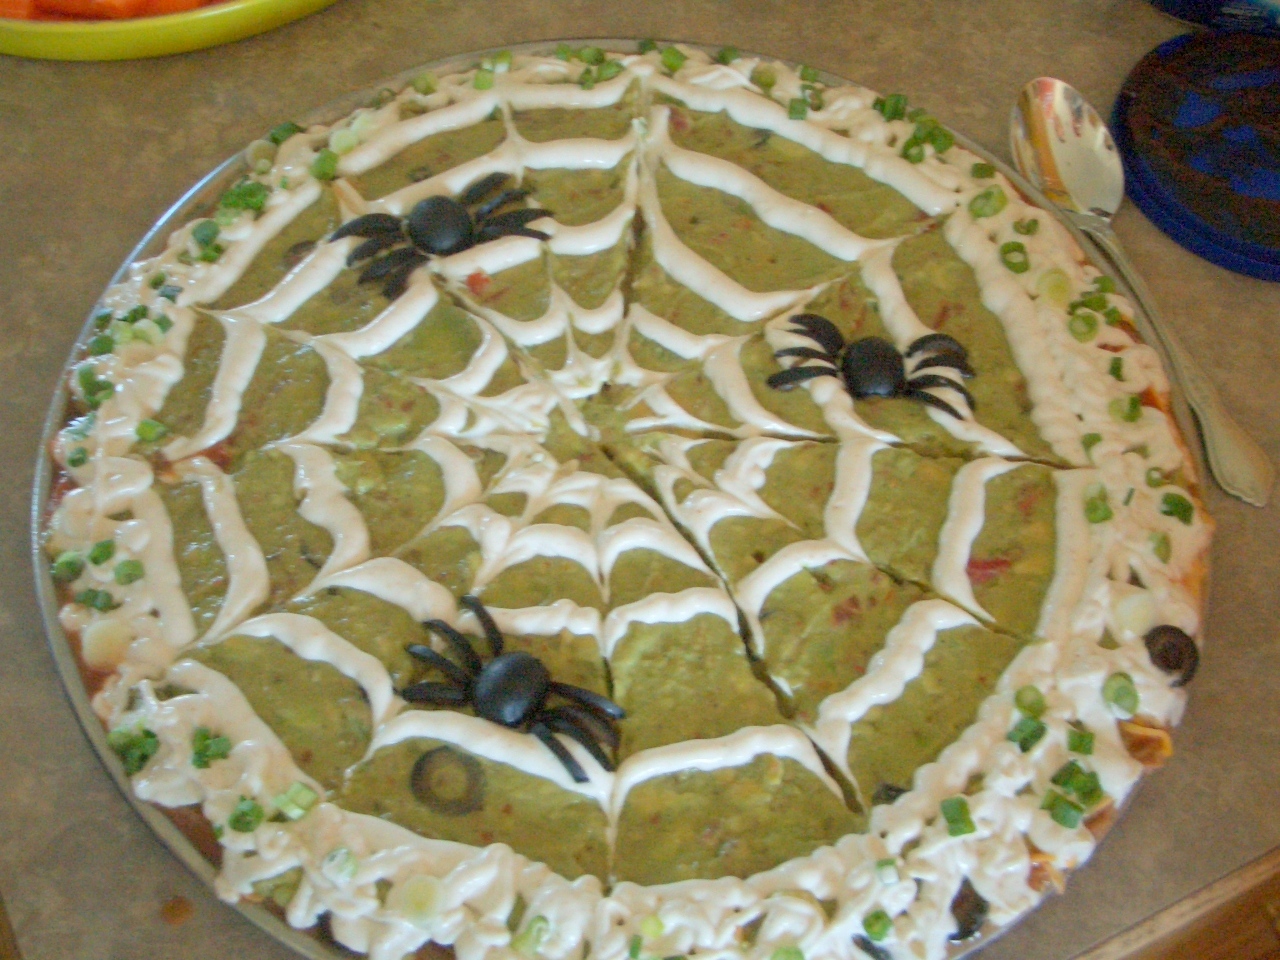
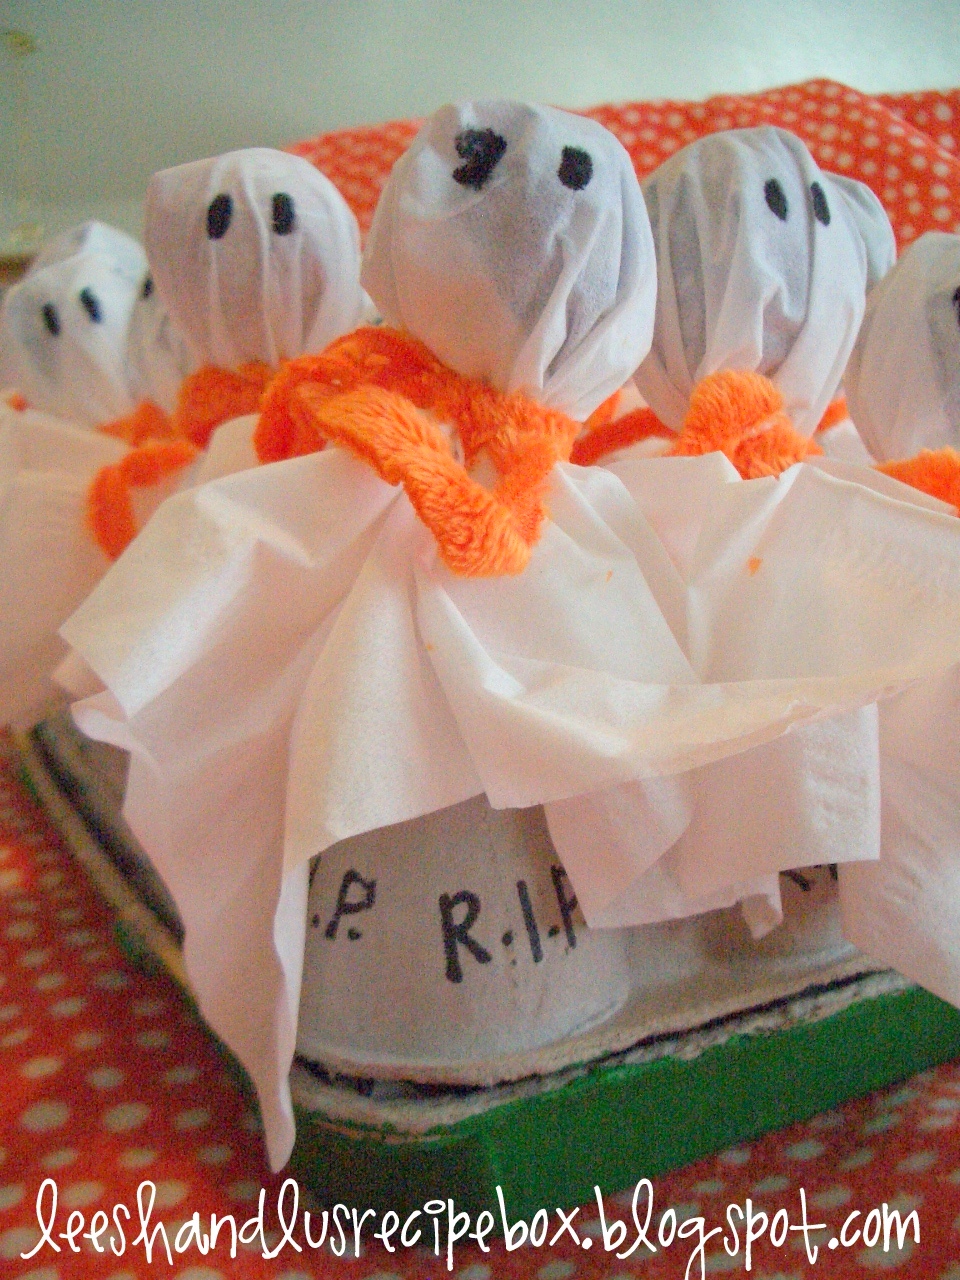
You might enjoy some of our other Halloween recipes:


stop by and chat ♥ http://storybookapothecary.com