This is a sponsored post written by me on behalf of Miracle-Gro Gro-ables. All opinions are 100% mine.
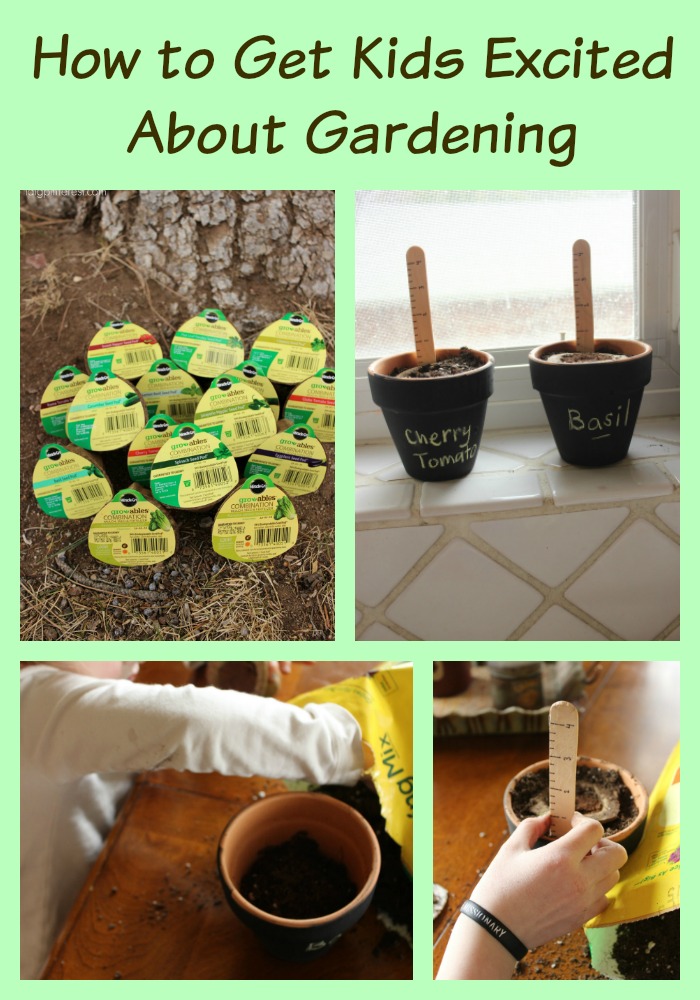
Spring has sprung, which means it’s time to start thinking about gardening! Let the kids jump in on the fun with these mini chalkboard planter pots with popsicle measuring sticks!
Over the past few years my kids have been expressing an interest in starting a garden. At our old home, we didn’t really have a place for it, so I kept putting them off. This year, even during the winter, the kids begged to plant a garden when the weather turned warm. Since we have lots of space for it now, I knew I needed to follow through. Plus, it’s something I really want to encourage in my children, especially since they’re eager to learn.
Gardening is such a great skill to have. I’ve always shied away from it because I’ve had poor luck in the past keeping plants alive.
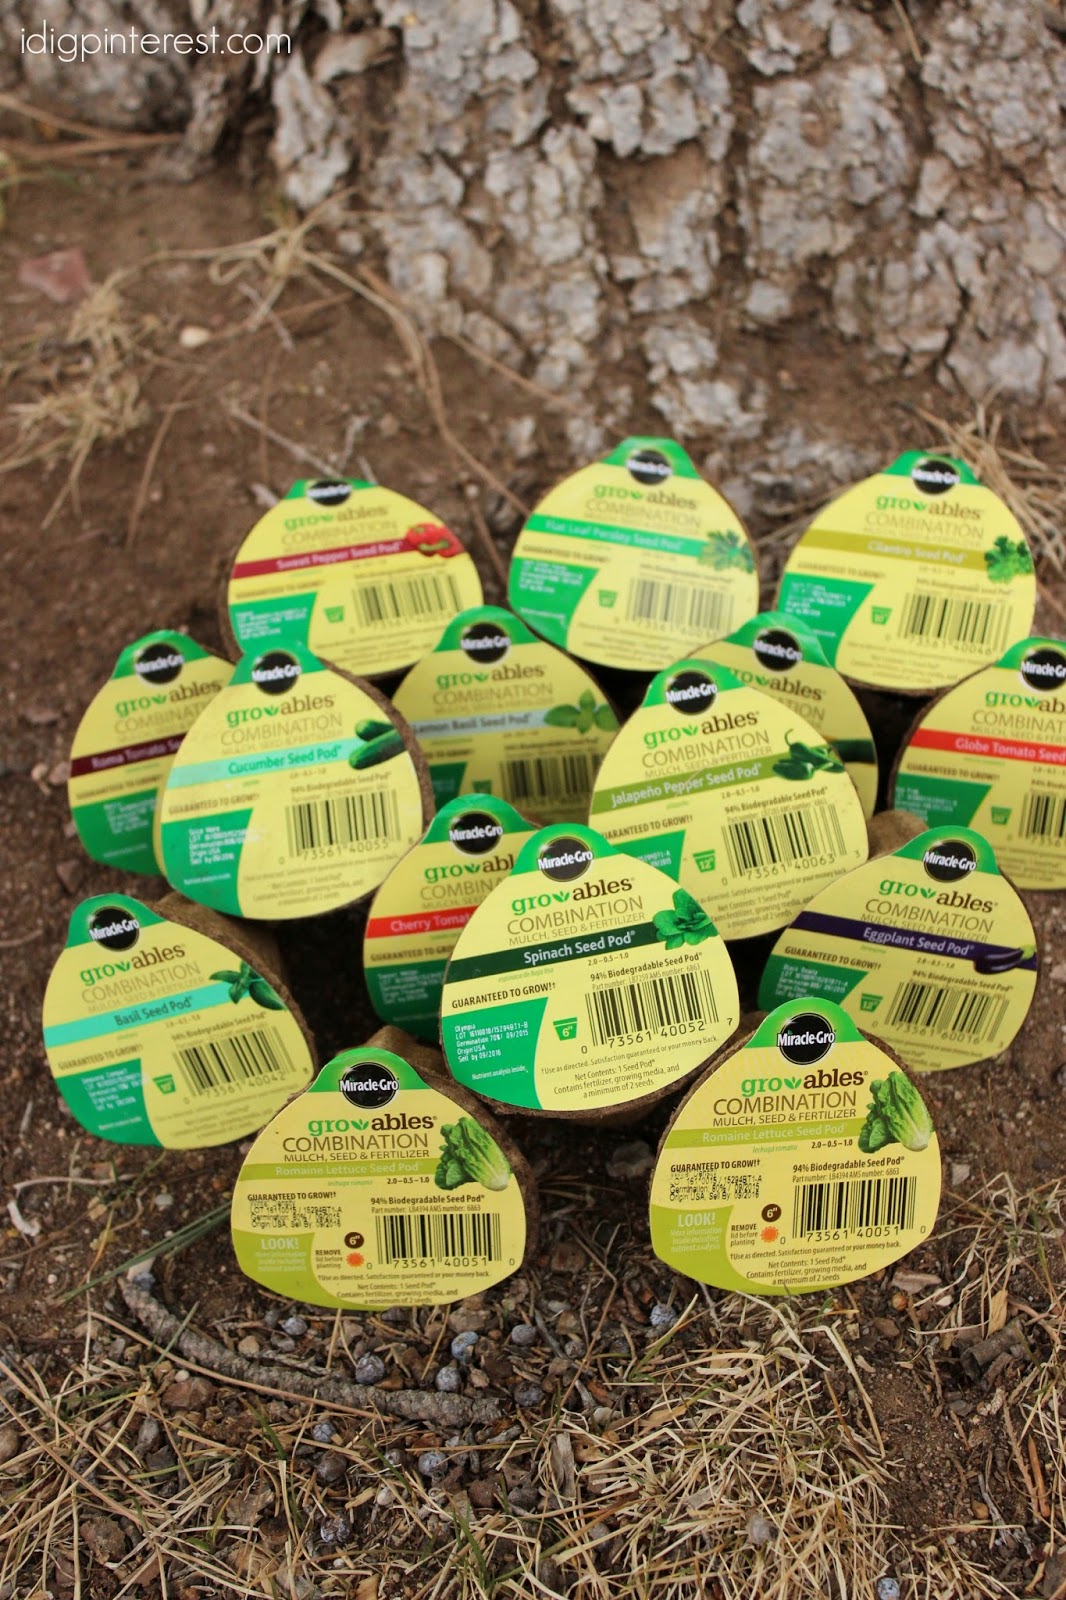
So when I heard about Miracle-Gro Gro-ables and how easy they are to plant (and that they are guaranteed to grow), I knew this was the perfect way to get our feet wet in the area of gardening.
The kids were so excited when they saw these adorable little seed pods!

The process couldn’t be simpler. Everything necessary to grow a fruit, herb, or vegetable plant is right inside!
Each individual kit comes with 30 Gro-able pods in one variety. You can select a variety from a list of 4-6 types.Even the littlest of plants can provide kids with valuable lessons about gardening. It’s all about giving them a memorable, hands-on experience, and these adorable pods do just that! That’s why Miracle-Gro® started The Gro-ables Project, a movement where kids can plant and watch veggies and herbs grow! You can join in on the fun by planting your own Gro-ables and sharing your story!
We wanted to start off with an indoor garden since it’s still a bit chilly outside.
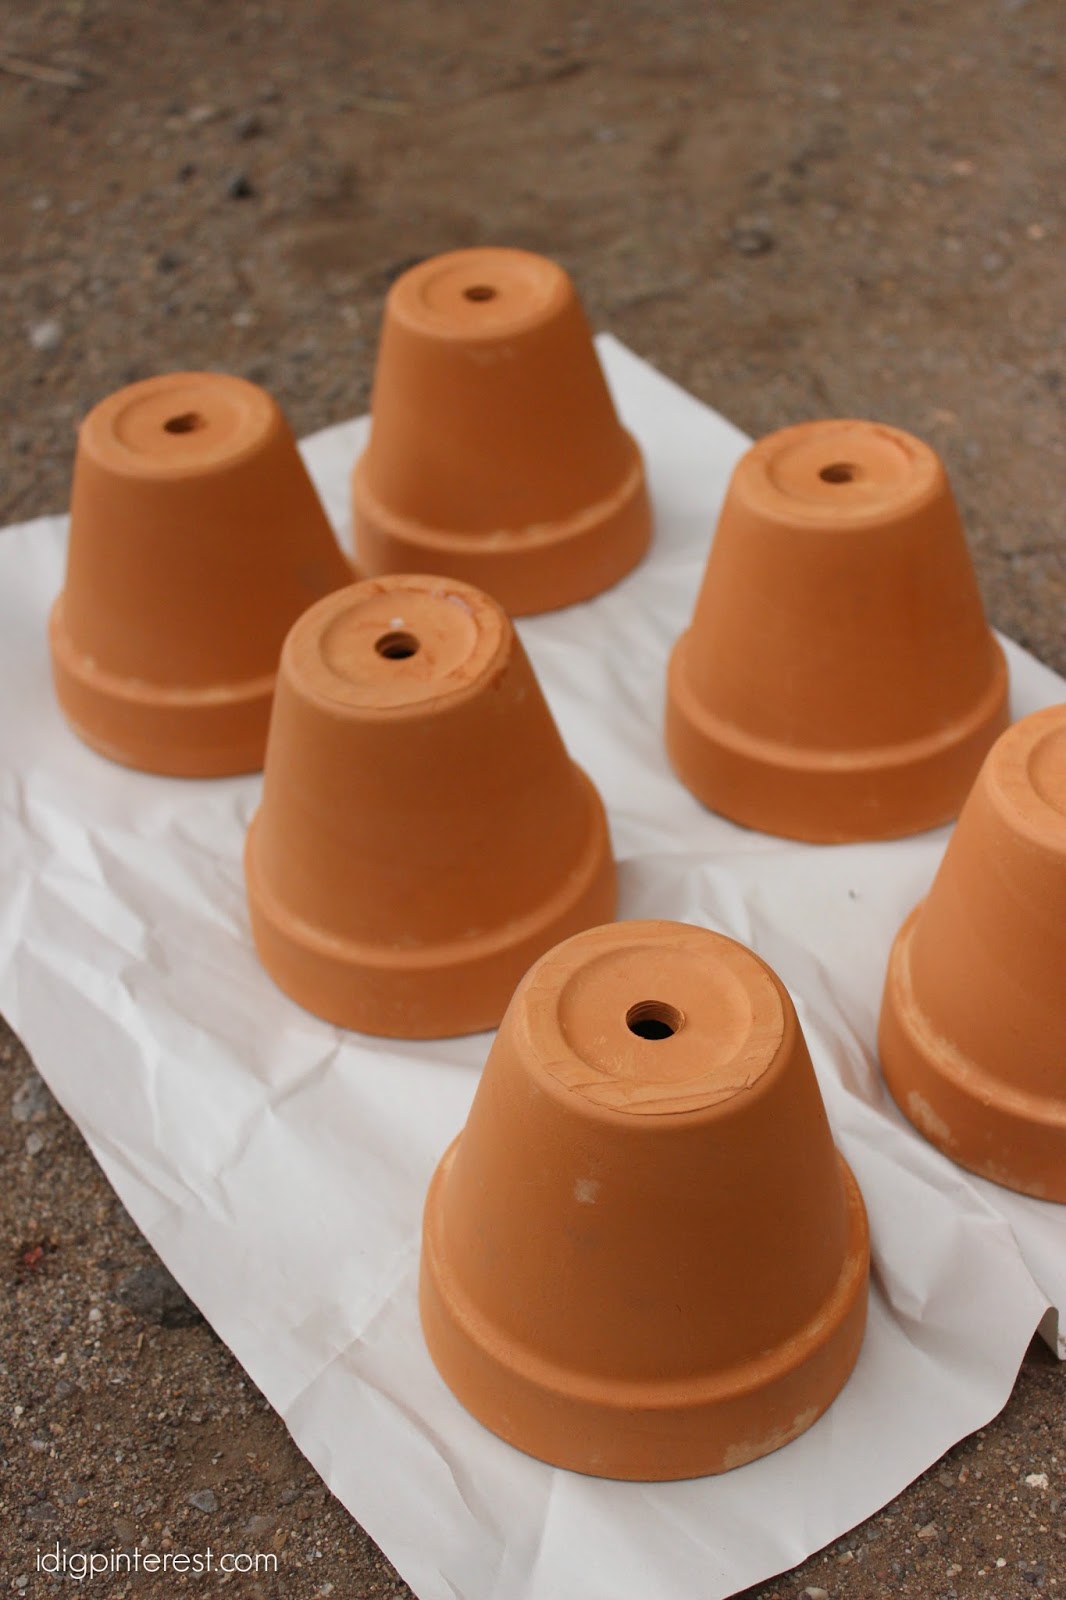
So I grabbed some mini pots…
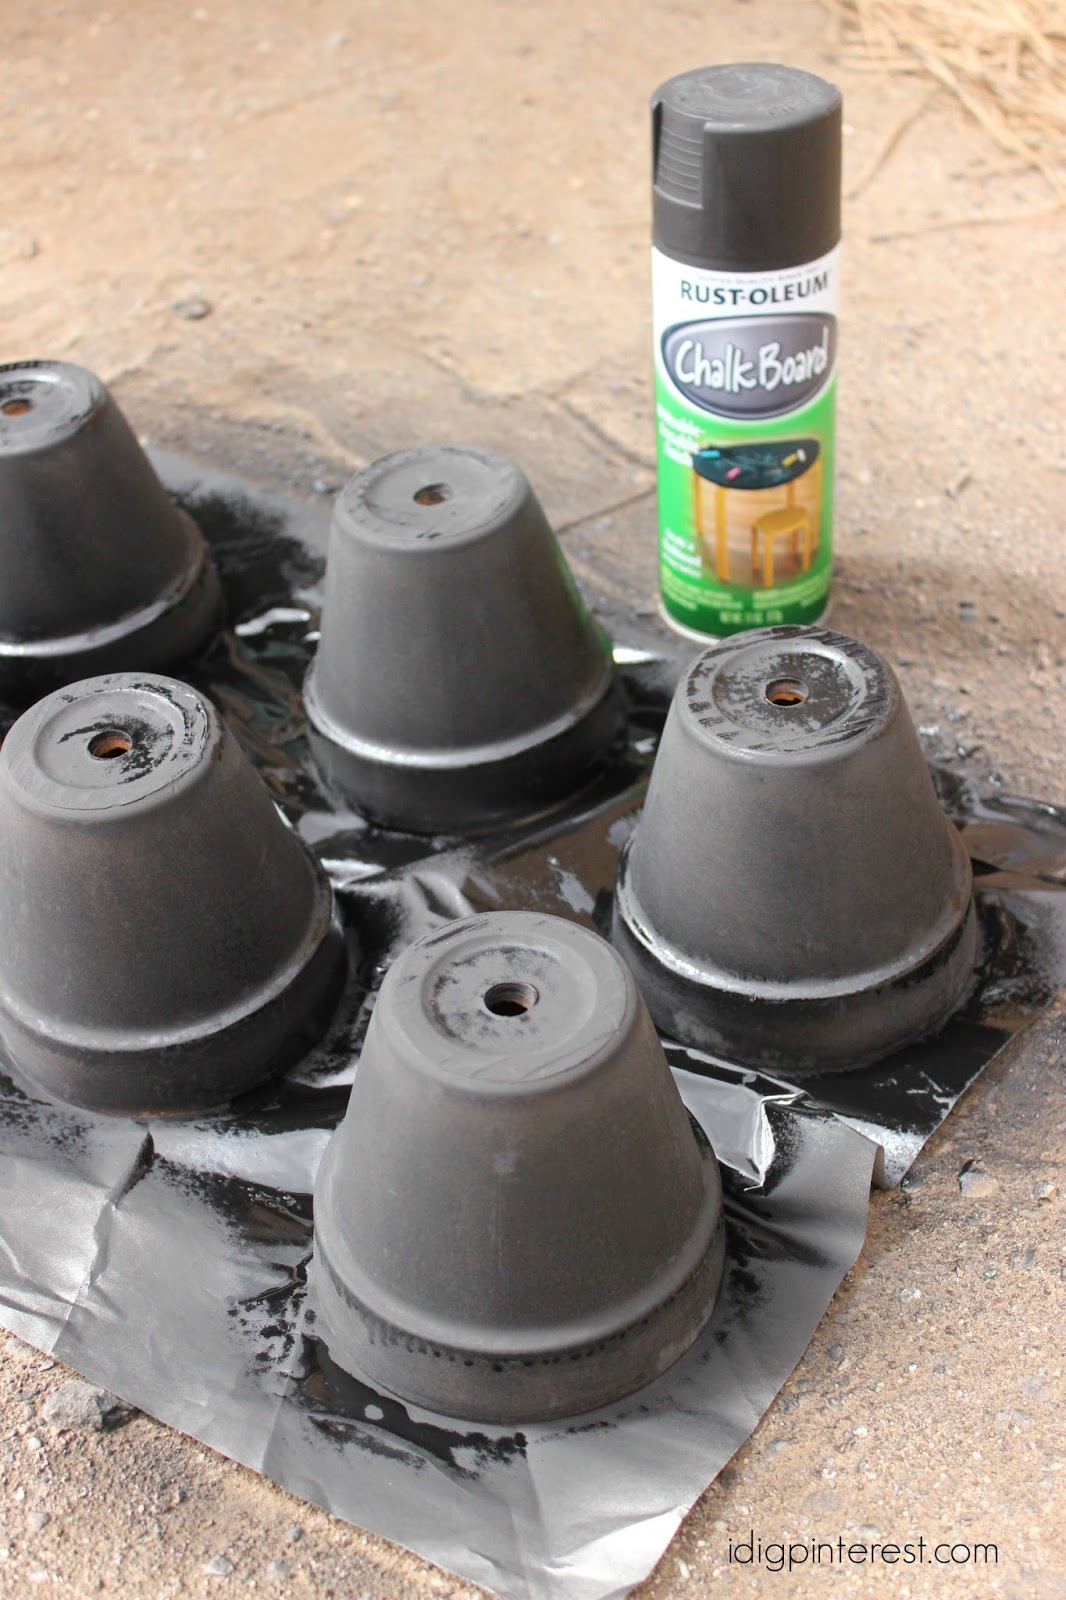
…and gave them a coat of chalkboard spray paint.
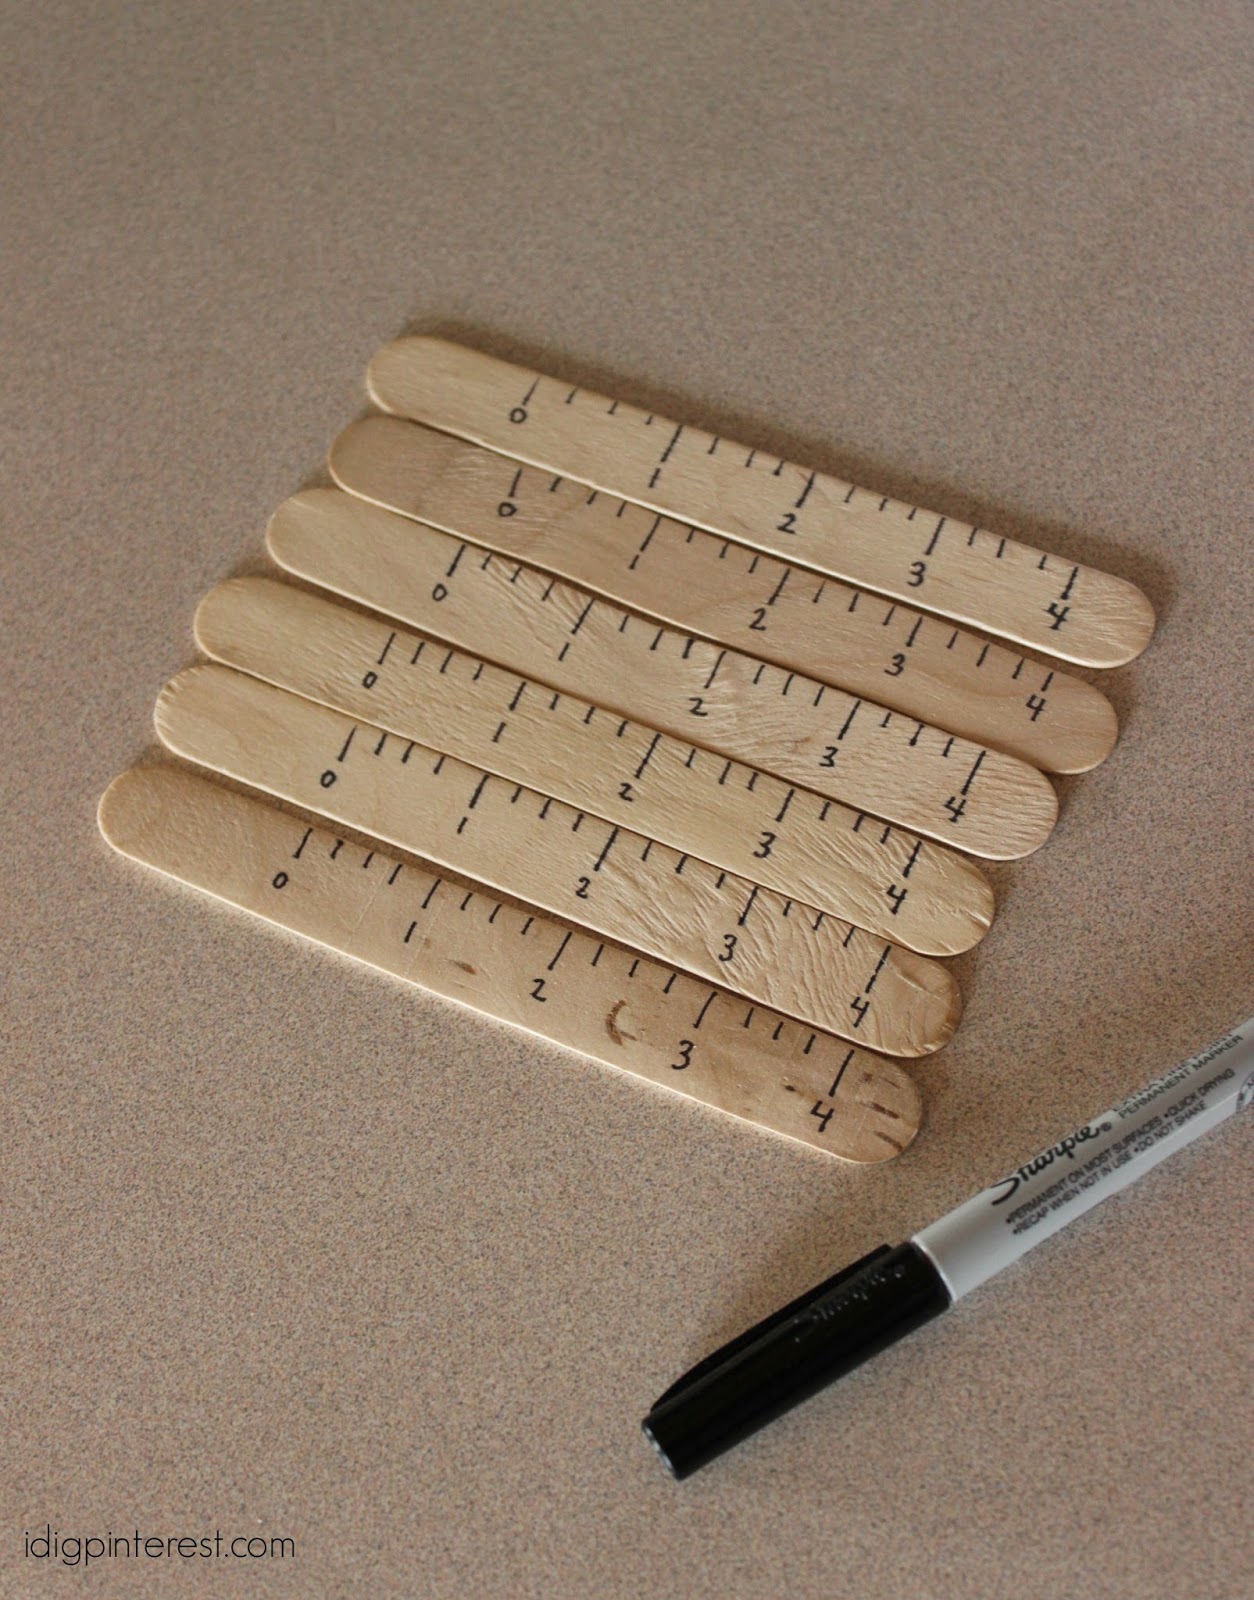
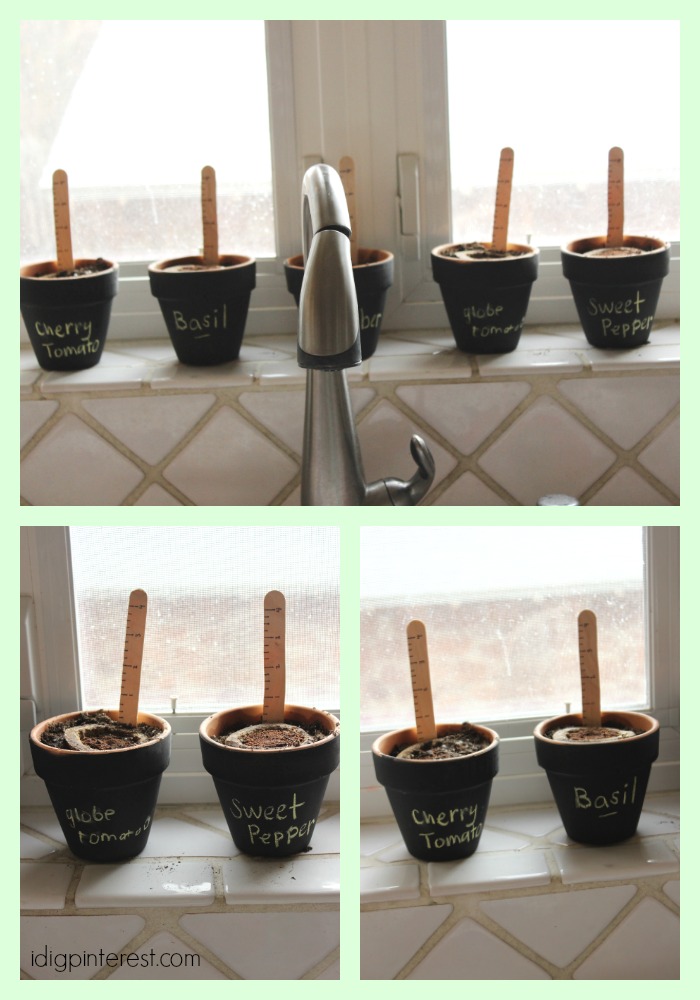
Then, since I knew my kids would want to track their growth and compare from plant to plant, I made little measuring sticks with large popsicle sticks (tongue depressors). I just sat them up against a ruler and drew the tick marks on with a permanent marker.
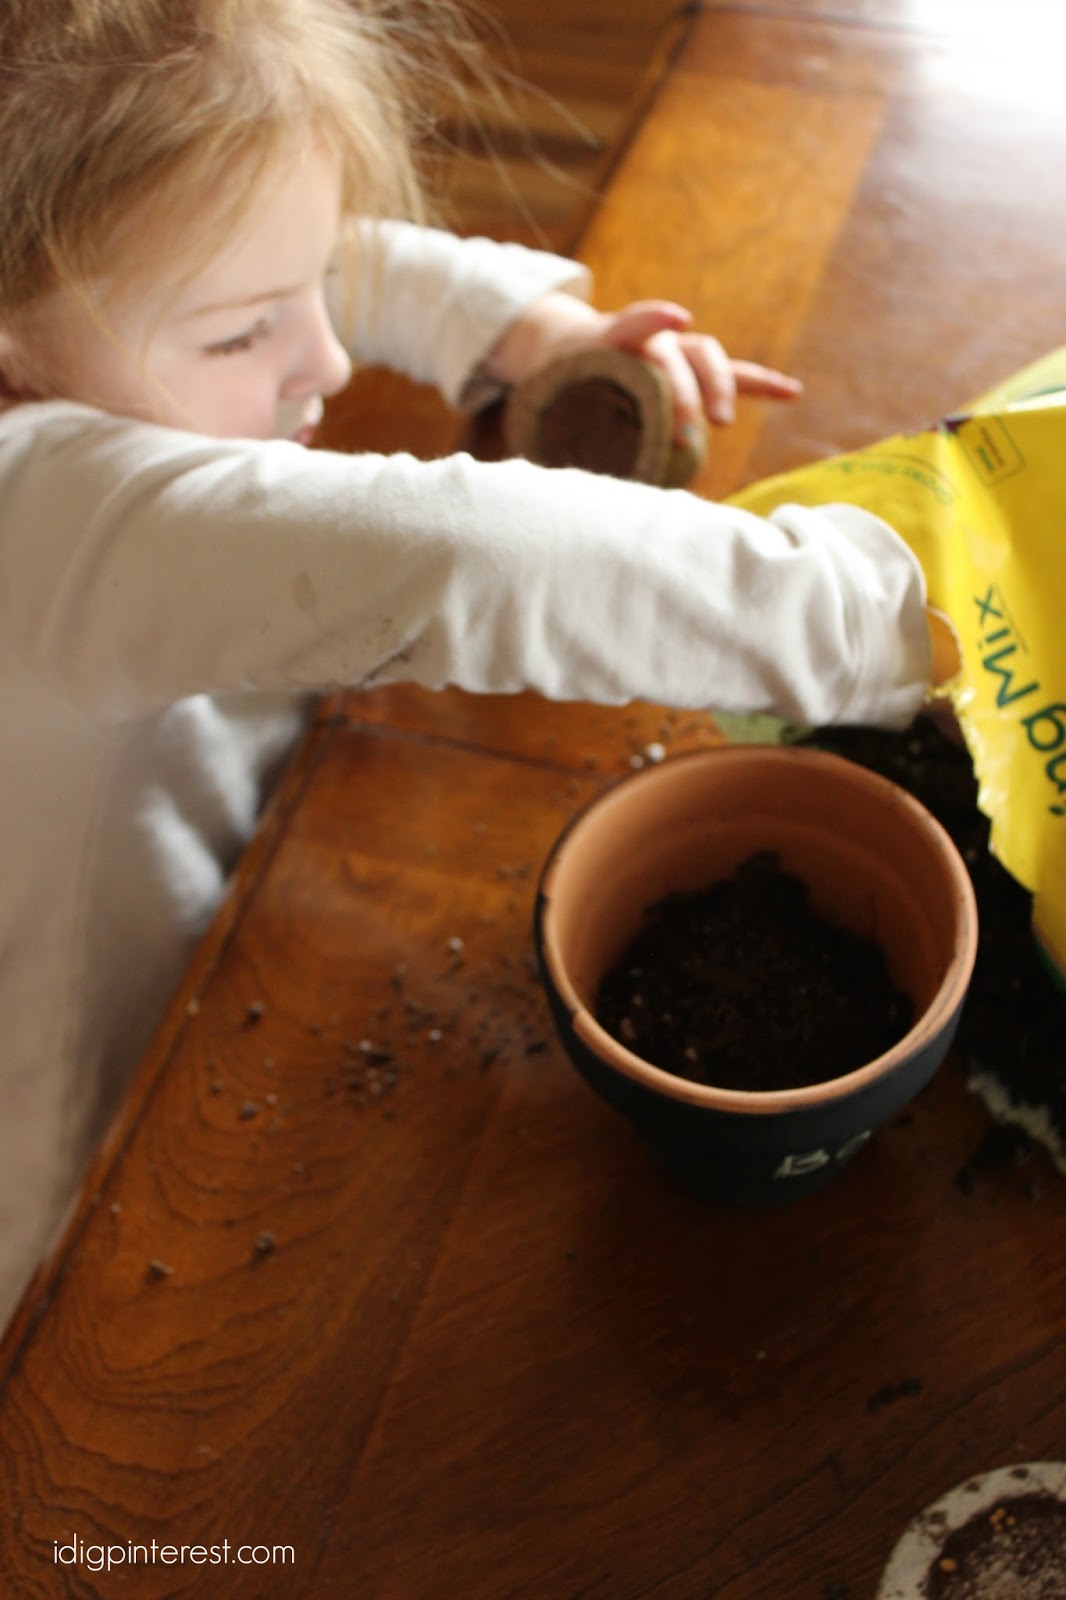
Then the kids got busy filling their pots with potting mix.
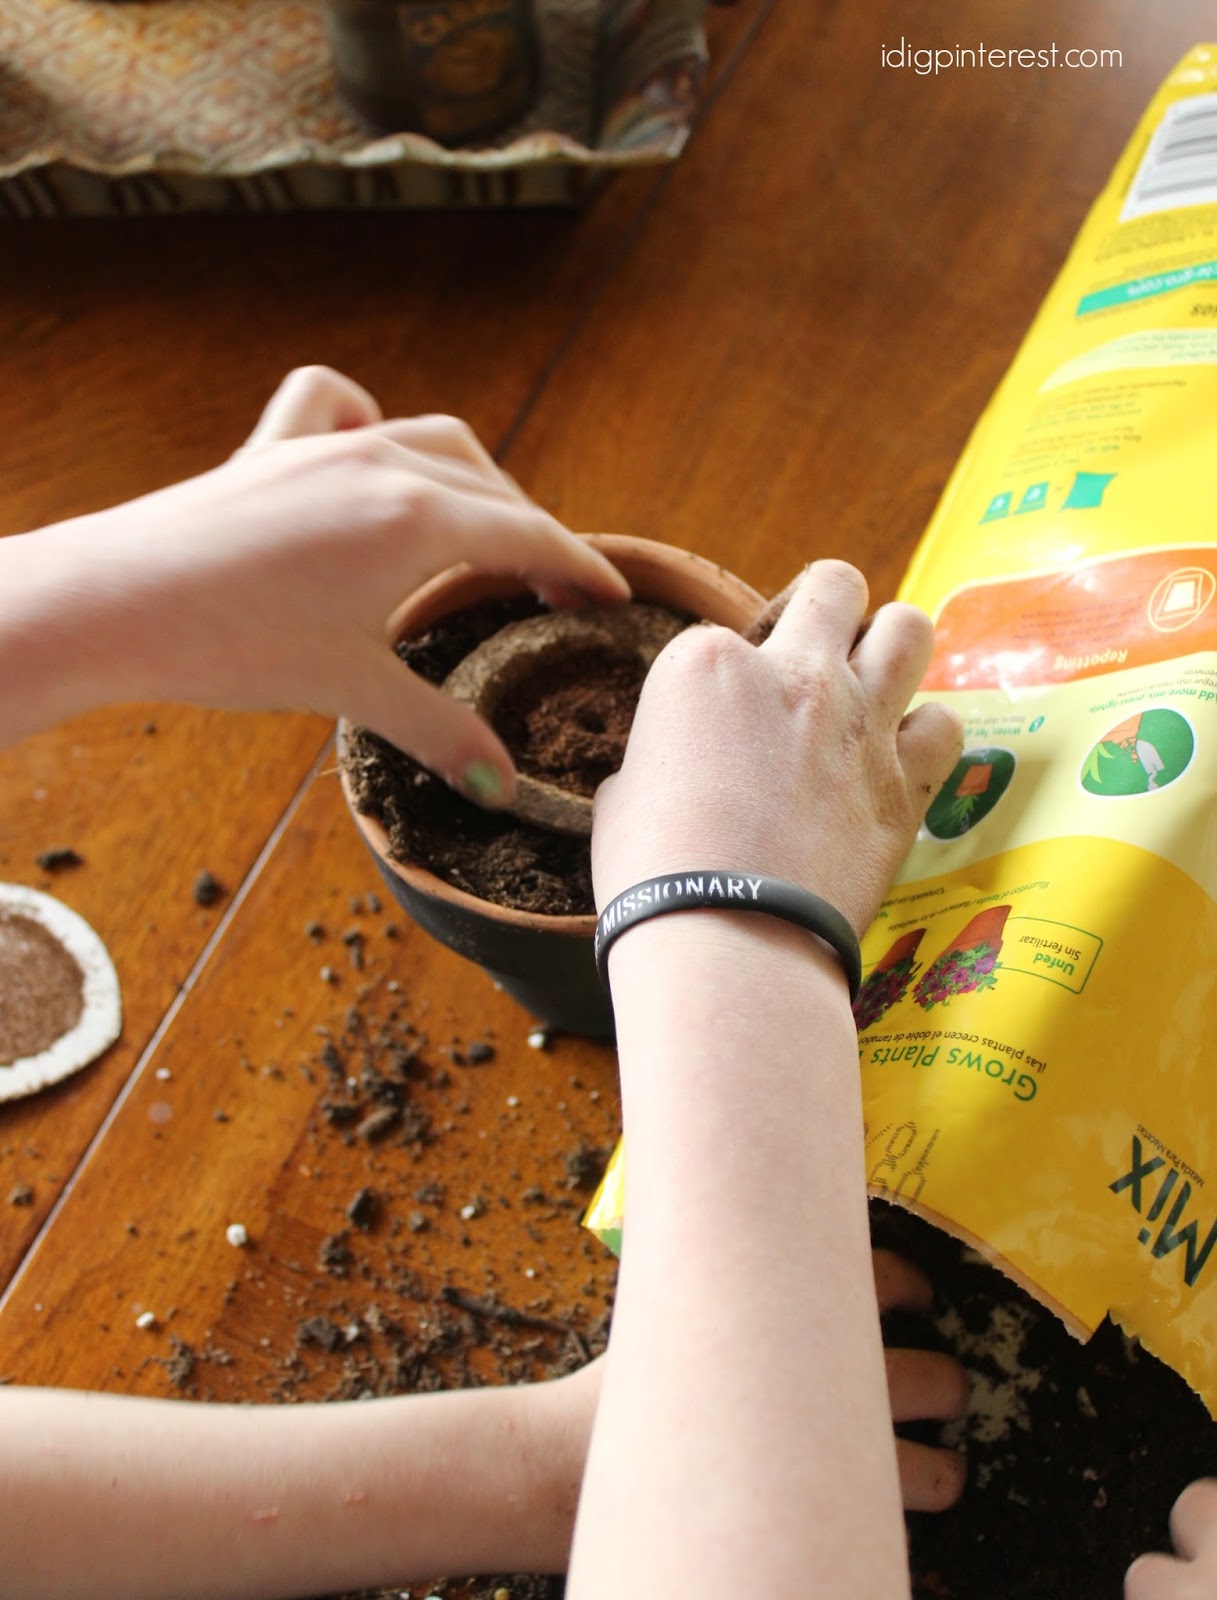
To plant the Gro-ables pods, simply peel off the label and push the pod into the loose potting mix until it’s level with the top.
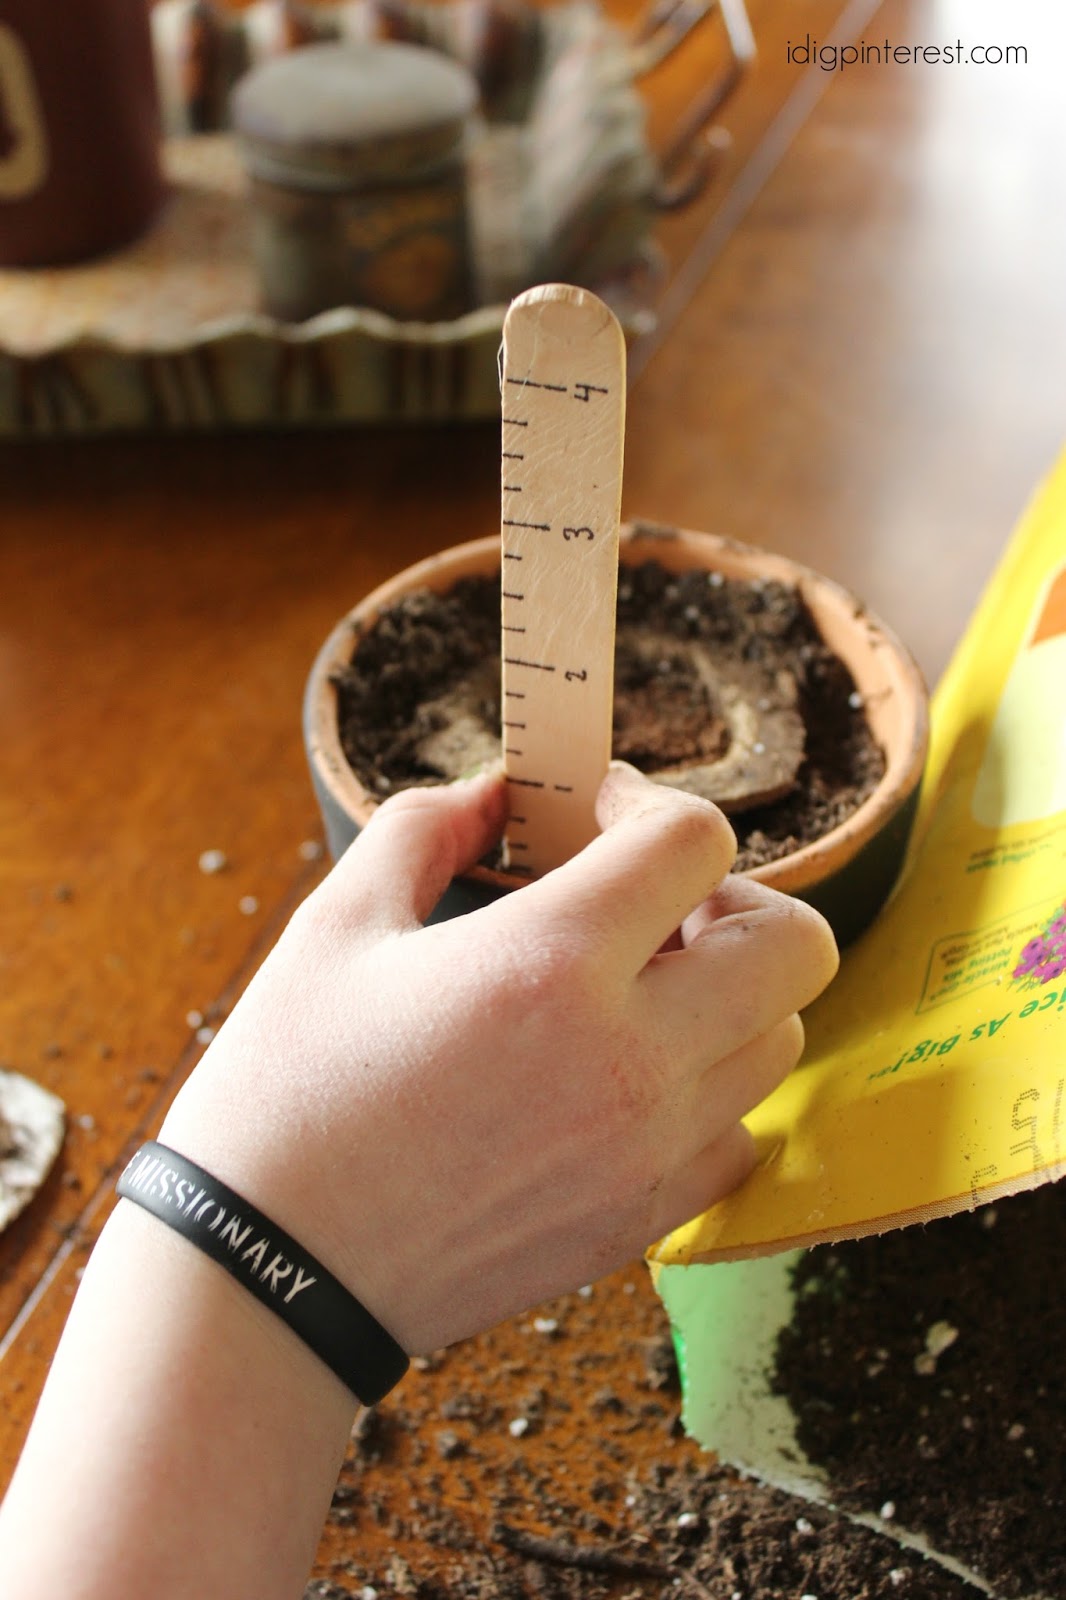
We labeled each pot with chalk, inserted our measuring sticks and added some water.

The kids are on spring break this week, so this was a perfect activity to occupy them! They had so much fun, as you can see. 🙂
I have a feeling my kids are going to push me to help them plant a garden every year now, and I couldn’t be more thrilled.
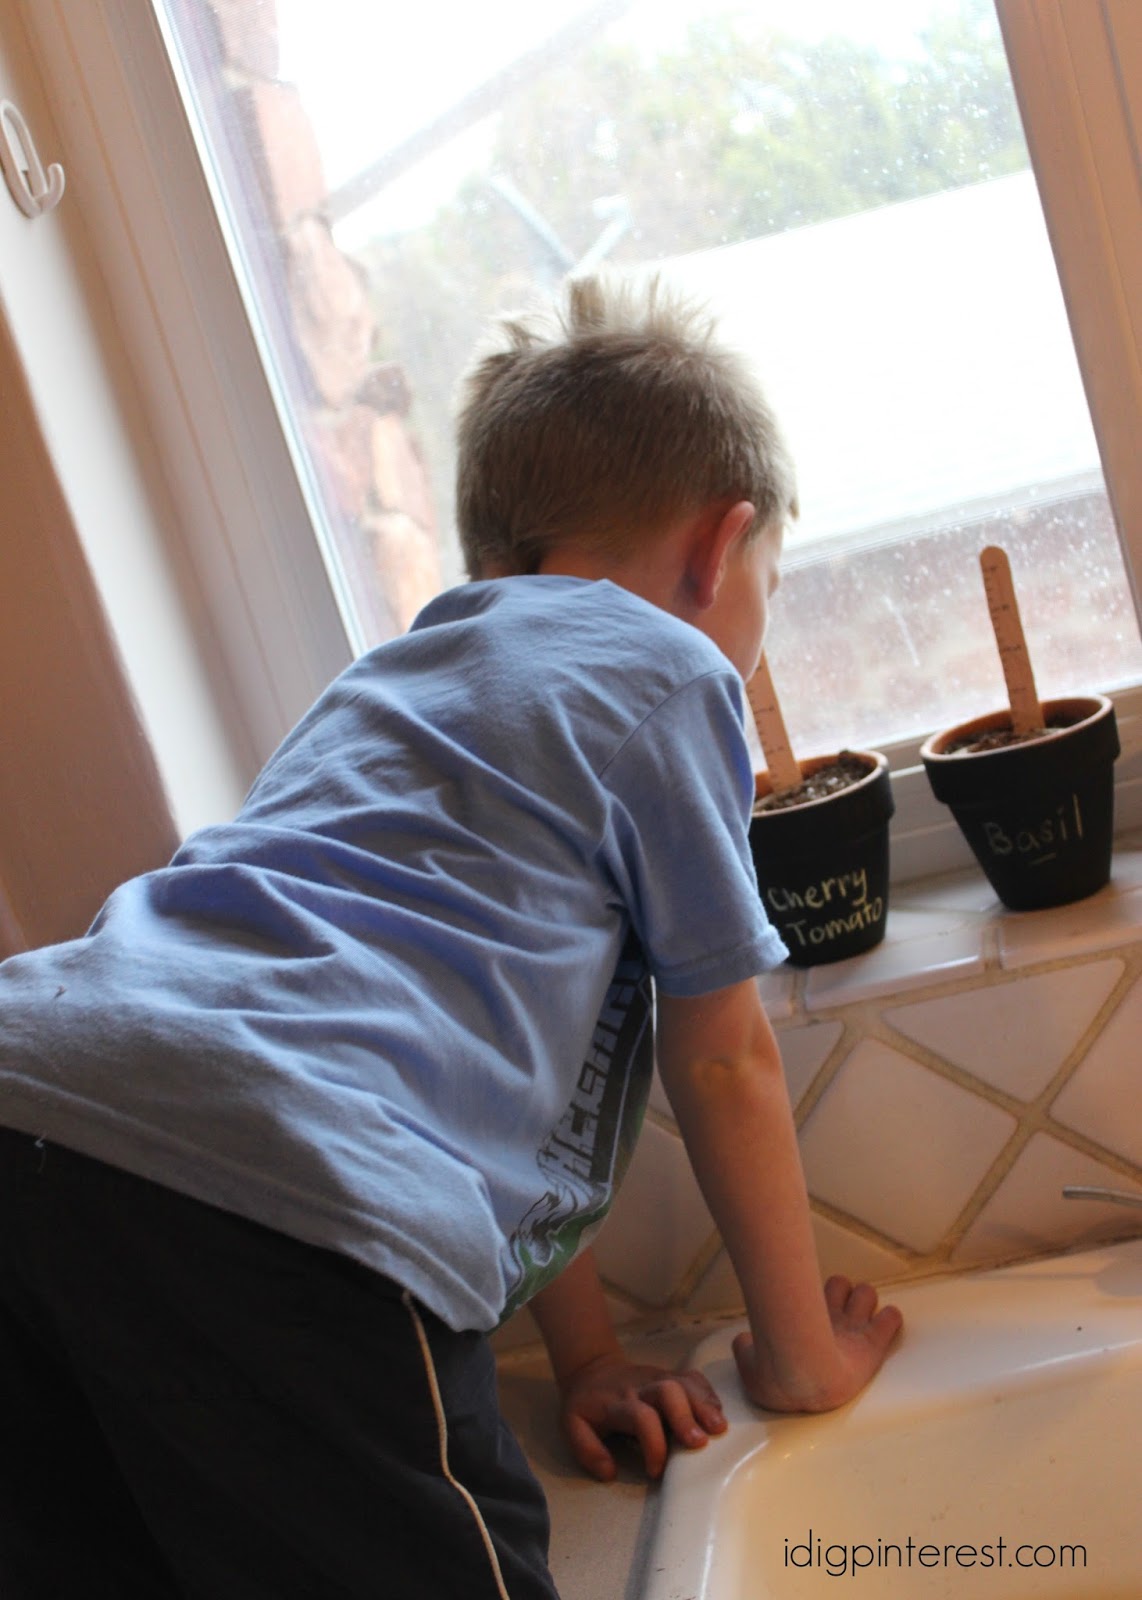
We placed the pots in the kitchen windowsill where they’ll get some nice sunlight. My son kept checking the progress. 🙂 I had to explain to him that it would take one or two weeks for the seed to sprout or poke through and then a few months for the flowers to bloom. That will mean that the fruits and veggies will soon be coming. Then we’ll replant them outside in our flower beds once the weather is consistently warm.
This is such a great way to let kids interact with nature and get excited about eating the fruits of their labors too! I know my kids are always more willing to try things that they have helped to prepare, and we can’t wait to be snacking on fresh veggies and herbs in not too long!
What are your best tips for getting kids excited about gardening?


Chelsea
www.lifewithmylittles.com