• Skip to primary navigation
  • Skip to main content
  • Skip to primary sidebar
  • Skip to footer
  • Home
  • About Me
  • Advertise
  • Contact

I Dig Pinterest

Creative "Pin"-spiration

  • Bloglovin
  • Email
  • Facebook
  • Instagram
  • Pinterest
  • RSS
  • Twitter
  • Recipes
  • Crafts
  • Parties
  • Printables
  • Home Improvement
  • Shop My Style

July 10, 2013

How to Wrap a Pretty Gift in 5 Minutes or Less


I don’t know about you, but it seems like every time my kids get invited to a party, I forget to wrap the gift until we’re on our way out the door and I see it sitting there on our mudroom bench.

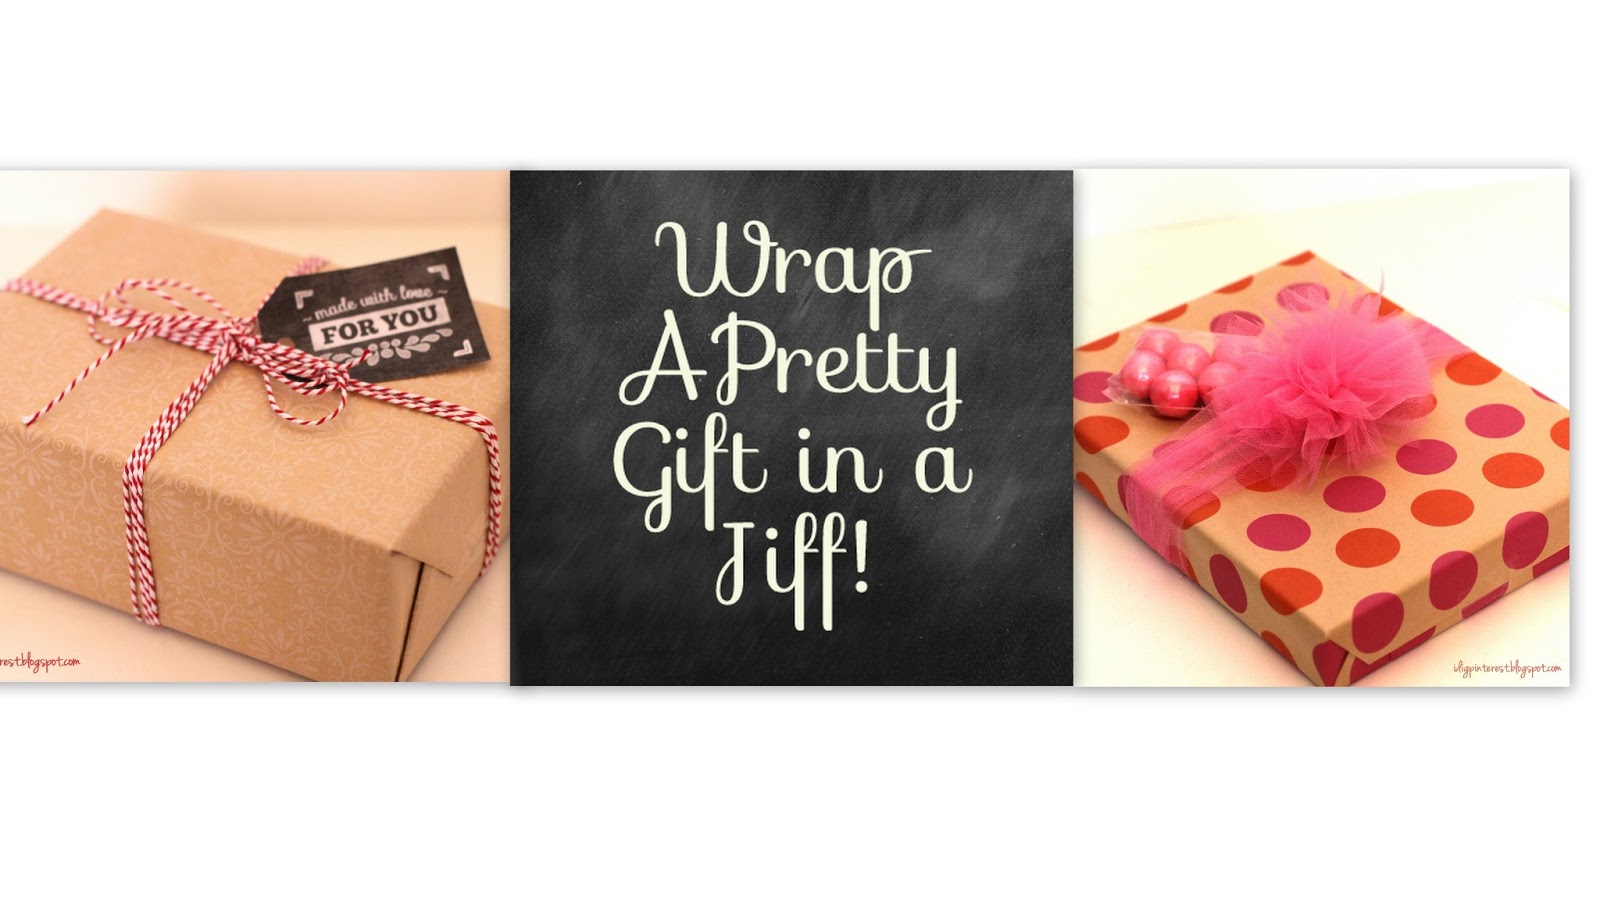
You’re probably thinking why don’t you just throw it in a gift bag?  Well gift bags are nice, but there’s just something so thrilling about tearing paper to reveal the fun surprise underneath.  This is especially important to kiddos.  🙂  So I put together a “Wrap a Gift in a Pinch” sort of tutorial for those of you out there who are last minute wrappers like me.  And the best part is…the end result will look like you put tons of time and effort into making it look pretty when in actuality, it took only minutes!

I’m by no means an expert on this subject, but you can bet that I learned a thing or two when wrapping birthday party gifts (and even sometimes Santa gifts) for 10 siblings while growing up.  It was mass production at times.  🙂

I keep one main goal in mind when wrapping: I want the end result to appeal to a child.  Think about it…what’s the first gift a kid will unwrap when presented with an overwhelming pile of packages?  The answer is, without a doubt, the biggest, brightest, most colorful-looking one, preferably with candy attached to it.  🙂

 We’re not trying to win a contest here, but we want it to look fun and thoughtful, because that’s what gift-giving is really all about.First a few very simple wrapping tips for making any gift look nice:


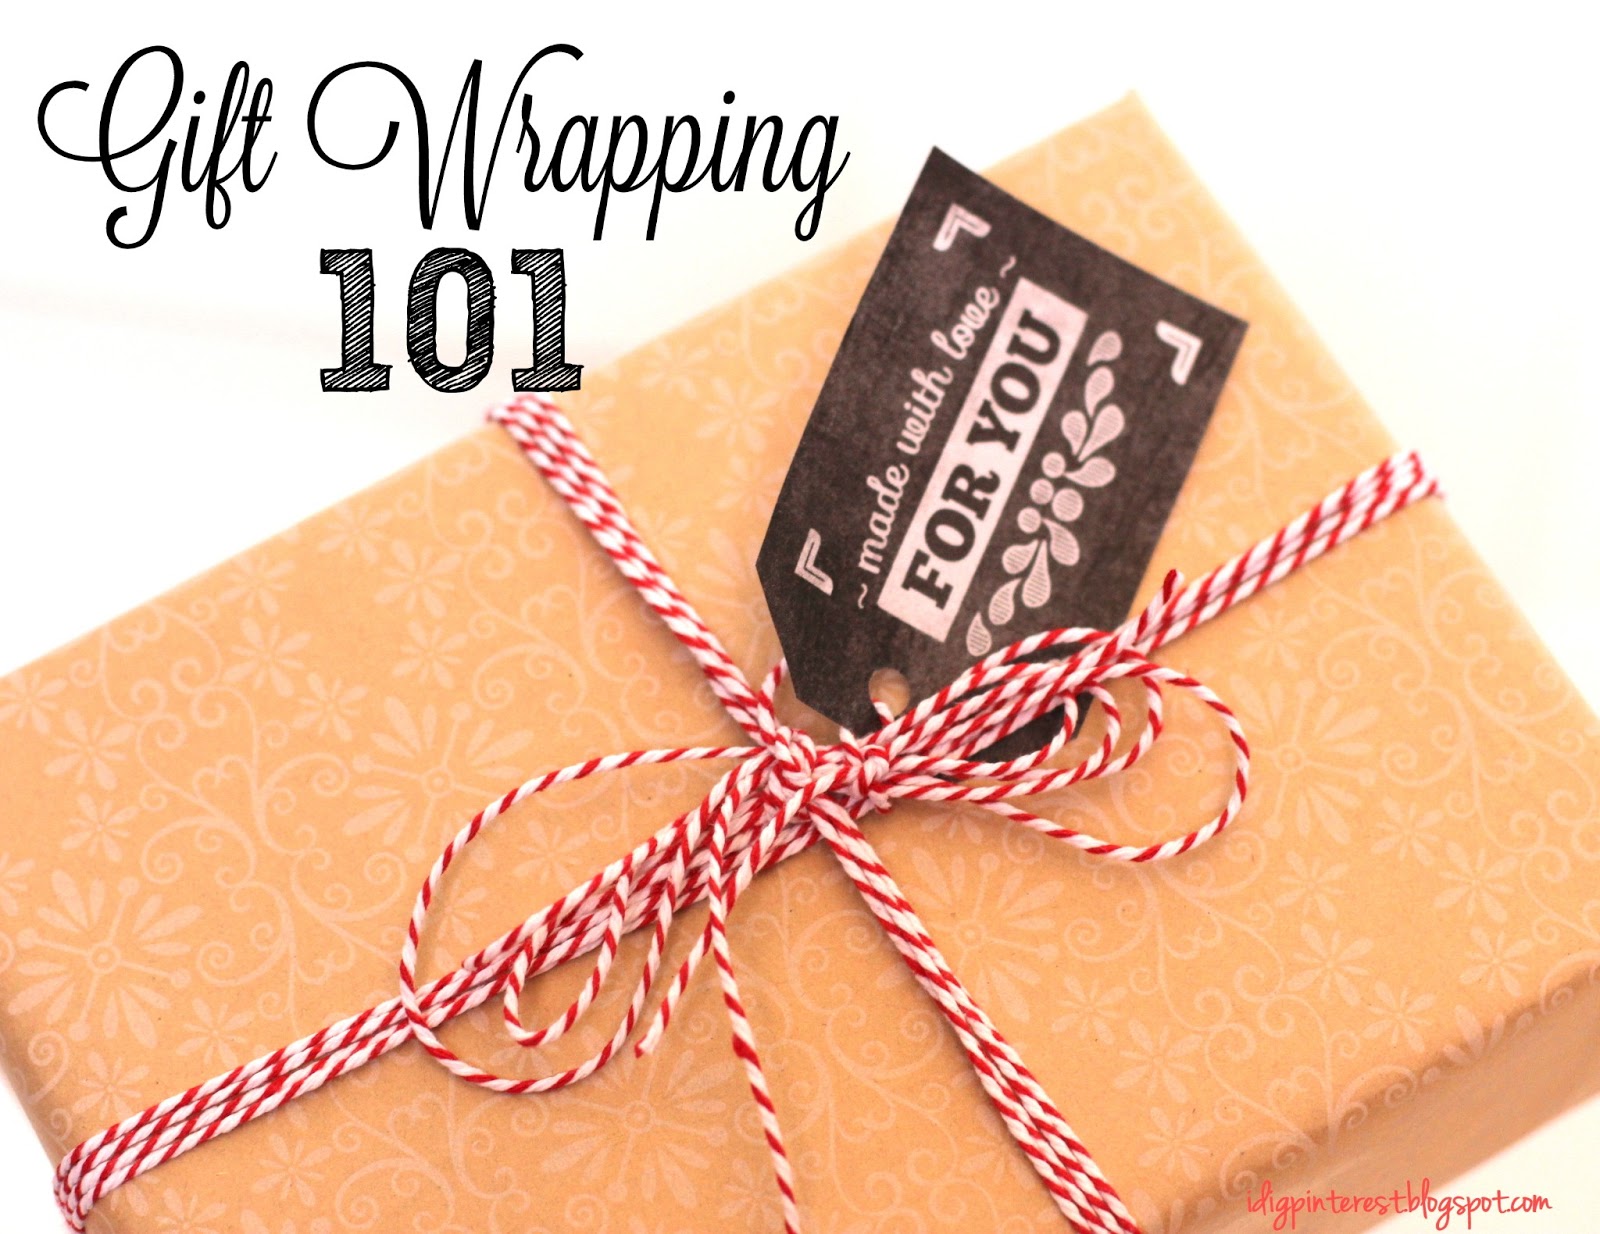
  1. Wrapping paper choice is everything!  It doesn’t have to be expensive, but the look of it really matters!  I often purchase rolls in the dollar section of Target.  They usually have some cute varieties there that are perfect for wrapping smaller gifts.  I also buy the postal paper rolls at the Dollar Tree.  I just love the look of brown paper packages tied up with string.  🙂 Hobby Lobby has some really fun kid’s prints.  They come in giant rolls, and I love that it’s durable paper and I can use a coupon.
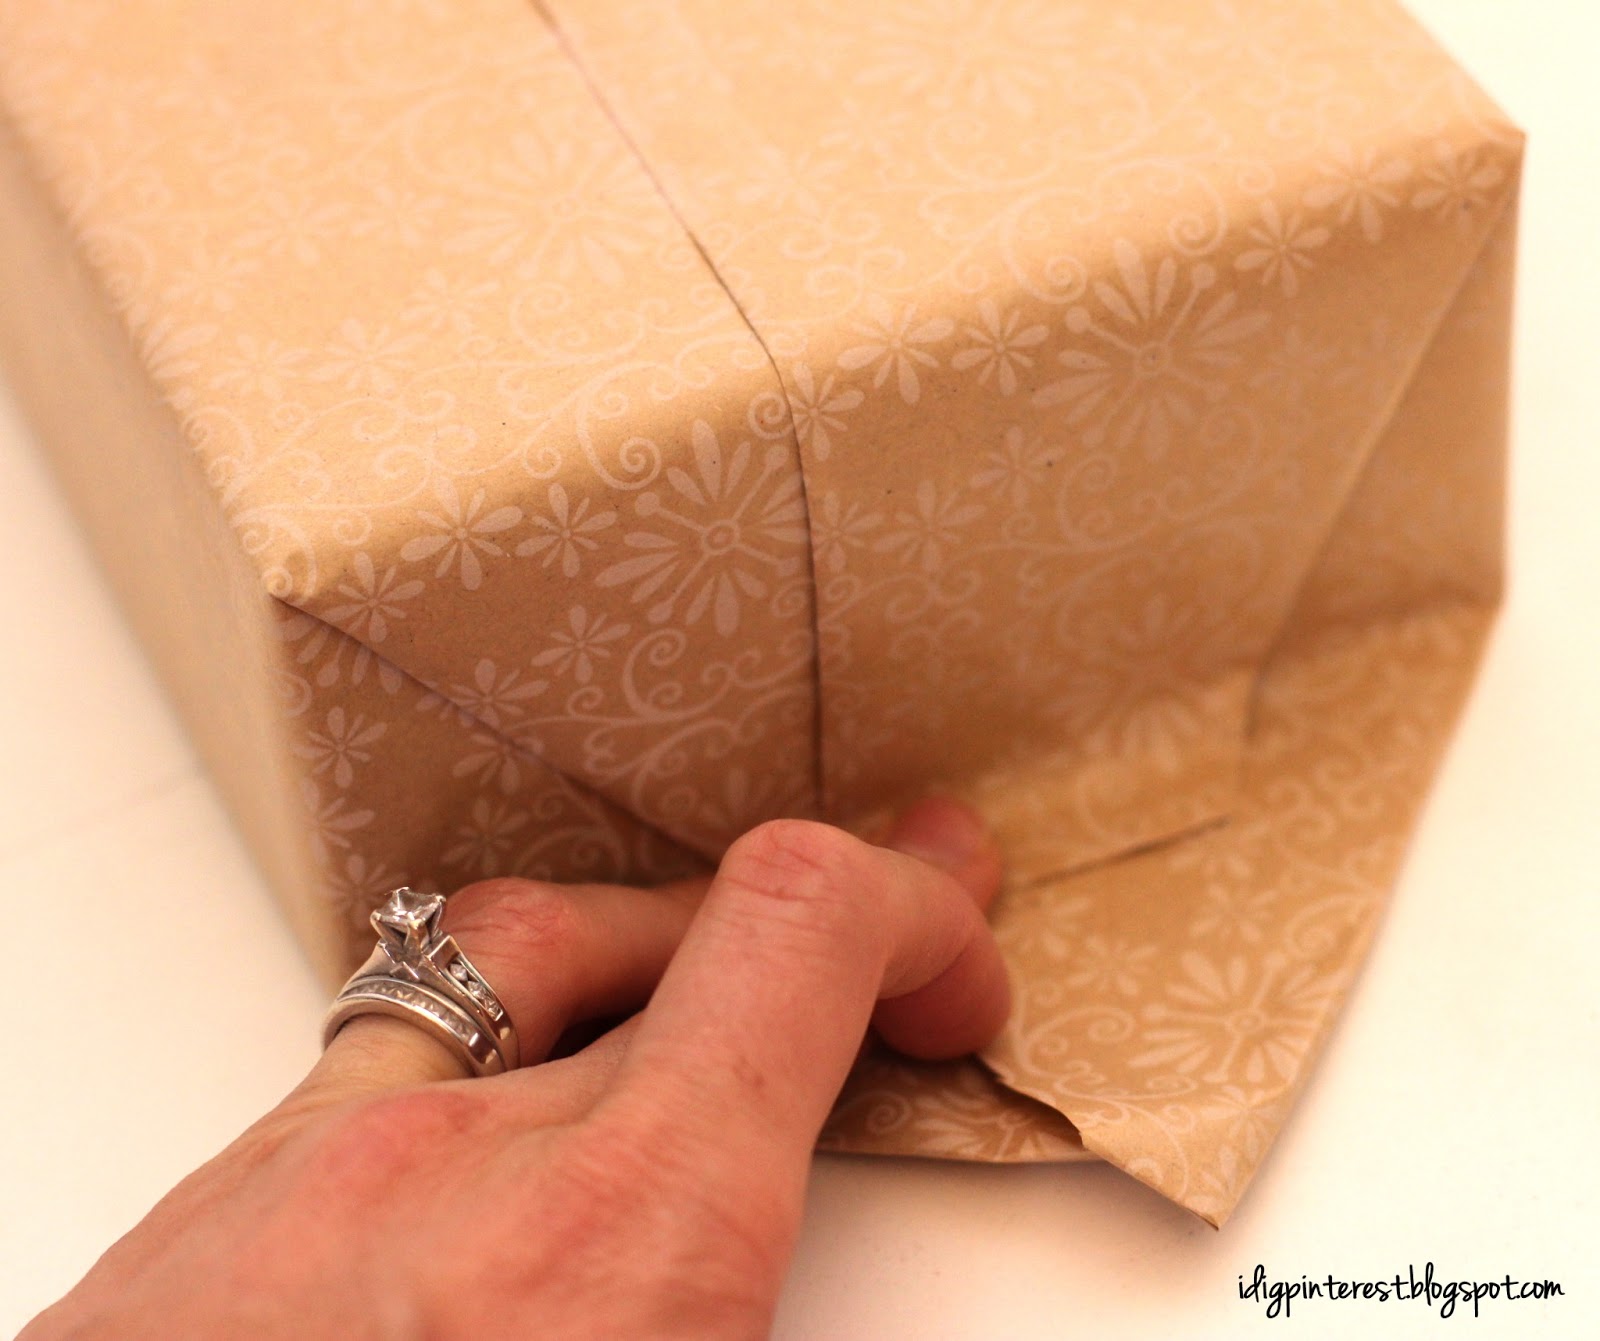
  2. Wrap it tightly.  Loosely wrapped gifts tend to look sloppy.
  3. Angular is better.  If the gift is a strange shape, find a shoe box or another spare box to put it in.  I hoard shipping boxes and shoe boxes just for this purpose.  🙂
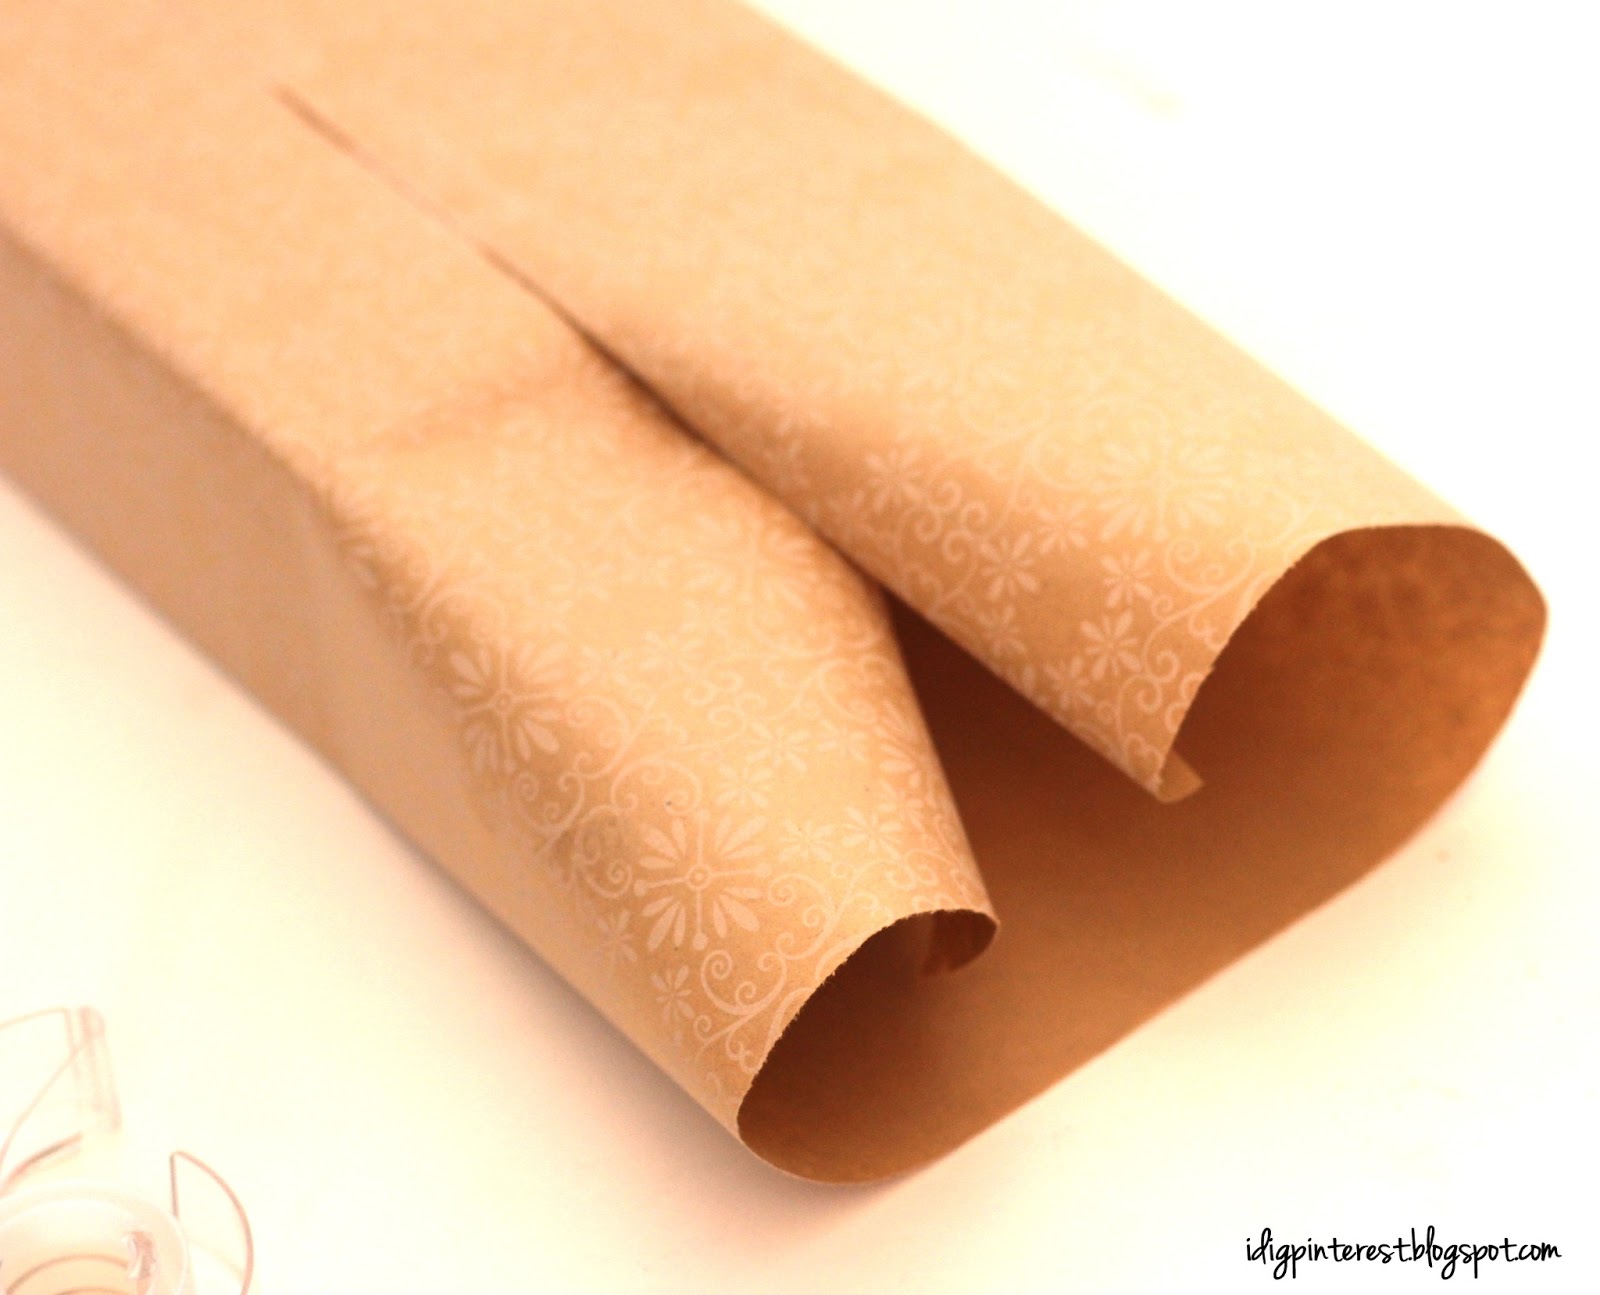
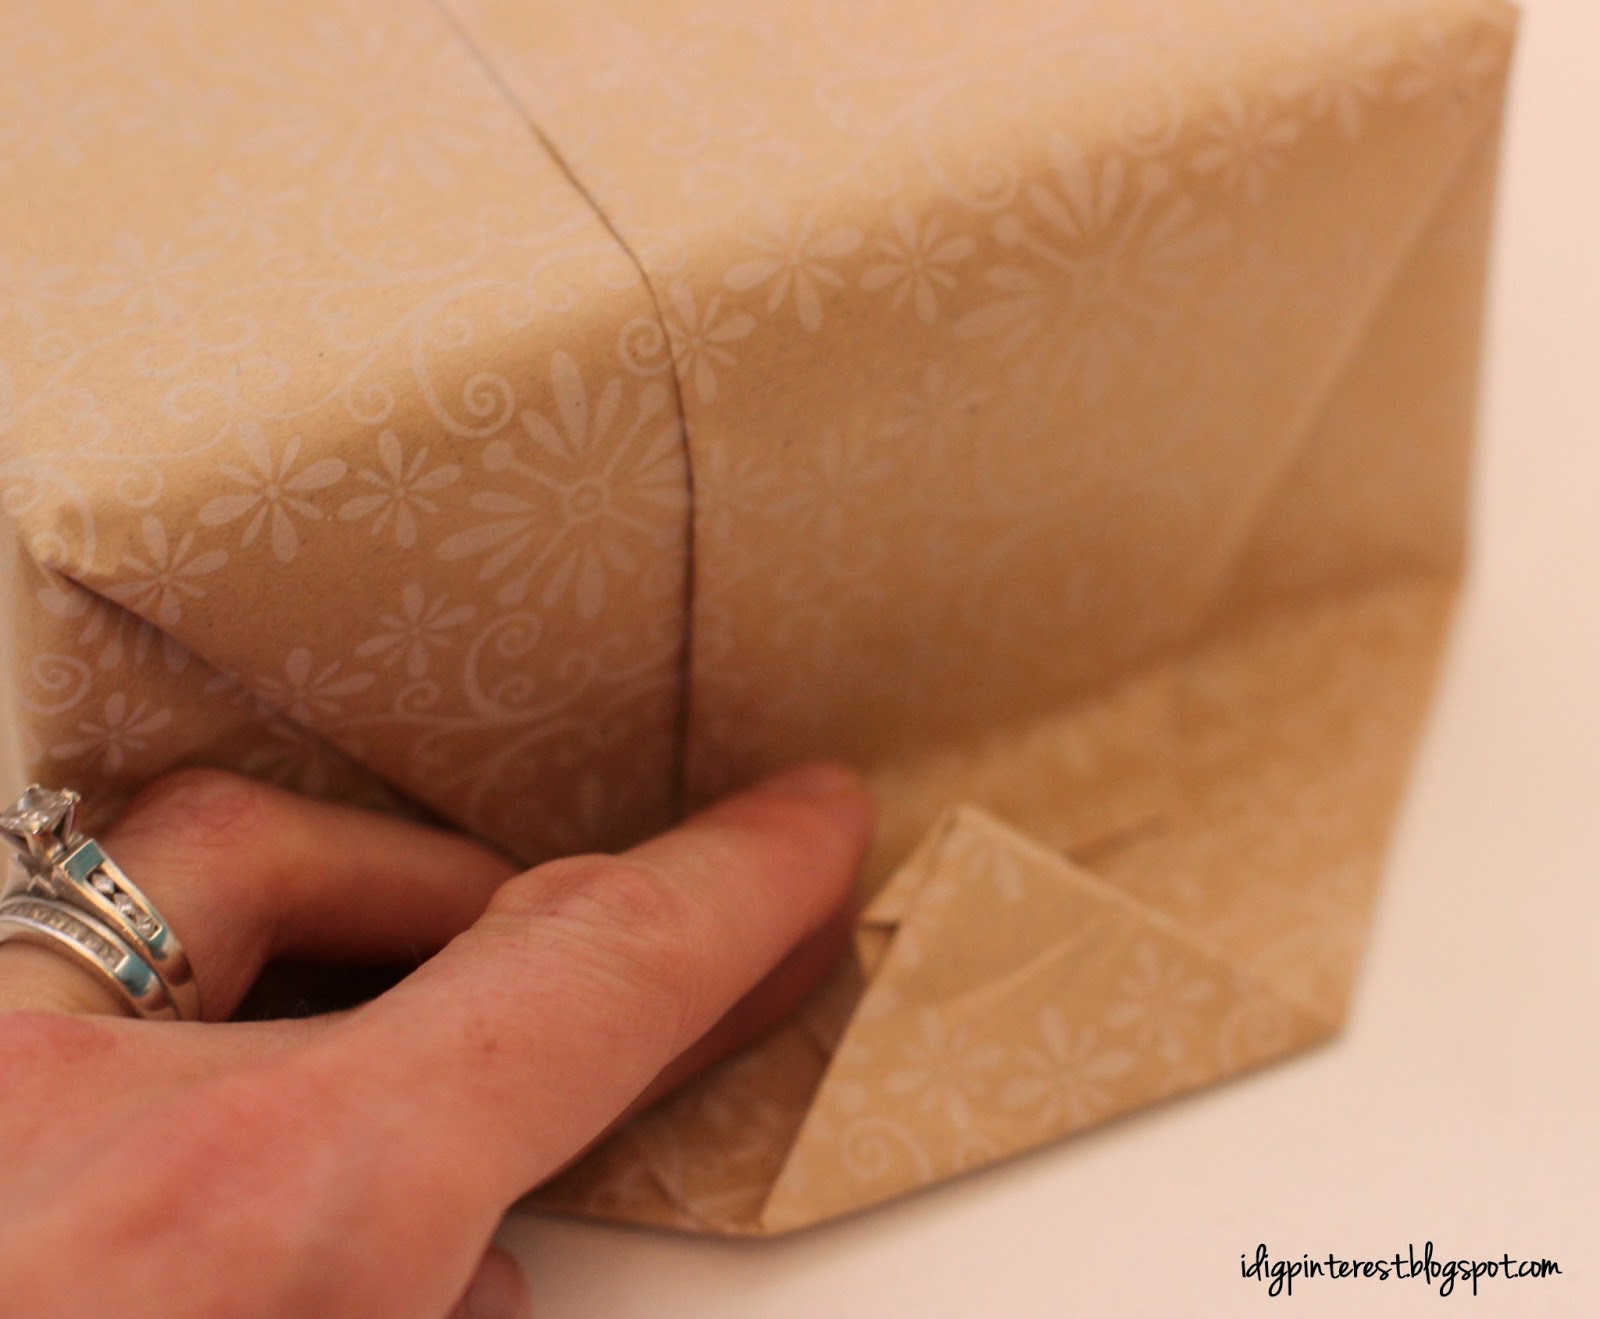
  4. Leave no edges raw.  Fold raw wrapping paper edges over and crease, then continue wrapping, so that all edges showing are finished and clean-looking.
  5. Trim off extra paper. This is key.  Excess paper gives a bulky end look.
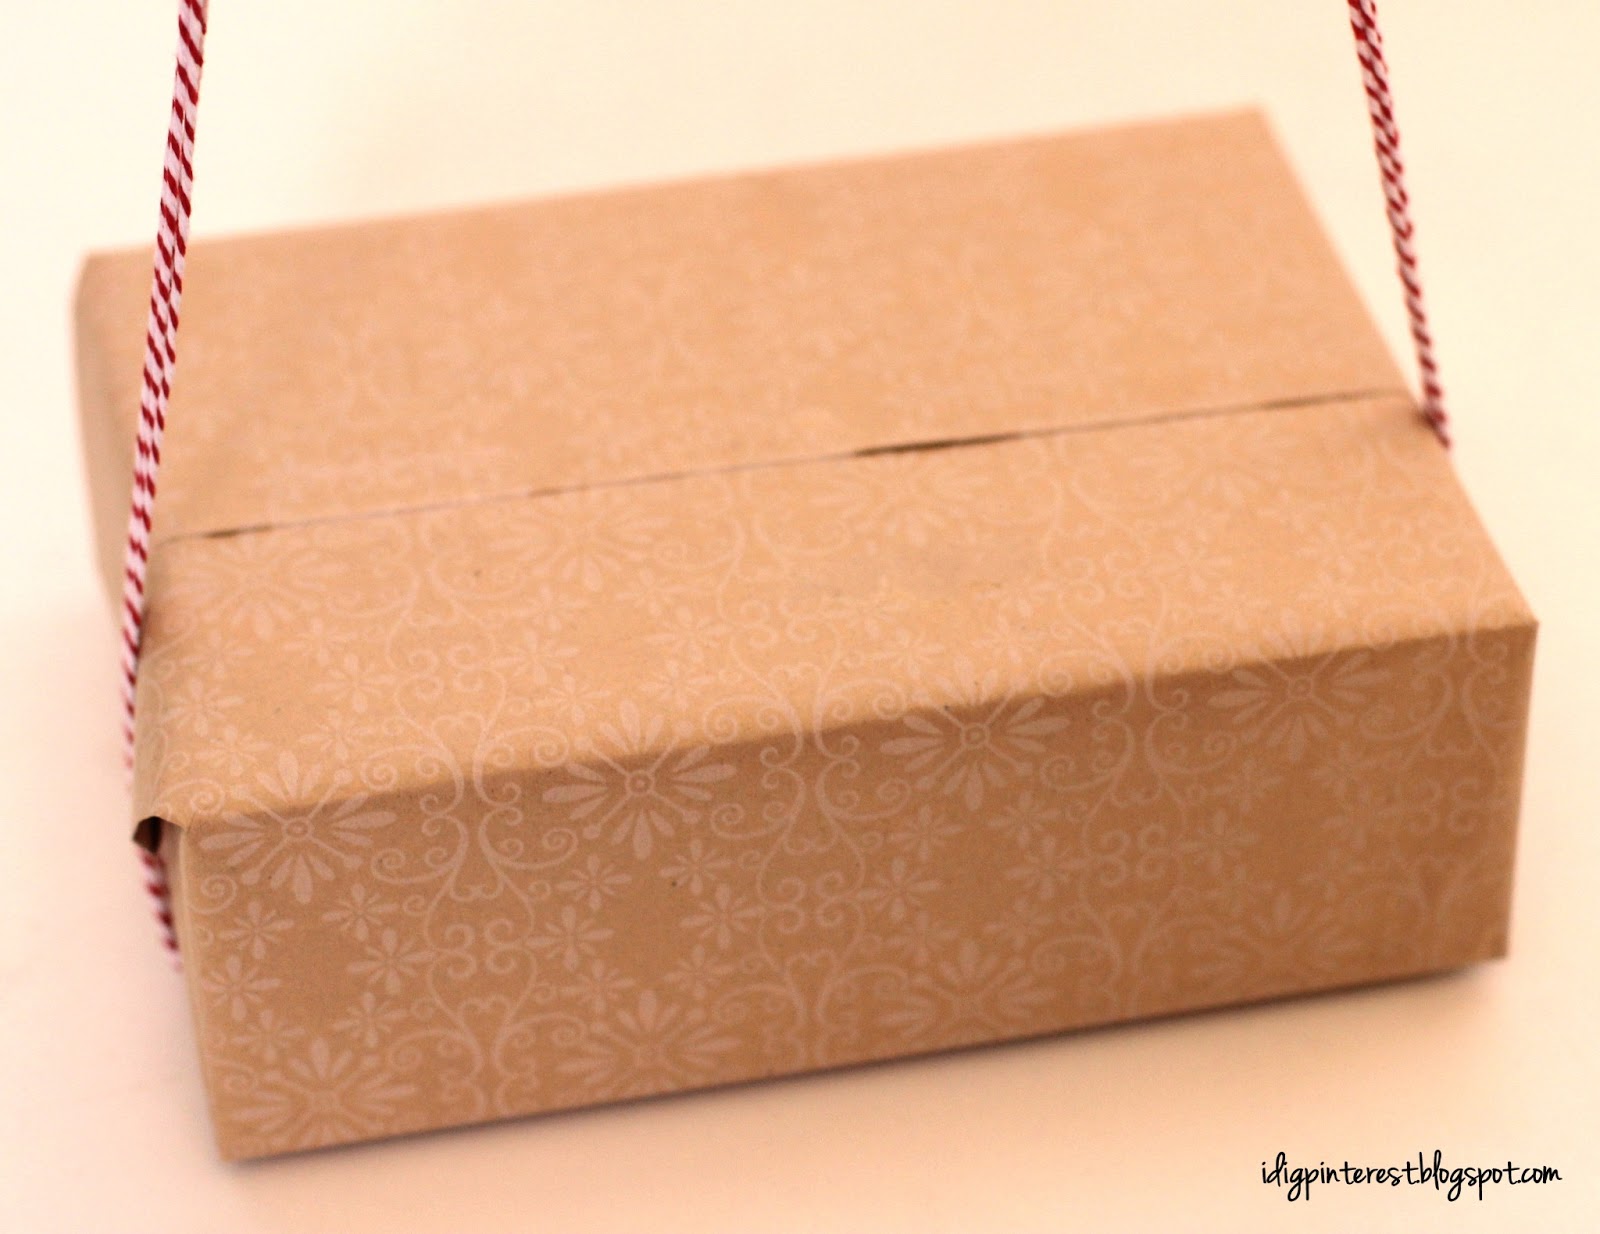
  6. Be strategic about tape placement.  This is nit picky, but you really don’t need a lot of tape to hold it together.  Even though it’s clear, tape can make a nice wrapping job look untidy if overused.  A few on the bottom and one on each side should suffice.
  7. Roll clothing.  If you’re wrapping clothes that are not in a box, to make the end product a little more visually pleasing, try tightly rolling the item before wrapping.  It’ll save on paper too!
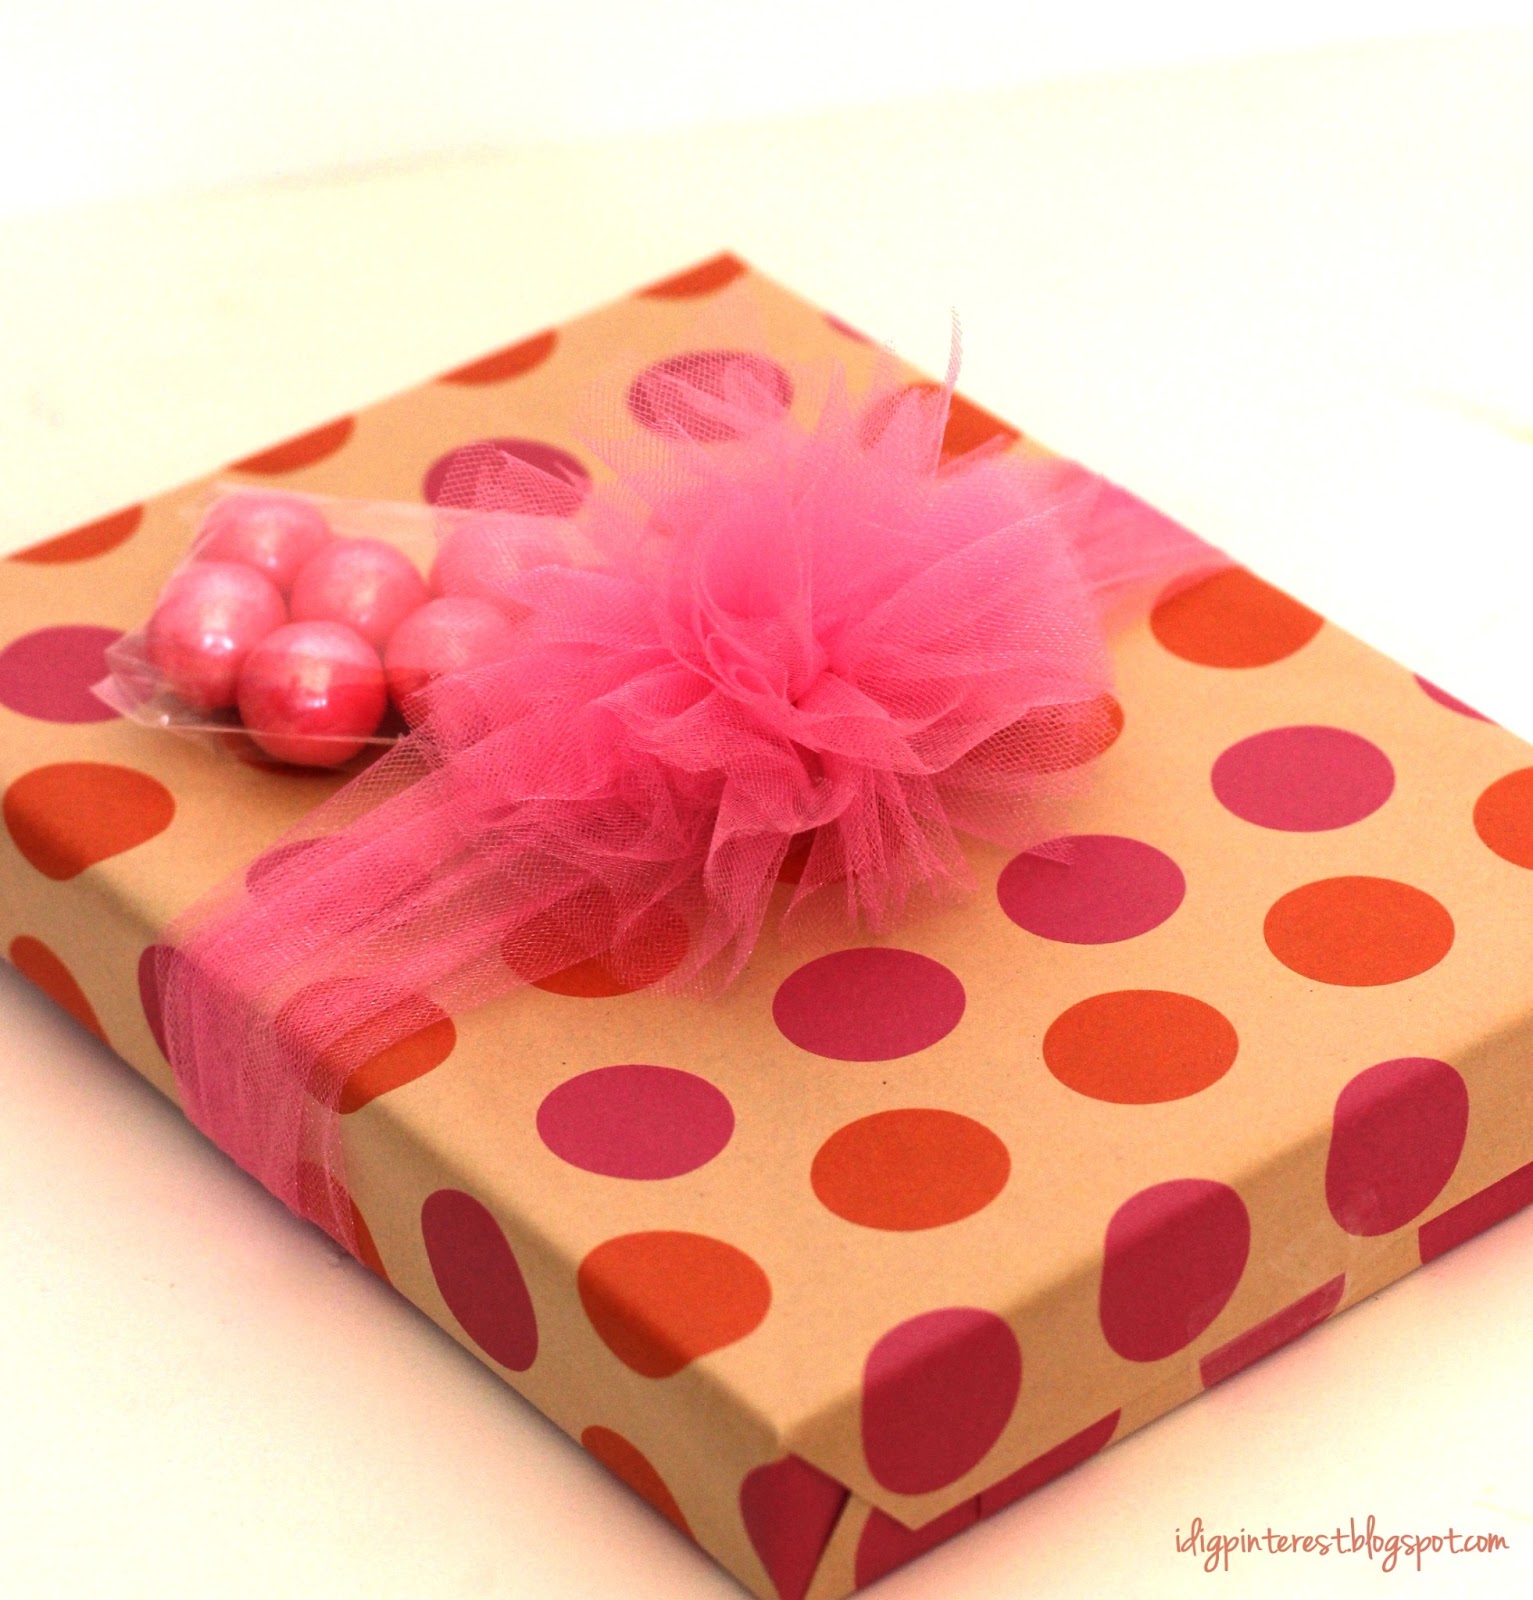
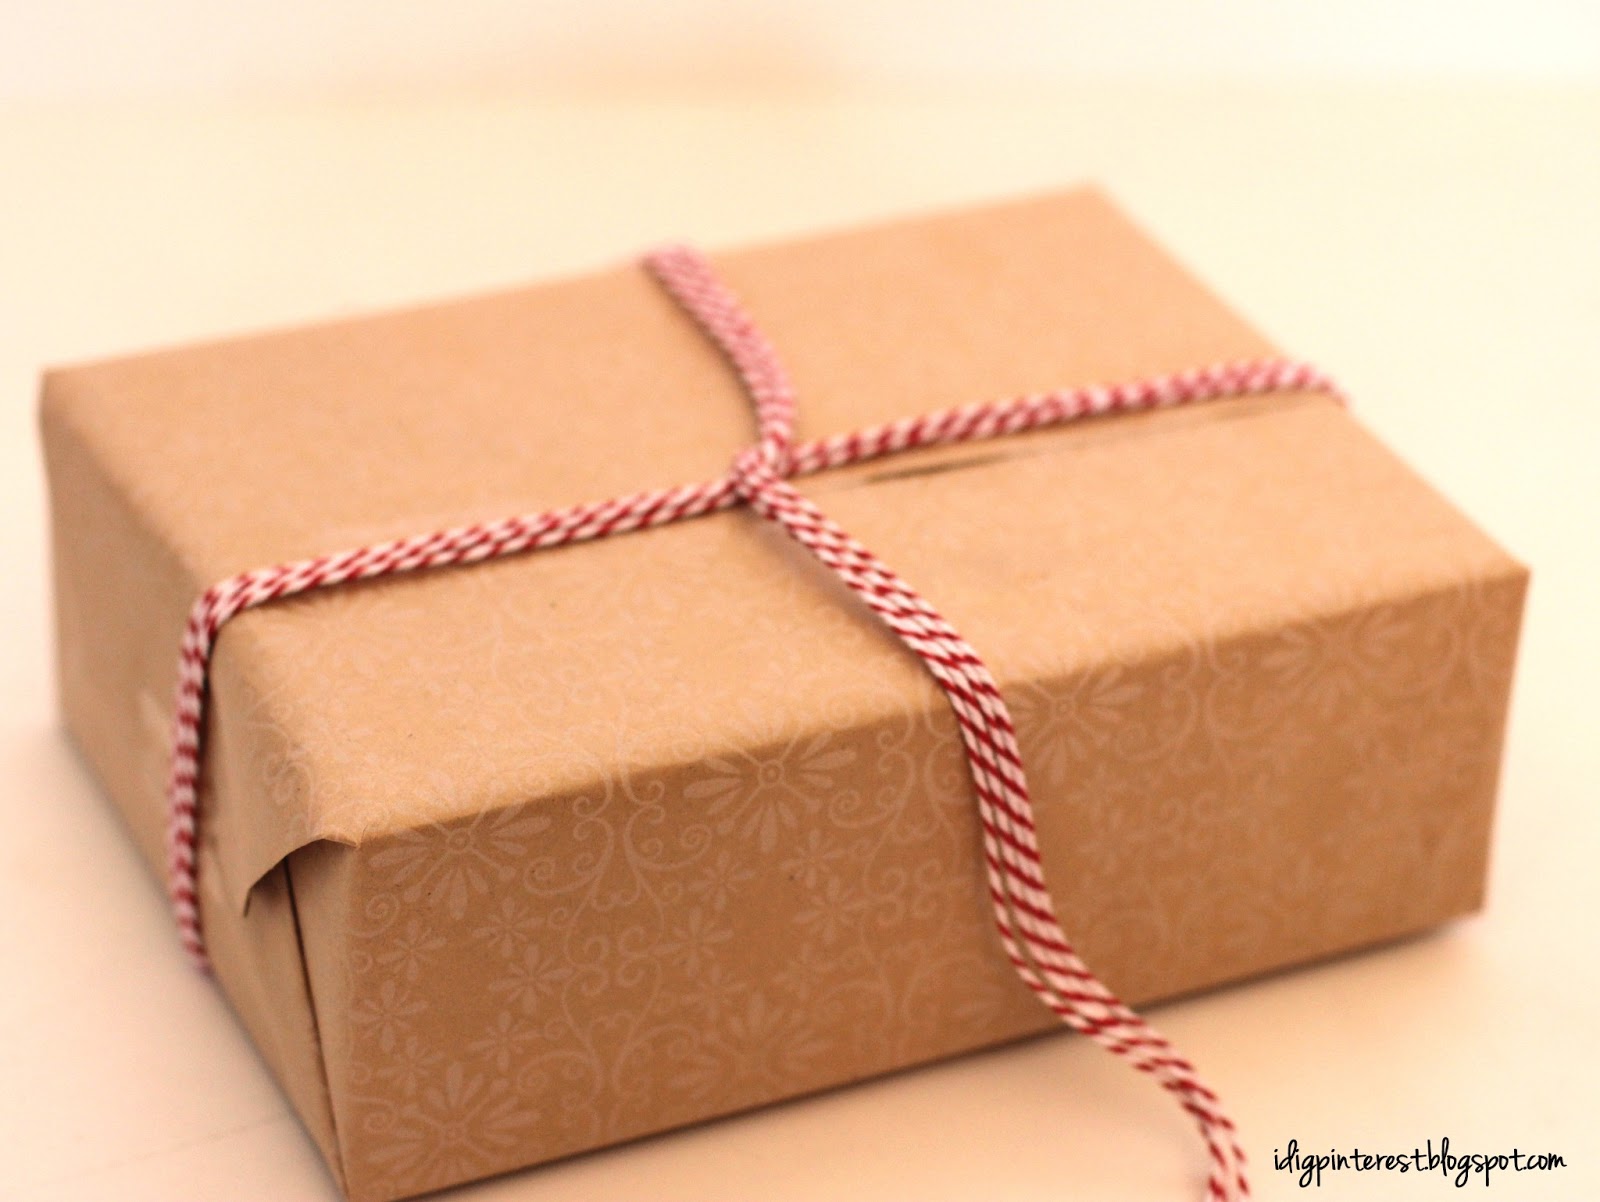
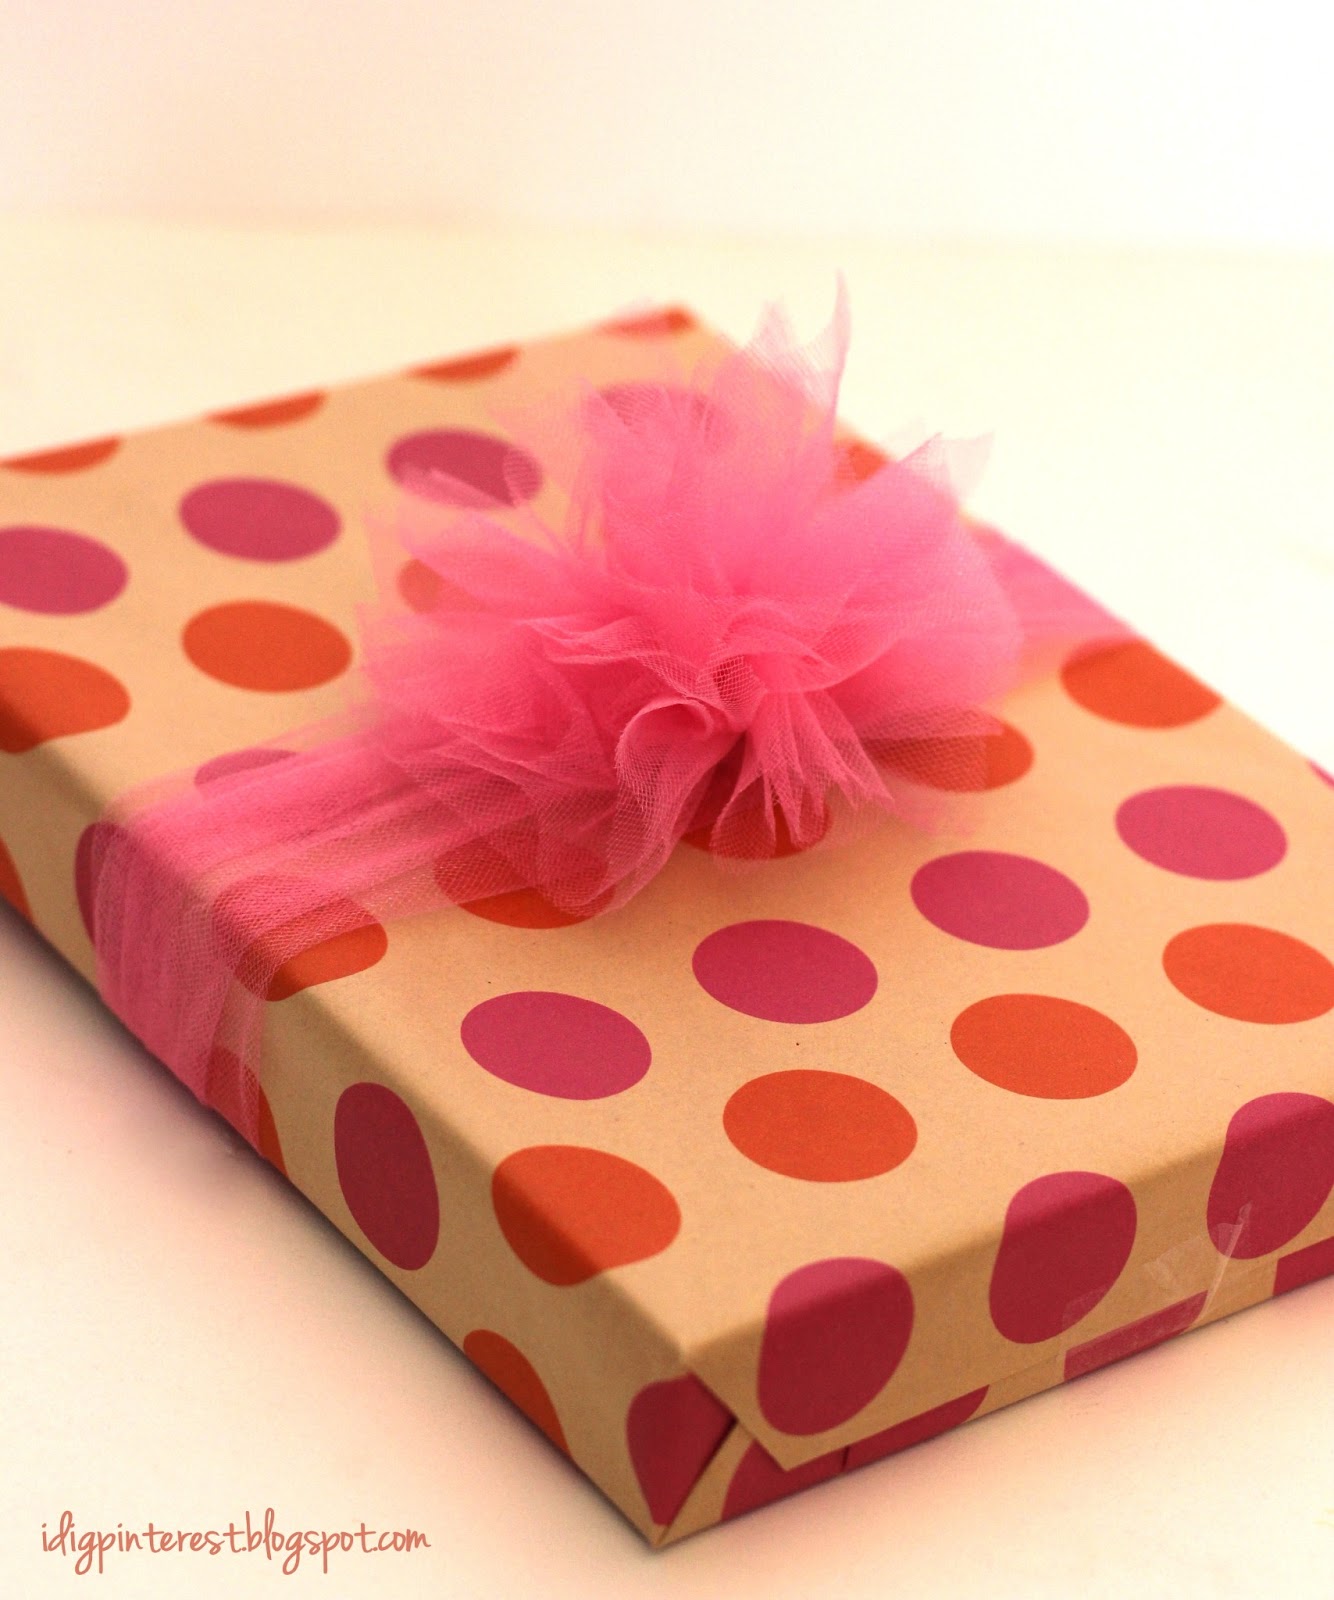
  8. Every gift needs embellishment of some sort.  It’s like the cherry on top of the sundae, the icing on the cake-it’s incomplete without it.  Embellishments add a pop of color, extra dimension and appeal. This can be easily accomplished with ribbon, raffia, jute, twine, tulle, a big button, doily, a paper or silk flower, even a small pennant banner or an attached bag of candy.  Use your imagination.
  9. Add a tag, a card, or a monogram letter to finish it off.  Pinterest is a great source for free printable gift tags and labels.  I found my chalkboard tags HERE.
Lest you feel overwhelmed…guess what?  All of the above can be accomplished in FIVE minutes or less!  Here’s how:


{HOW TO PRETTILY WRAP A GIFT 
IN UNDER 5 MINUTES}
After measuring and cutting your piece, fold over and crease one raw edge, then tape it over the top of the other raw edge, so the finished edge is showing.
Next, trim off excess paper on the ends, leaving just enough to fold the top down and the bottom piece up to the center point.
 With the bottom of your gift facing upwards, push in the sides and crease,
leaving a flap on top and bottom.
 Now push the top flap down.
 Fold the bottom flap so you have a triangular tab.
This will provide a finished, straight edge.
Now fold the entire flap up and tape in place.
 This is what it should look like once you flip it over.
 Grab your string, ribbon, etc, and lay it out straight.  Place the top part of the gift (the bottom should be facing up) over the middle section of the string you just laid down.  With a hand on each piece, cross the pieces in the center…
 …then bring them down so they lay perpendicular to the other piece.
Grab the ends again and carefully turn the gift over, ensuring that your cross stays tight on the bottom.
Now tie a bow on top, ensuring that the string remains tightly around the wrapping.
 Add your tag, and you’re done!


This whole process really only takes a few minutes and yields a very prettily-wrapped gift!
Would you believe that I wrapped this gift in under five minutes too?  Well I did, and you can too!  Find out how to make a tulle pom pom HERE.  It’s seriously SO easy!!  The first time may take a little longer, but after that, you will be a pro!

Do you have any tips or tricks for wrapping the perfect gift?  Let me know and I’ll add them to the list!

Filed Under: Crafts, Party Ideas, Tutorials, Uncategorized

Reader Interactions

Comments

  1. Our Pinteresting Family says

    July 10, 2013 at 2:55 pm

    They are super cute!
  2. Julie Johnson says

    July 10, 2013 at 7:33 pm

    Hi Christine! I've been stalking your blog (in the most uncreepy way possible) for awhile now and I have decided to nominate you for a Liebster Award! Details on my blog...http://itfreezesbeautifully.blogspot.com/2013/07/i-won.html

    Keep doing what you do because it's totally working and I love all the cute Pinspiration!

    Julie
    • Christine Bell says

      July 11, 2013 at 1:21 pm

      Thanks so much Julie! I'm honored.
    • Julie Johnson says

      July 11, 2013 at 8:05 pm

      You are so welcome! Your blog is seriously adorable and I will be attempting lots of your cute ideas!
  3. Paula Parrish says

    July 11, 2013 at 11:18 am

    Thanks for sharing your clever gift wrapping tips. I am heading out of town in a few days with some gifts in hand, so I can across your post just in time for wrapping. ;o)
  4. EveryDay Bloom says

    July 12, 2013 at 3:35 am

    Your pictured gifts are pretty for sure. Though I've been wrapping for awhile, I scanned through your tips and learned. It is good to be reminded (the last gift my daughter and I wrapped was just a bit on the sloppy side). I'm glad I keep shoe boxes... I just need to be willing to let go of them to package odd shaped gifts. (= My favorite gift wrap is brown craft paper.
  5. foodyschmoody says

    July 12, 2013 at 1:15 pm

    Great wrapping tips! I found you via 30 handmade days link up.
    I would love for you to bookmark my site and share a link with my Tuesdays Tastings party http://www.foodyschmoody.blogspot.com Happy Pinning! :-)
  6. Steffany @ Spit and Sparkles says

    July 13, 2013 at 12:53 am

    I love the Target dollar aisle for gift wrap too! I purchased that same nude damask print! Thanks for sharing the tips.

    Visiting from Best of the Weekend Party.
  7. Kathy Penney says

    July 15, 2013 at 12:32 am

    Great tutorial that I sorely needed! My hubby does all of our wrapping. :-) Pinning to my Holidays board.Thanks for sharing at All Things Pretty!
  8. Tammy N says

    July 15, 2013 at 3:22 pm

    Thanks for the ideas. Wrapping gifts is something I could work on improving.
  9. Jessi @ Practically Functional says

    July 15, 2013 at 5:30 pm

    That is exactly how I wrap presents! My husband always looks at me weird and complains that it takes too long to fold in the edges like that, but you're so right that having neat edges makes a huge difference! Love it. :-) In case you didn't see it earlier, I featured this on my blog today! I'm stopping by to pin, and to let you know you can grab a Featured button if you don't already have one! http://practicallyfunctional.net/2013/07/12-creative-ideas-2/
  10. Carol TheAnswerIsChocolate says

    July 18, 2013 at 11:08 pm

    Wonderful! Just wanted to let you know I'm featuring this when my party opens up tonight.

Primary Sidebar

Hi! I'm Christine, and I'm addicted to Pinterest! I love sharing creative "pin"-spiration by way of delicious recipes, fun crafts, party ideas, and DIY projects. I hope you'll stop by often!

Follow by email…

Popular Posts

  • Hamburger Corn Casserole
  • Cheesy Mexican Beef and Rice Casserole
  • Beefy Noodle Skillet Meal
  • Patriotic Flag Cake
  • Hamburger Hash Brown Casserole
  • DIY Firecracker Table Centerpiece

Footer

Mom It Forward: Blogger Network
Privacy Policy

Copyright © 2025 I Dig Pinterest · Implemented by WPopt

MENU
  • Home
  • About Me
  • Advertise
  • Contact
  • Recipes
  • Crafts
  • Parties
  • Printables
  • Privacy Policy