• Skip to primary navigation
  • Skip to main content
  • Skip to primary sidebar
  • Skip to footer
  • Home
  • About Me
  • Advertise
  • Contact

I Dig Pinterest

Creative "Pin"-spiration

  • Bloglovin
  • Email
  • Facebook
  • Google+
  • Instagram
  • Pinterest
  • RSS
  • Twitter
  • Recipes
  • Crafts
  • Parties
  • Printables
  • Home Improvement
  • Shop My Style

September 28, 2015

Mummy Twinkie Pops

These Mummy Twinkie Pops are easy and fun for Halloween! Plus, they’re cute!


Hello, friends! I’m Jamie from Love Bakes Good Cakes and I’m excited to be here with Christine again this year for her super fun Halloween Extravaganza!! Last year, I shared my Swamp Water Drink as part of the Halloween series and I knew I had to come up with something super fun again this year!

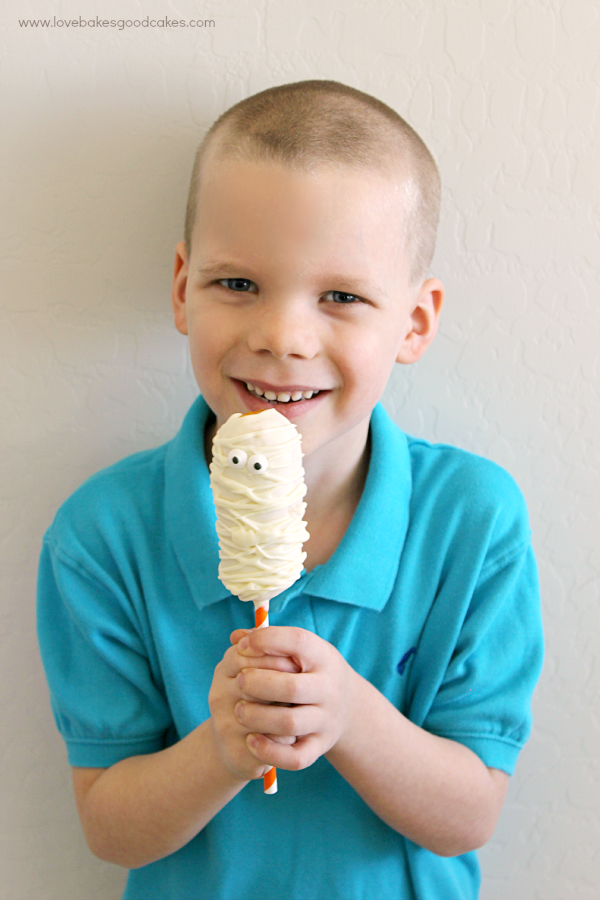
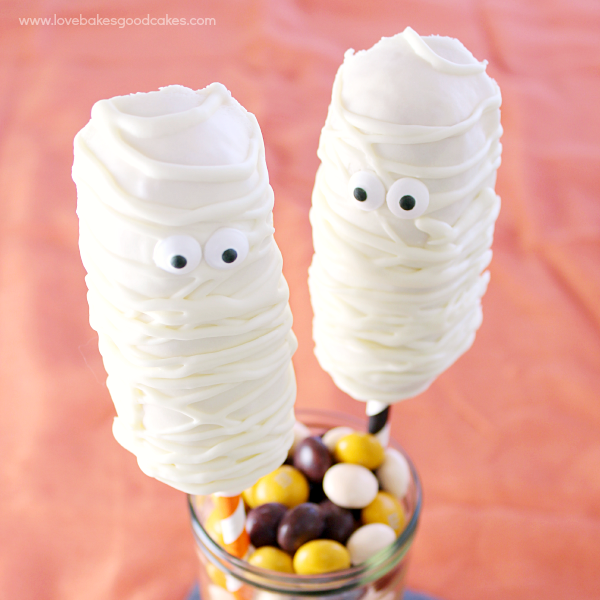
My kiddos aren’t really into the gory, scary stuff. Rather, we like the cutesy Halloween stuff. I knew I wanted a super easy idea this year because let’s be honest, who has the time to do elaborate?! Not me. Even though I enjoy shortcuts, I still want people to think I fussed (just keeping it real) …. and these Mummy Twinkie Pops were the perfect thing! They’re easy to make (you don’t even have to really cook!) and people will think you went out of your way because they’re so cool and cute!

Get creative with your Halloween treats and make these Mummy Twinkie Pops! They're so simple and kids love them!


Mummy Twinkie Pops

by Jamie @ Love Bakes Good Cakes

Prep Time: 20 minutes
Cook Time: 5 minutes
Yield: 10 servings
6074980
Ingredients
  • 1 box (10 count) Hostess Twinkies
  • 1 can (16 oz.) vanilla frosting
  • 20 candy eyes
  • 10 paper straws
Instructions
1. Lay a piece of waxed paper out on the counter large enough to hold all of the Twinkies with some space in between.
2. Unwrap all of the Twinkies and insert a paper straw into one end, going about halfway into the Twinkie. Lay the Twinkie Pops on the waxed paper.
3. Place the frosting in a large microwave safe bowl and microwave for 30 seconds. Carefully spoon the frosting over the top of one of the Twinkies, covering just the top and sides. (Do not cover the back). Let excess drip off. Replace Twinkie Pop back onto the waxed paper to set up. Repeat with remaining Twinkies. If the frosting begins to thicken, microwave for an additional 10-15 seconds to keep it thin.
4. Once all of the Twinkies are covered, allow remaining frosting to thicken slightly. You want it thin enough to be able to drizzle and still hold it’s shape. Carefully transfer the remaining frosting into a small zip-top bag. Seal and snip one corner. Drizzle the remaining frosting over the tops over the Twinkie Pops to resemble mummies. Immediately place two eyes on each Twinkie Pop. Allow frosting to set before serving.

NOTE:

For cleaner edges, lay out another sheet of waxed paper and carefully transfer the Twinkie Pops to the new waxed paper. Discard the old waxed paper.
Powered by Recipage


Get creative with your Halloween treats and make these Mummy Twinkie Pops! They're so simple and kids love them!

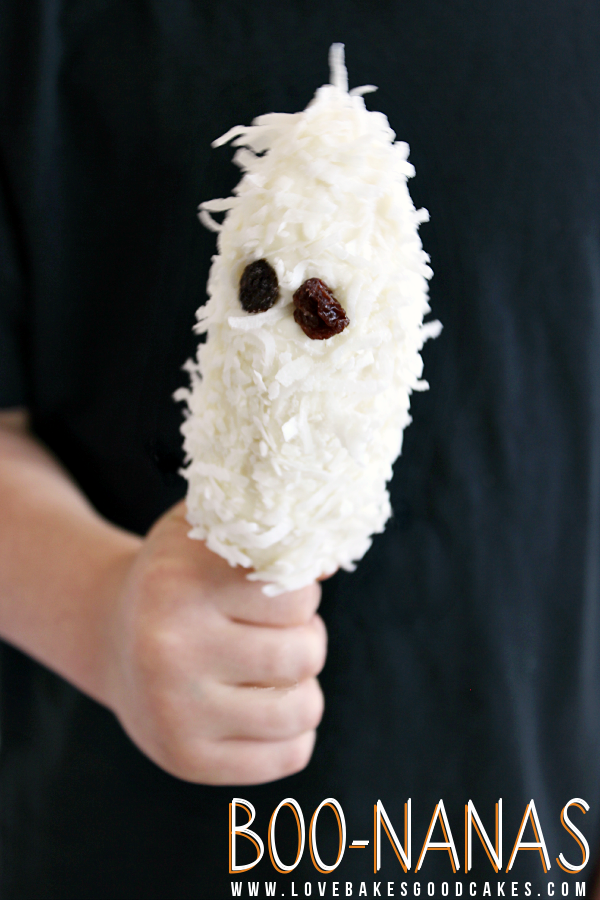
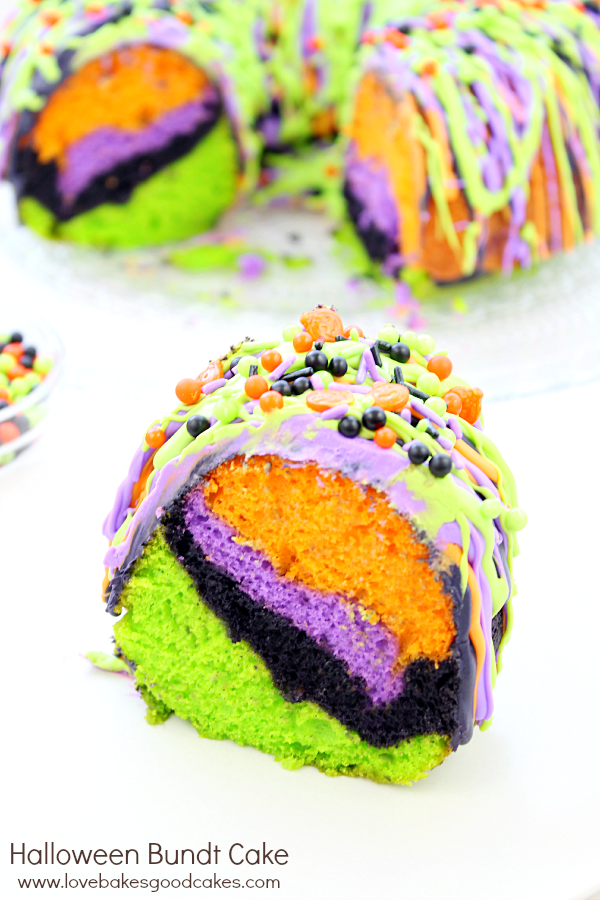
Other Posts You May Enjoy:

These Boo-nanas are a healthy and fun Halloween treat!

Boo-nanas

"Oooh" and "aah" your guests with this impressive Halloween Bundt Cake! It is so colorful and it's easy to make.

Halloween Bundt Cake

I hope you enjoy! Shared at these fun parties!

I can’t get over how cute and clever these are, Jamie!  My kids can’t wait to make some!  Thanks SO much for being our guest today!

Filed Under: Contributor Posts, Halloween Extravaganza, Kids' Stuff, Party Ideas, Recipes, Uncategorized

Reader Interactions

Comments

  1. Maywyn Studio says

    September 28, 2015 at 9:28 pm

    Adorable! Thank you for the links.
  2. Nina Lewis says

    October 1, 2015 at 4:04 am

    I'm dropping by from the Create It Thursday link party. I love those Twinkie mummies! They look so delicious. I'd probably eat a dozen or so of them.

    I have a link party that I'm trying to grow. It is Grandma Ideas Sharing Time at http://grandmaideas.com. I invite you to share this idea (and a couple of others) because I know that my readers will enjoy this idea as much as I do!

    My link party runs from Wednesday at 1:00 am through Friday night at midnight Mountain Daylight time in the U.S. I do hope you can make it!

    All the best,
    Nina
  3. Jessy F says

    October 1, 2015 at 2:25 pm

    This is too cute- such a fun idea! I bet they're delicious too!

    I stopped by from Thursday Favorite Things.
  4. Rebecca says

    October 3, 2015 at 3:35 am

    Very cute! I'm stopping by from the Link Party Palooza!

Primary Sidebar

Hi! I'm Christine, and I'm addicted to Pinterest! I love sharing creative "pin"-spiration by way of delicious recipes, fun crafts, party ideas, and DIY projects. I hope you'll stop by often!

Follow by email…

Popular Posts

  • Chicken Noodle Bake
  • Hamburger Corn Casserole
  • Chicken Fajita Casserole
  • Hamburger Hash Brown Casserole
  • The Best Apple Pie
  • Banana Pudding Cookies

Footer

Mom It Forward: Blogger Network
Privacy Policy

Copyright © 2022 I Dig Pinterest · Implemented by WPopt

MENU
  • Home
  • About Me
  • Advertise
  • Contact
  • Recipes
  • Crafts
  • Parties
  • Printables
  • Privacy Policy