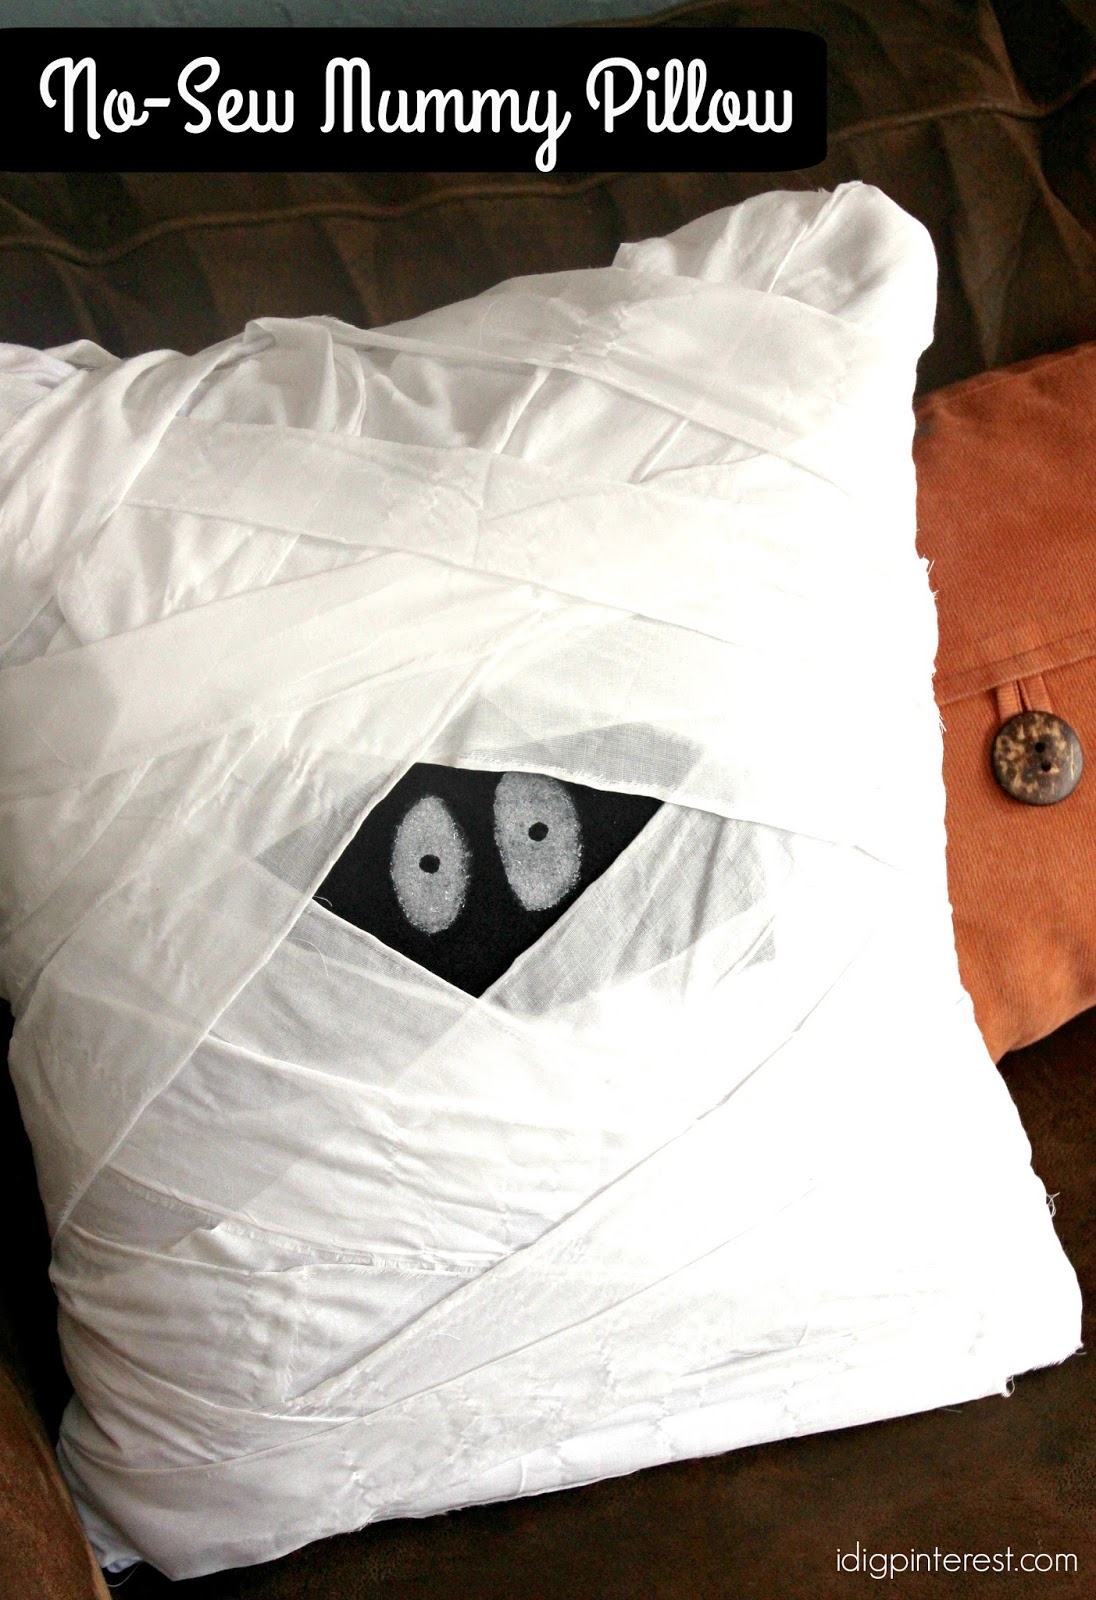
This DIY Mummy Pillow is a perfect way to decorate the home for Halloween and doesn’t even require a sewing machine! Plus it’s done in about half an hour!
If there’s one thing I hate buying it’s decorative pillows. It’s easy to spend between $20 to $40 dollars on a single pillow! Multiply that by four to eight, and you’ll have the phenomenal total cost of pillows to adorn just one sofa! It adds up quick!
So I do my best to reuse and recycle whenever I can. When we purchased our sofas years ago, they came with some super ugly pillows that I immediately replaced with ones that I liked and tucked the yucky ones away in the coat closet. I wasn’t sure when, but I knew they would come in handy at a later time.
I slit a few open and used the stuffing for these beauties. And then I had one leftover which was just perfect for today’s project!

I’d been wanting to add at least one more festive homemade Halloween pillow to my collection this year, and this one makes me and the kids smile in a big way!
You can even upcycle an old white sheet that you don’t need anymore for the mummy strips!
If you know me, you’re well aware that I detest sewing. I can sew very basic things, but I avoid it at all costs. So I found a way to make this without a machine! It saves on time, and in my case frustration. 🙂
Here’s what you’ll need to make it:
{SUPPLIES}
white and black craft paint
scissors
one piece of black felt (an 8 1/2″ x 11″ piece will do)
an old couch pillow
an old white pillowcase
old white sheet or sheer white fabric (1 1/2 yards was just enough to cover mine)
Hot Glue Gun
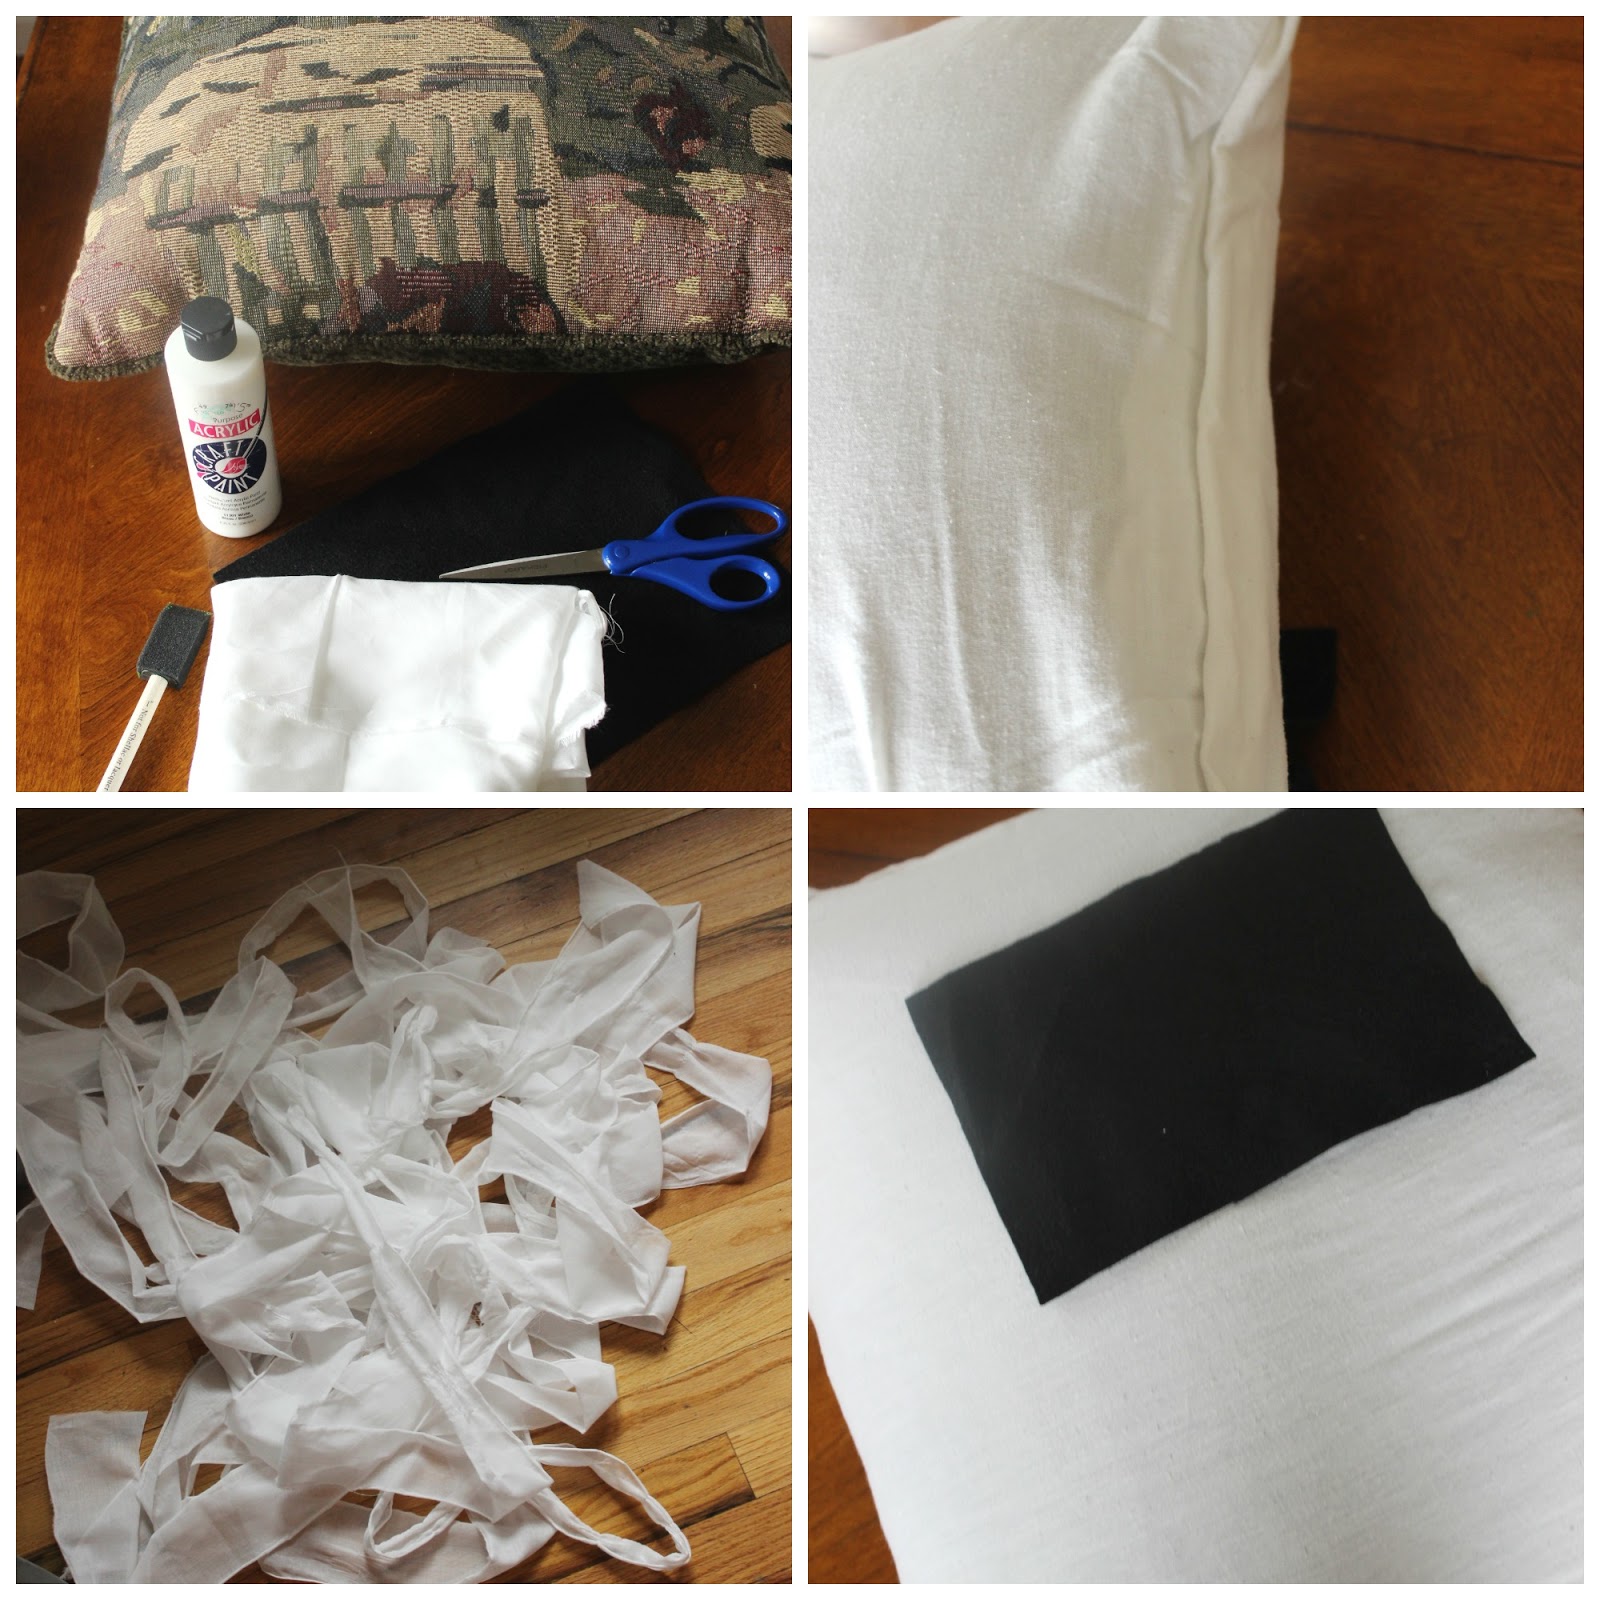
Start by stuffing the pillow into a pillowcase. You’ll want a pillow that will fit snuggly inside. If yours is smaller than a standard pillow case size, you may want to cut it to fit nicely around and then hot glue the edges over.
I trimmed the part of the pillowcase that hung off the pillow and then rolled the little bit of extra and hot glued it in place.
Rip 2″ strips with your old sheet or sheer white fabric. I cut into the fabric a little bit with my scissors at the top to make the ripping easier. The frayed edges add character, so be sure to rip instead of cutting. Cut a rectangle of black felt and hot glue it towards the top of your pillow.
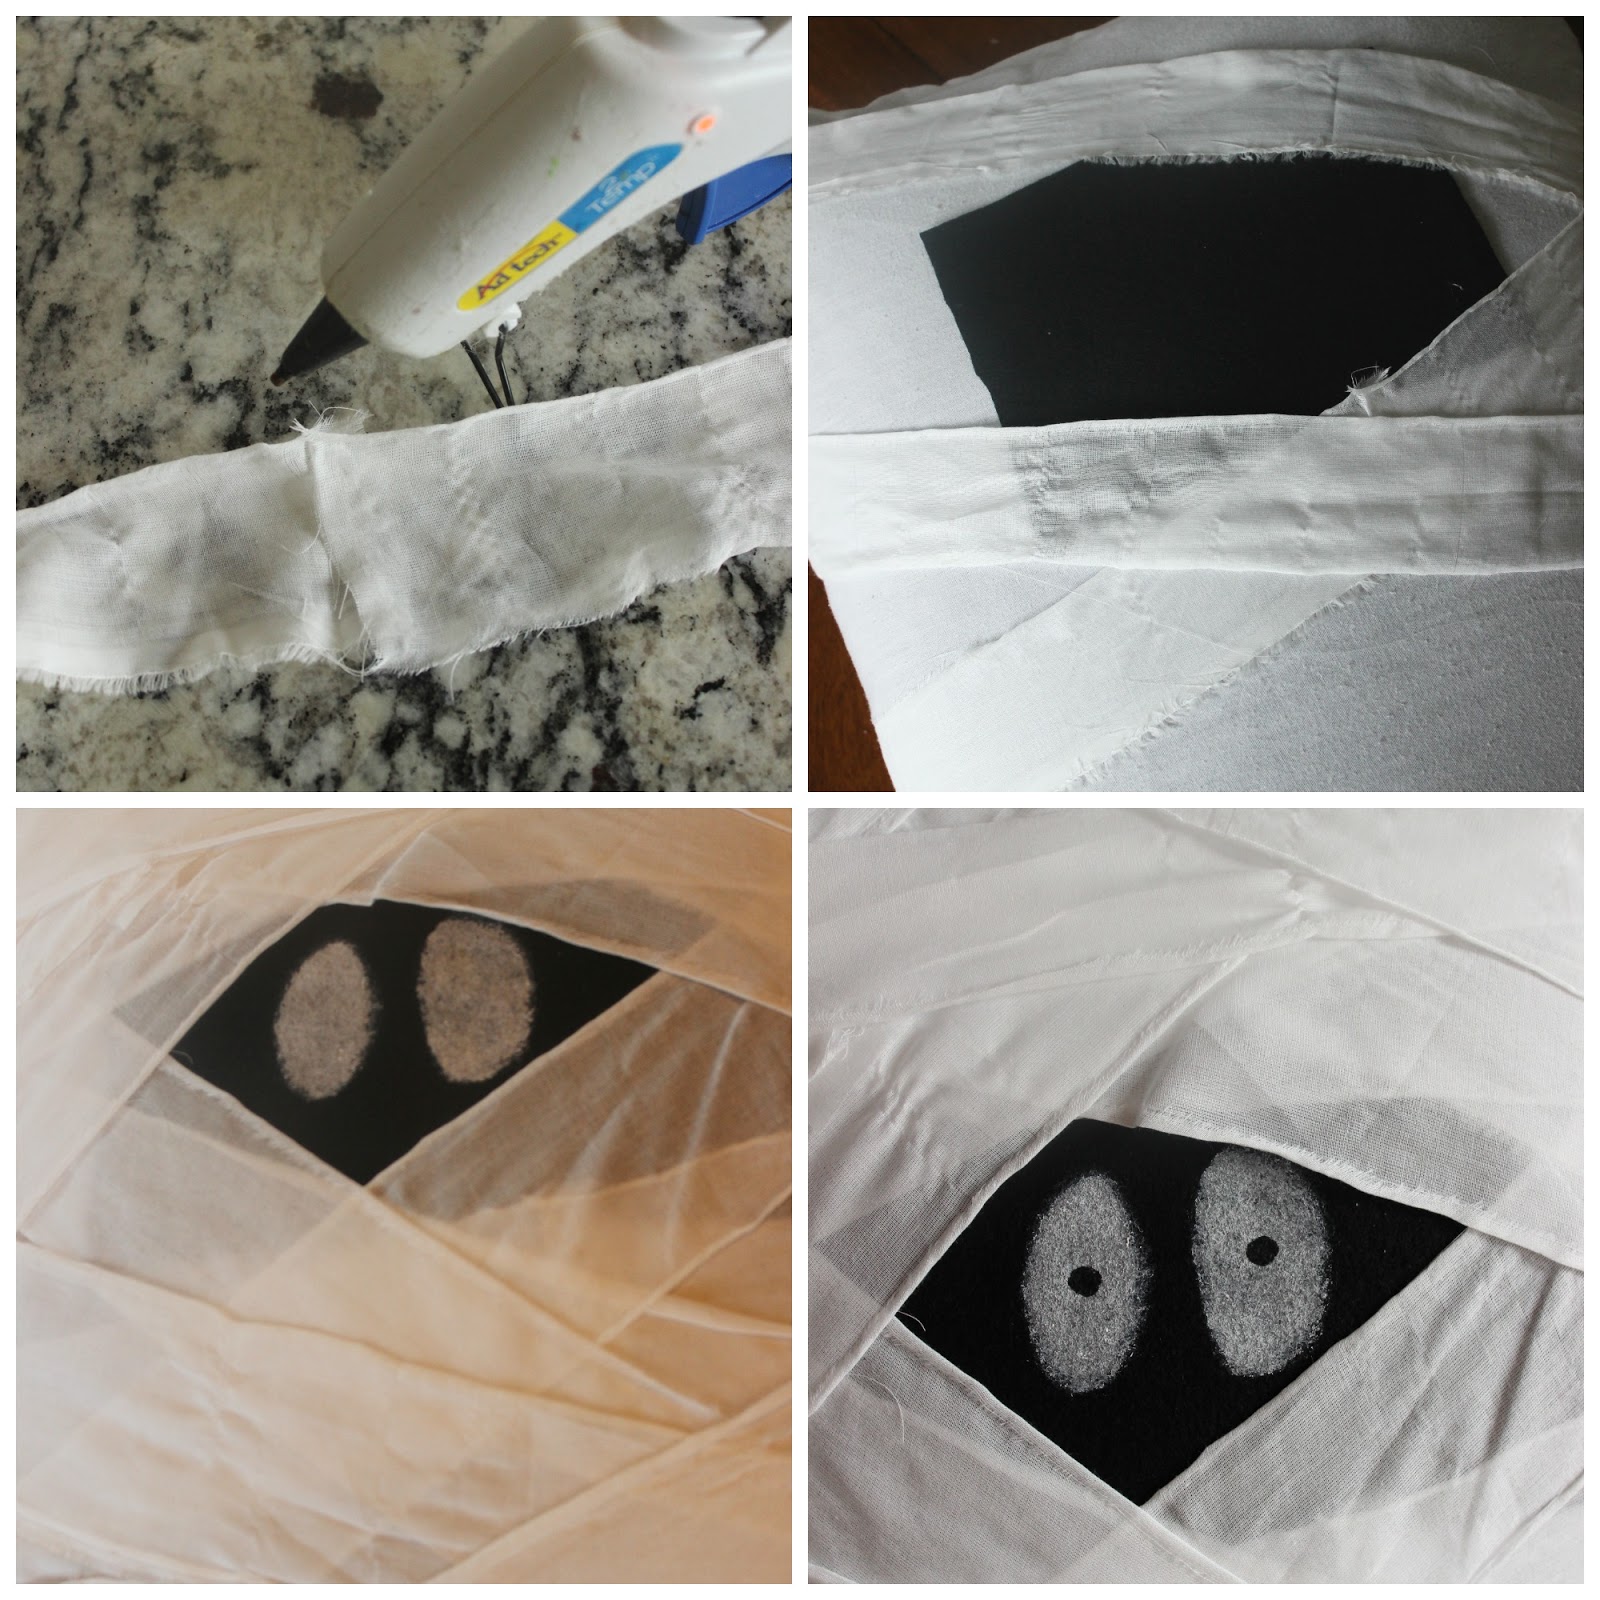
Hot glue all of your fabric strips together. Starting at the top left corner, allow the end of the fabric strip to hang over it by about 3″. Glue that part to the back of the pillow and then begin wrapping and criss-crossing your long strip around the pillow, allowing some of the black felt to show through. You can hot glue it in place as you go, but do so on the back of the pillow and don’t use a lot. When it’s all wrapped you can hot glue wherever you see necessary so the strips will stay put. Again, use little dots and don’t over do it or the glue will show through. Hot glue the end of your piece to the back.
Paint two white ovals on for eyeballs, allow that to dry and then paint two tiny black dots in the center for the pupils. That’s it!
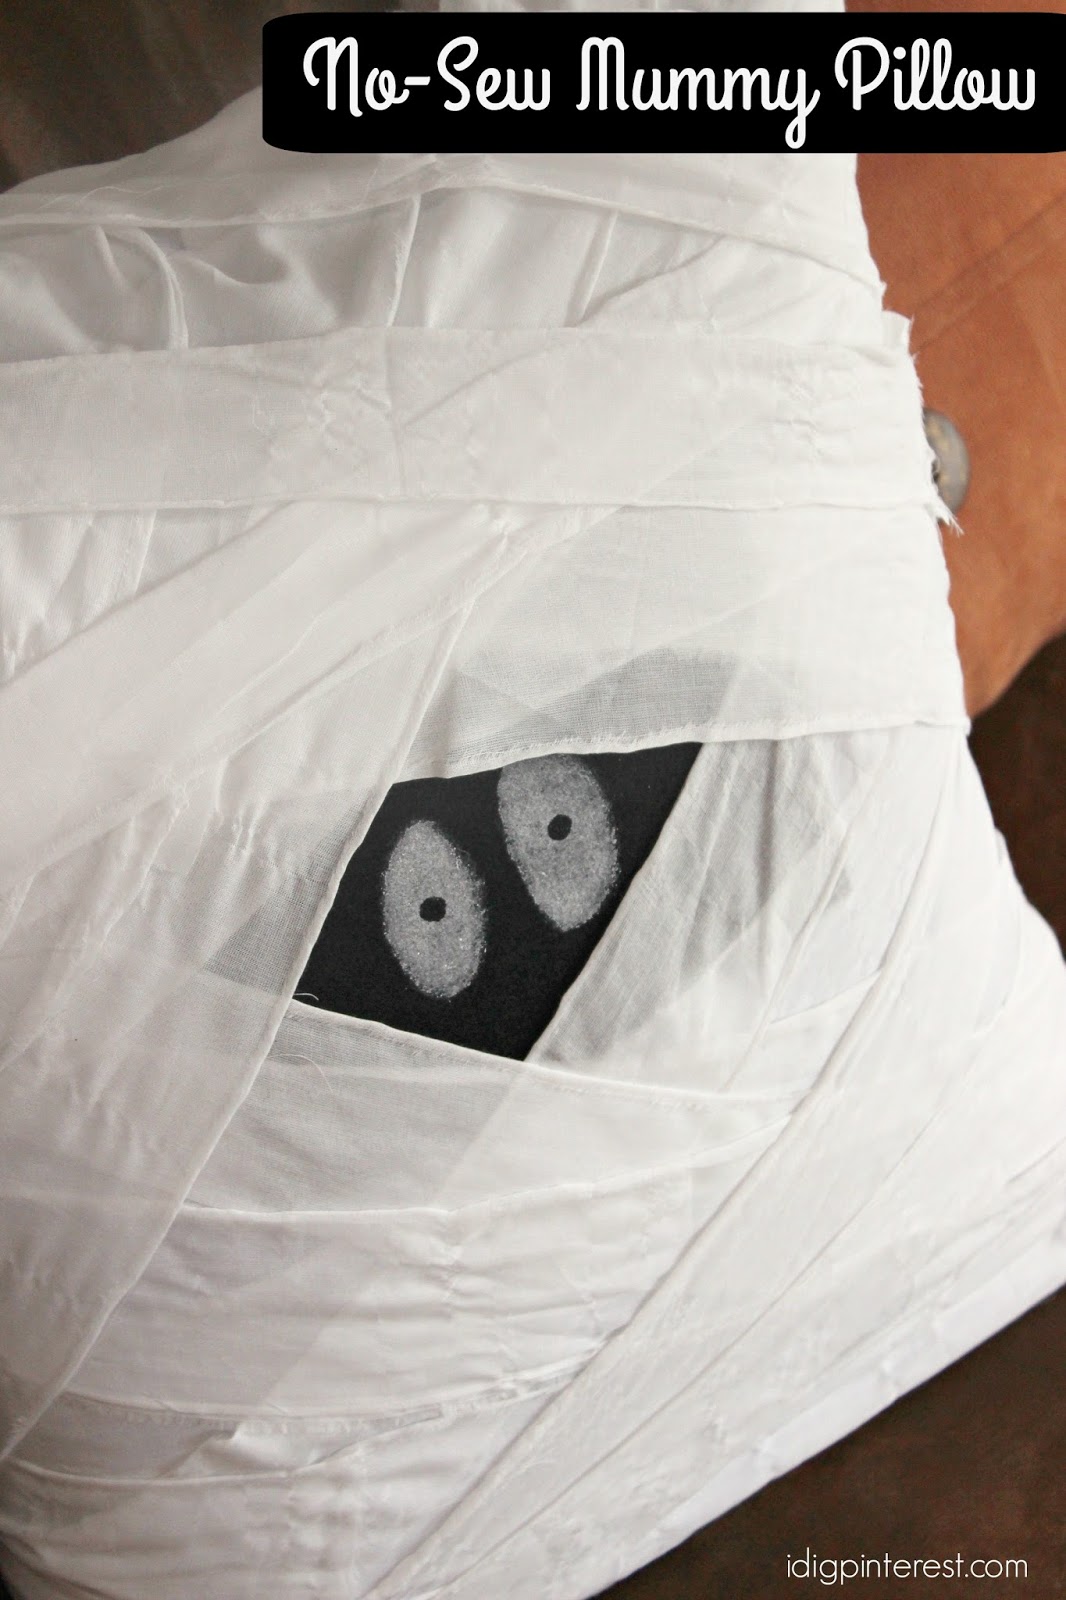
Now display it on your sofa so everyone can enjoy (and snuggle on) this cute mummy! This came together in a hurry. It literally probably took me half an hour if you subtract the kid distractions.
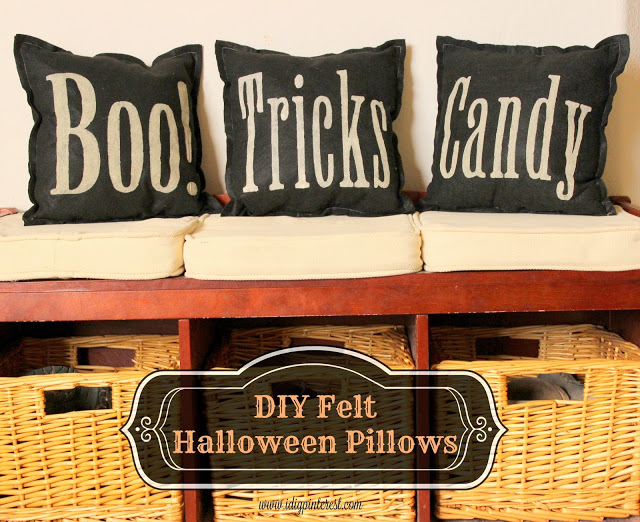
If you liked this project, you might want to also check out these felt Halloween Pillows I made a few years back!


Comments