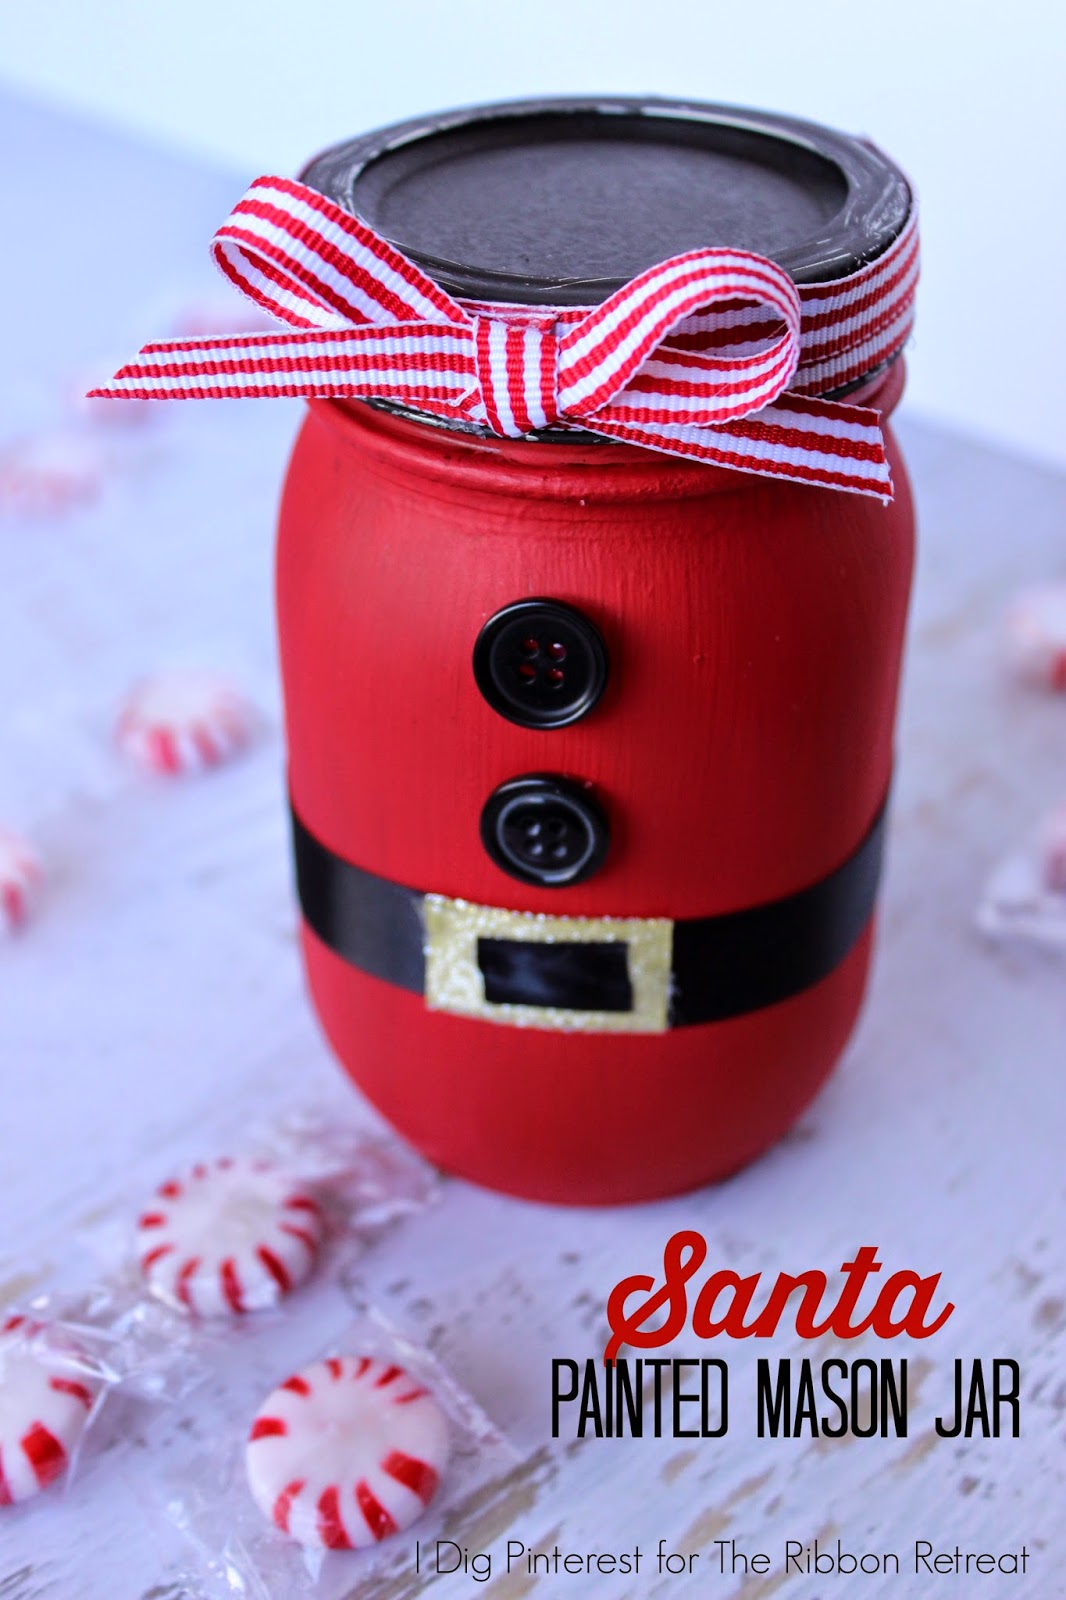
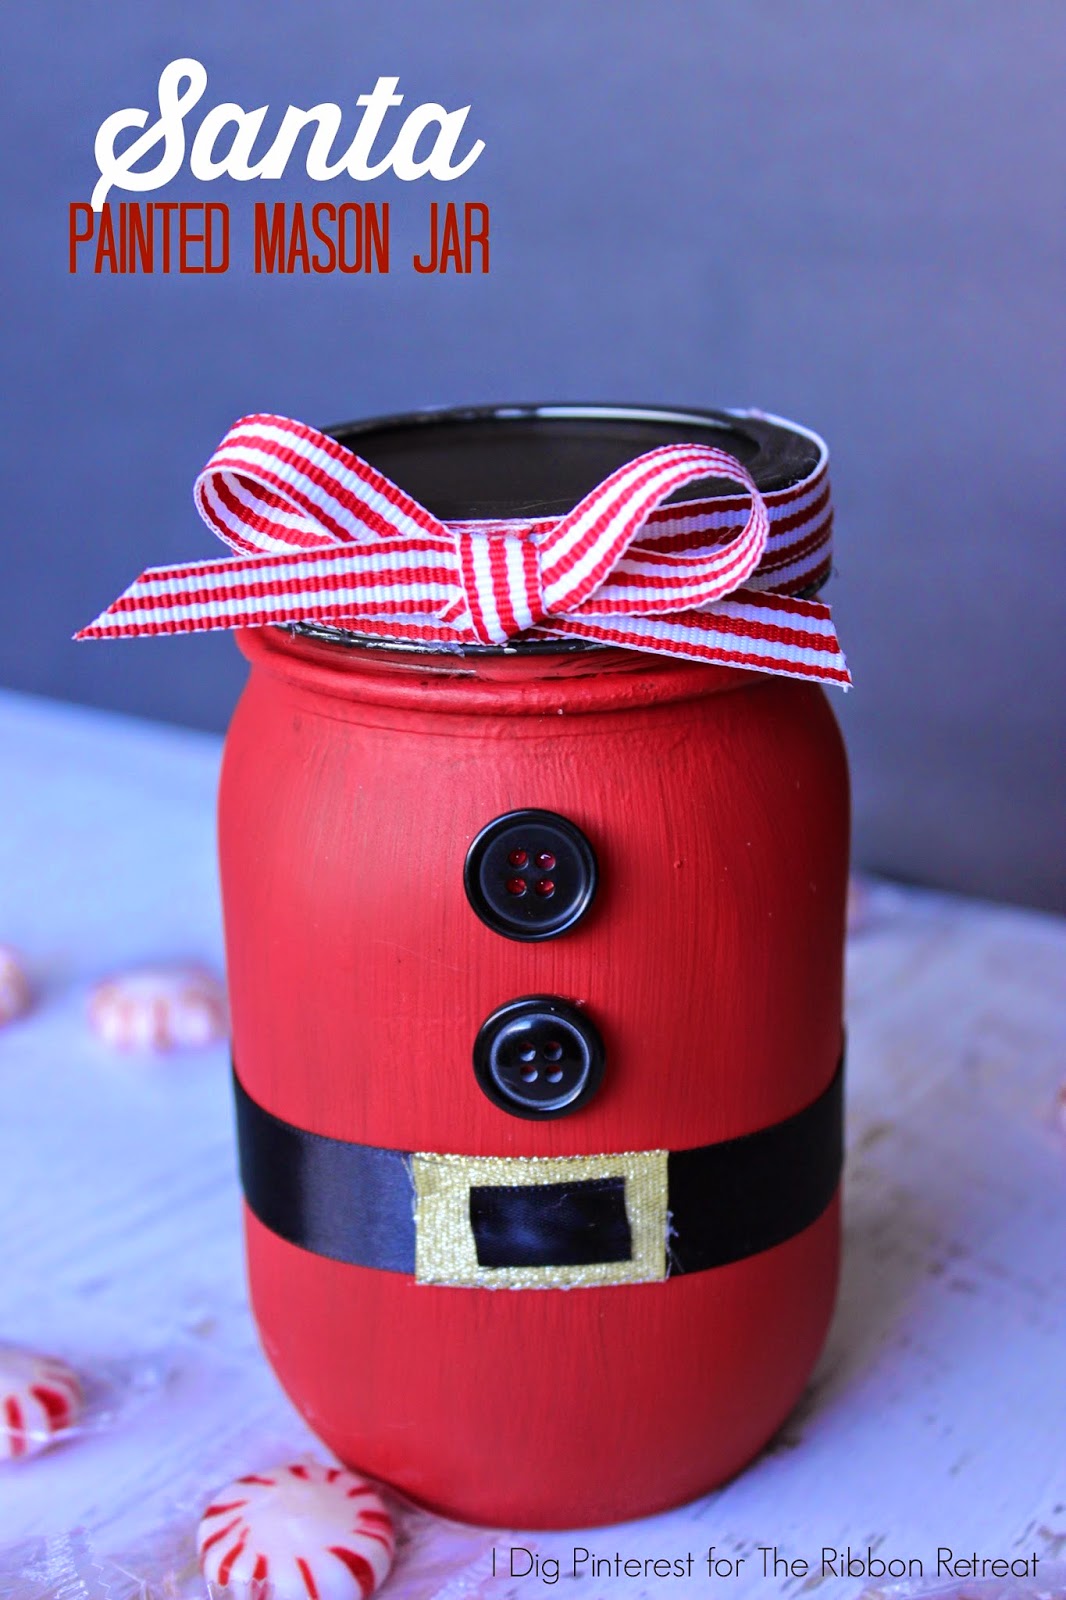
This jolly little Painted Mason Jar Santa tied with a pretty bow will be the perfect gift, when filled with treats, for neighbors, friends, and loved ones! All it needs more is a “Ho, Ho, Ho!” but you can take care of that part when you deliver it. 🙂
My kids are SO excited (a huge understatement) for Santa to make his appearance on Christmas Eve, even though it will be like a thief in the night while they are in dreamland. We’ve already been to visit him and they all sat on his lap and told him their magical wishes. I just loved watching their faces light up when they saw the white-bearded man with the rosy cheeks and round belly.
So I wanted to create a replica of what Santa represents…joy, magic, wonder, and love…in this Painted Mason Jar Gift! They are so simple to make! You could totally mass produce these for everyone on your gift list. They’re sure to be well received!
I originally shared this idea over at The Ribbon Retreat where I love being a contributor.
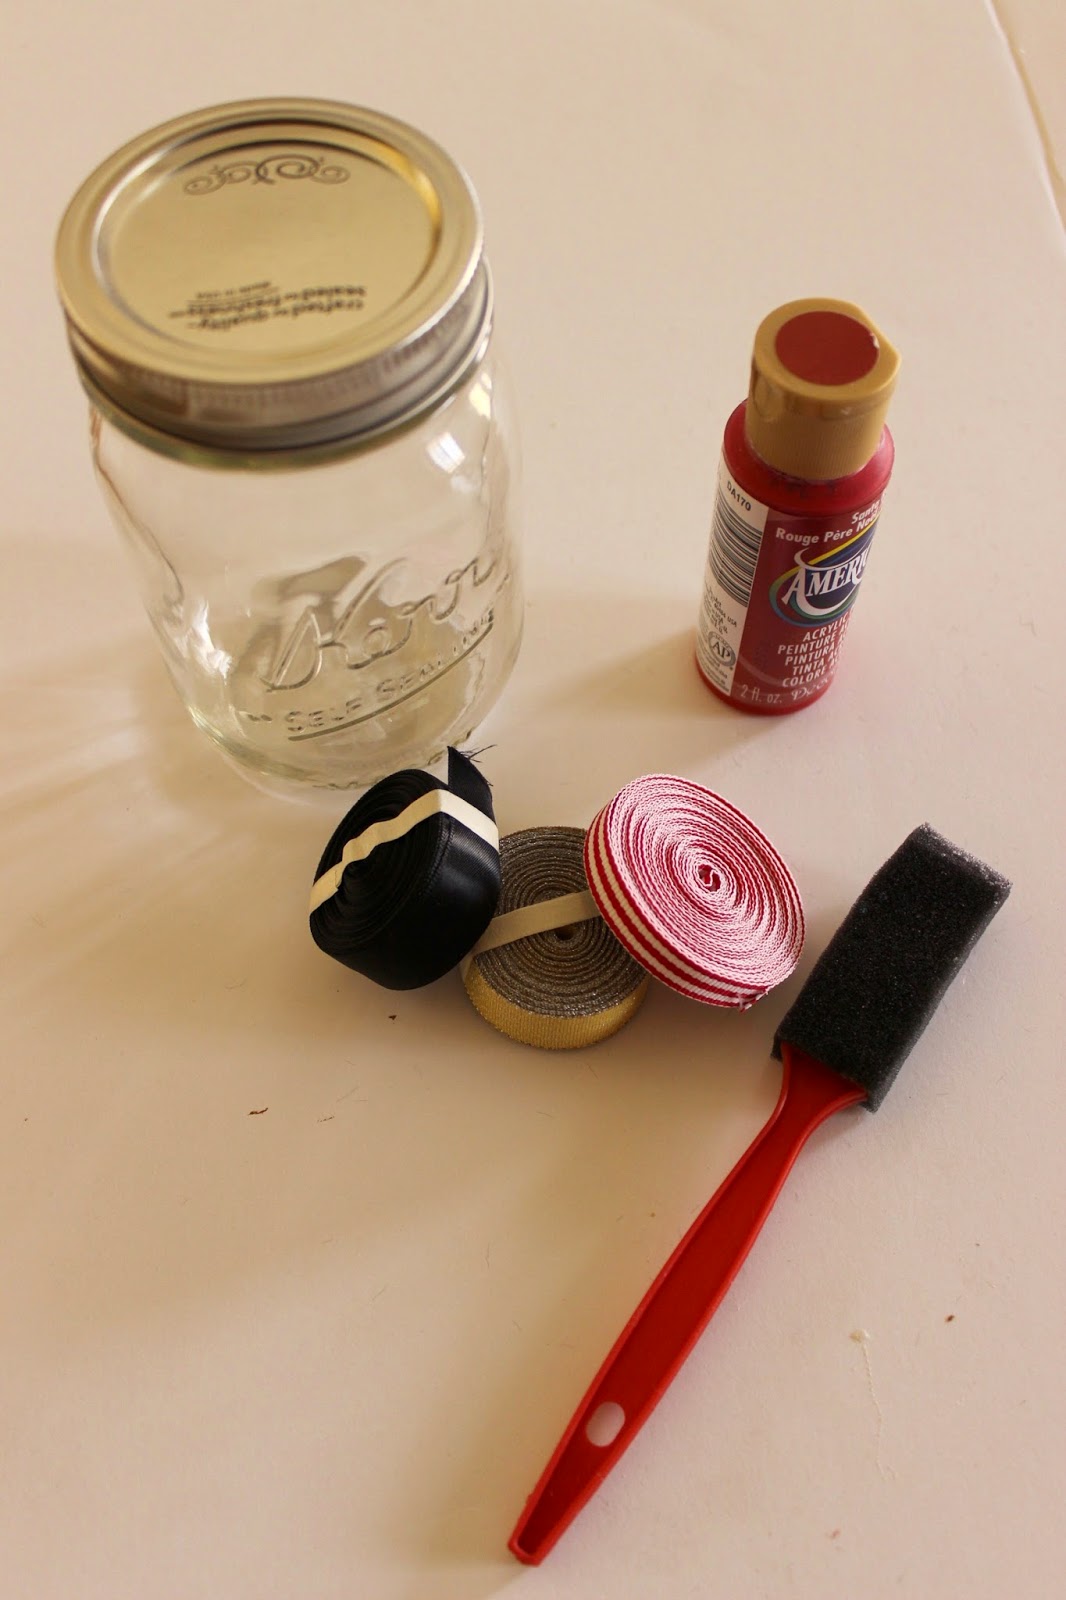
{SUPPLIES}
Foam Brush
Red and Black Paint
Mason Jar with lid
Black Buttons
Glue Gun
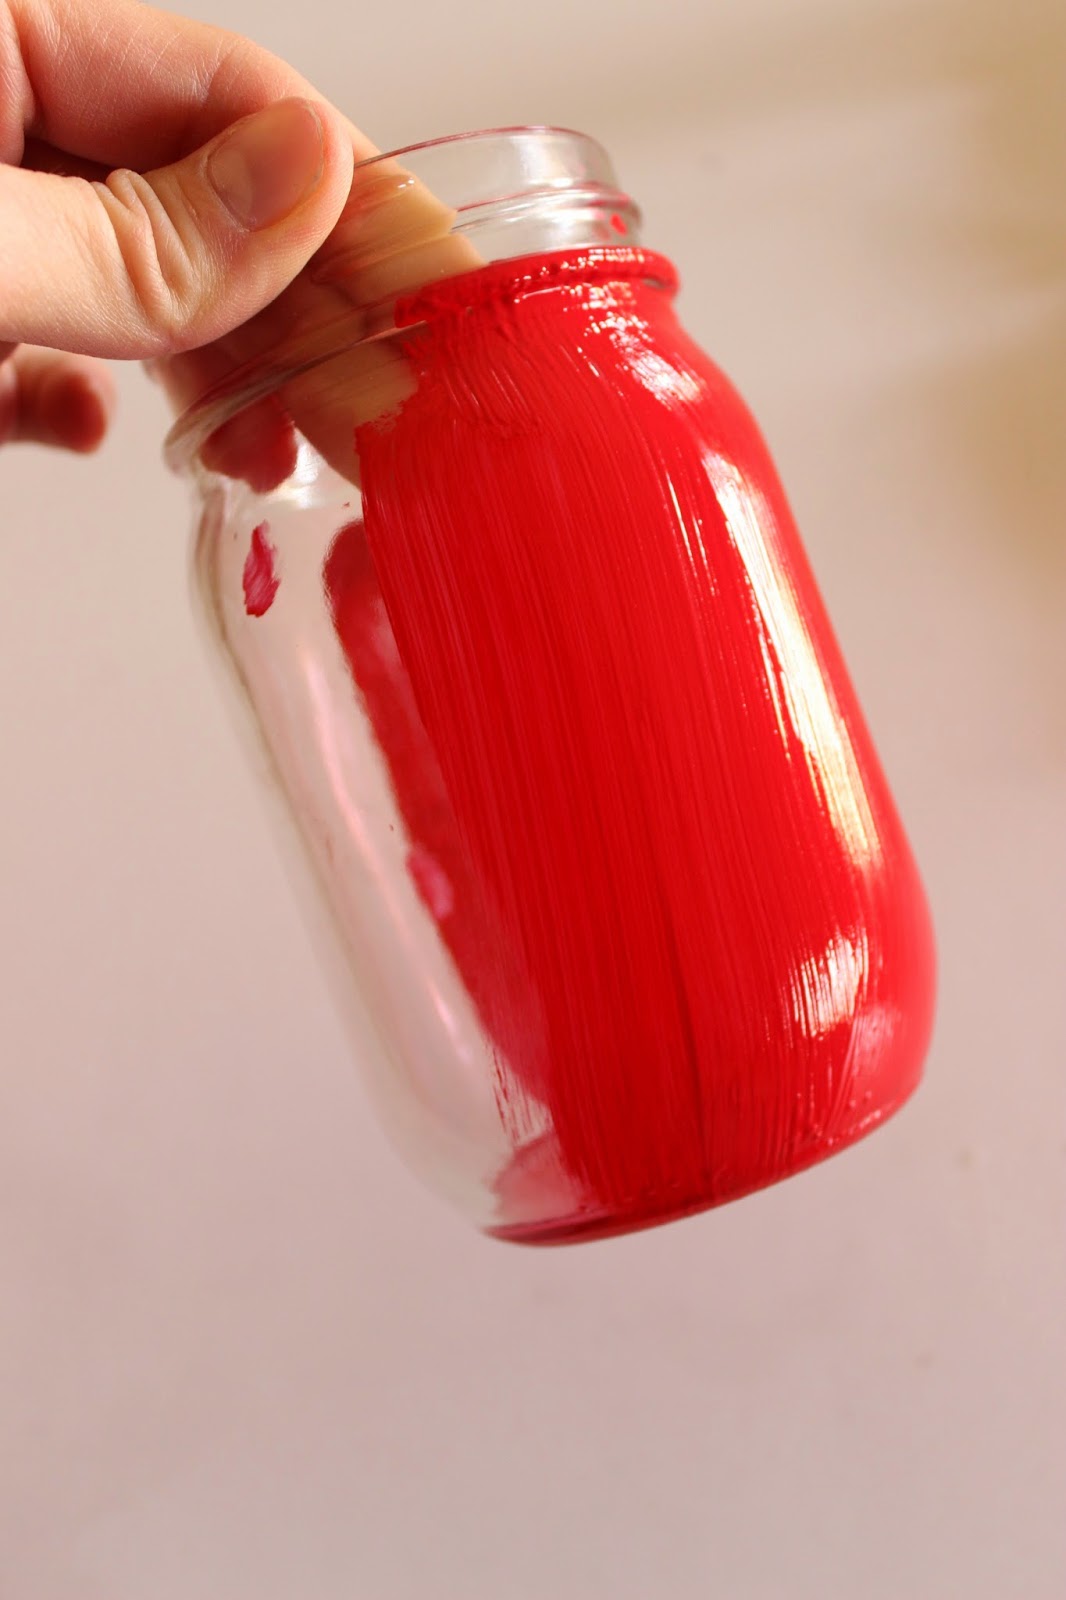
Paint the outside of your jar red. I waited to paint the rim of my jar until the rest was done. I did two coats, allowing it to dry in between.
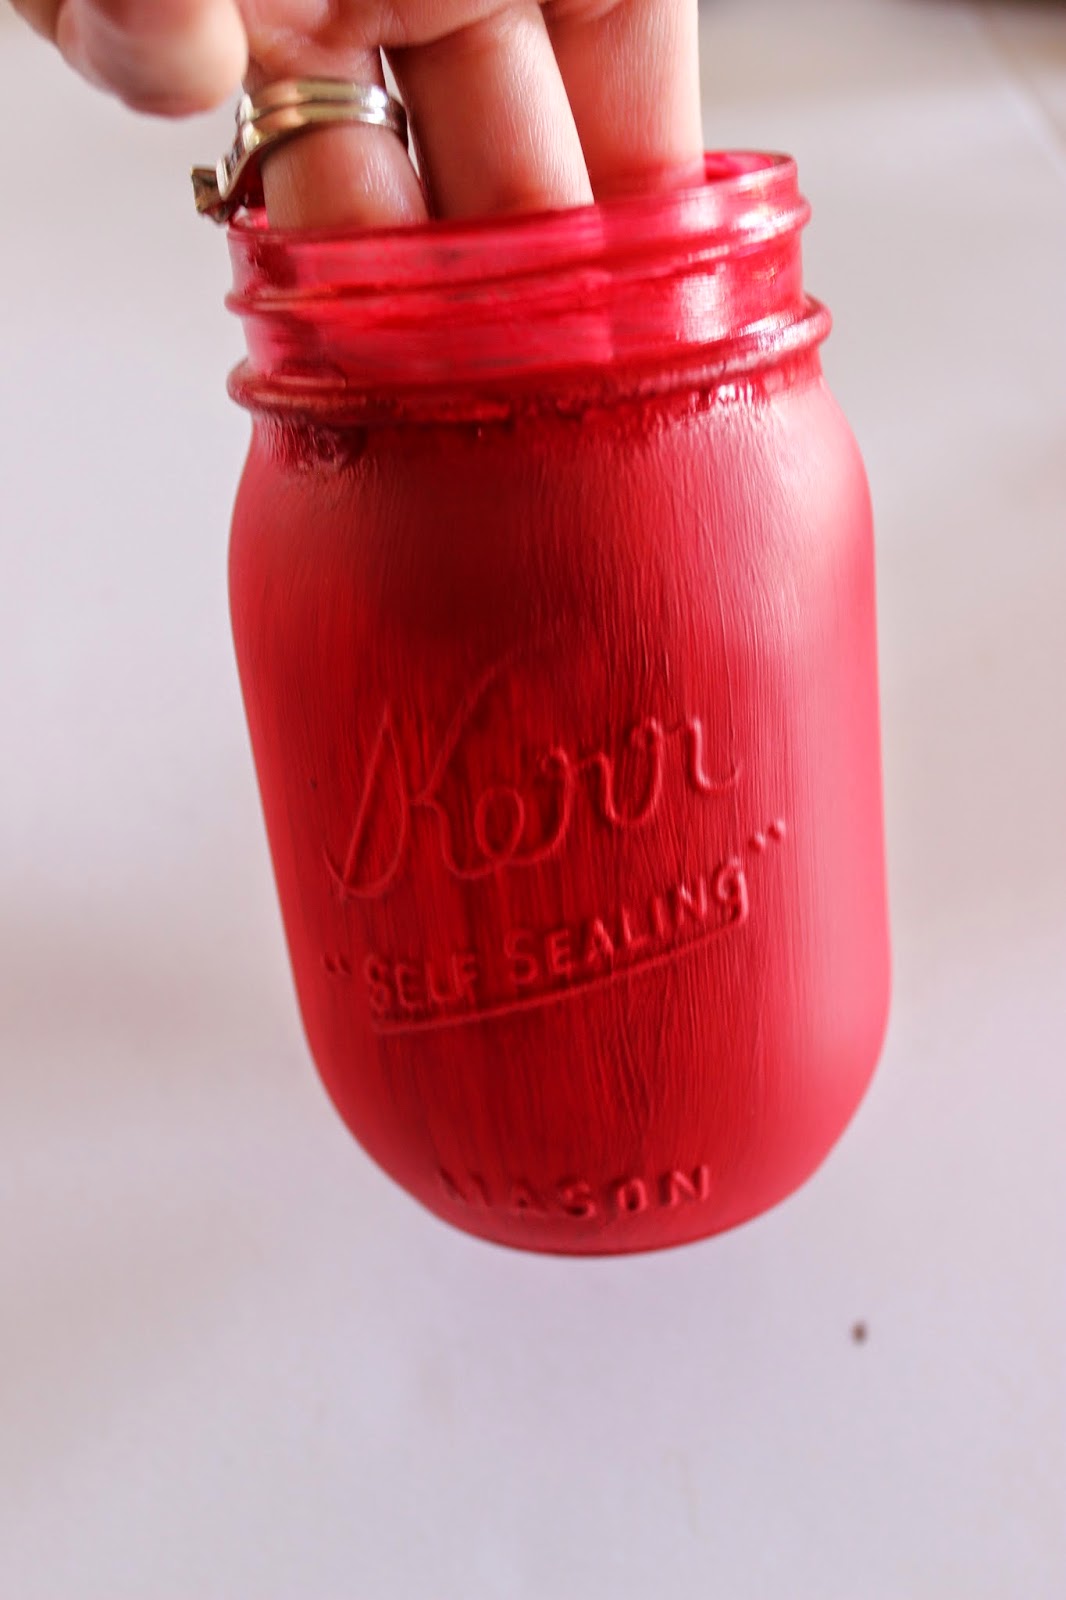
Now paint the rim and let dry.
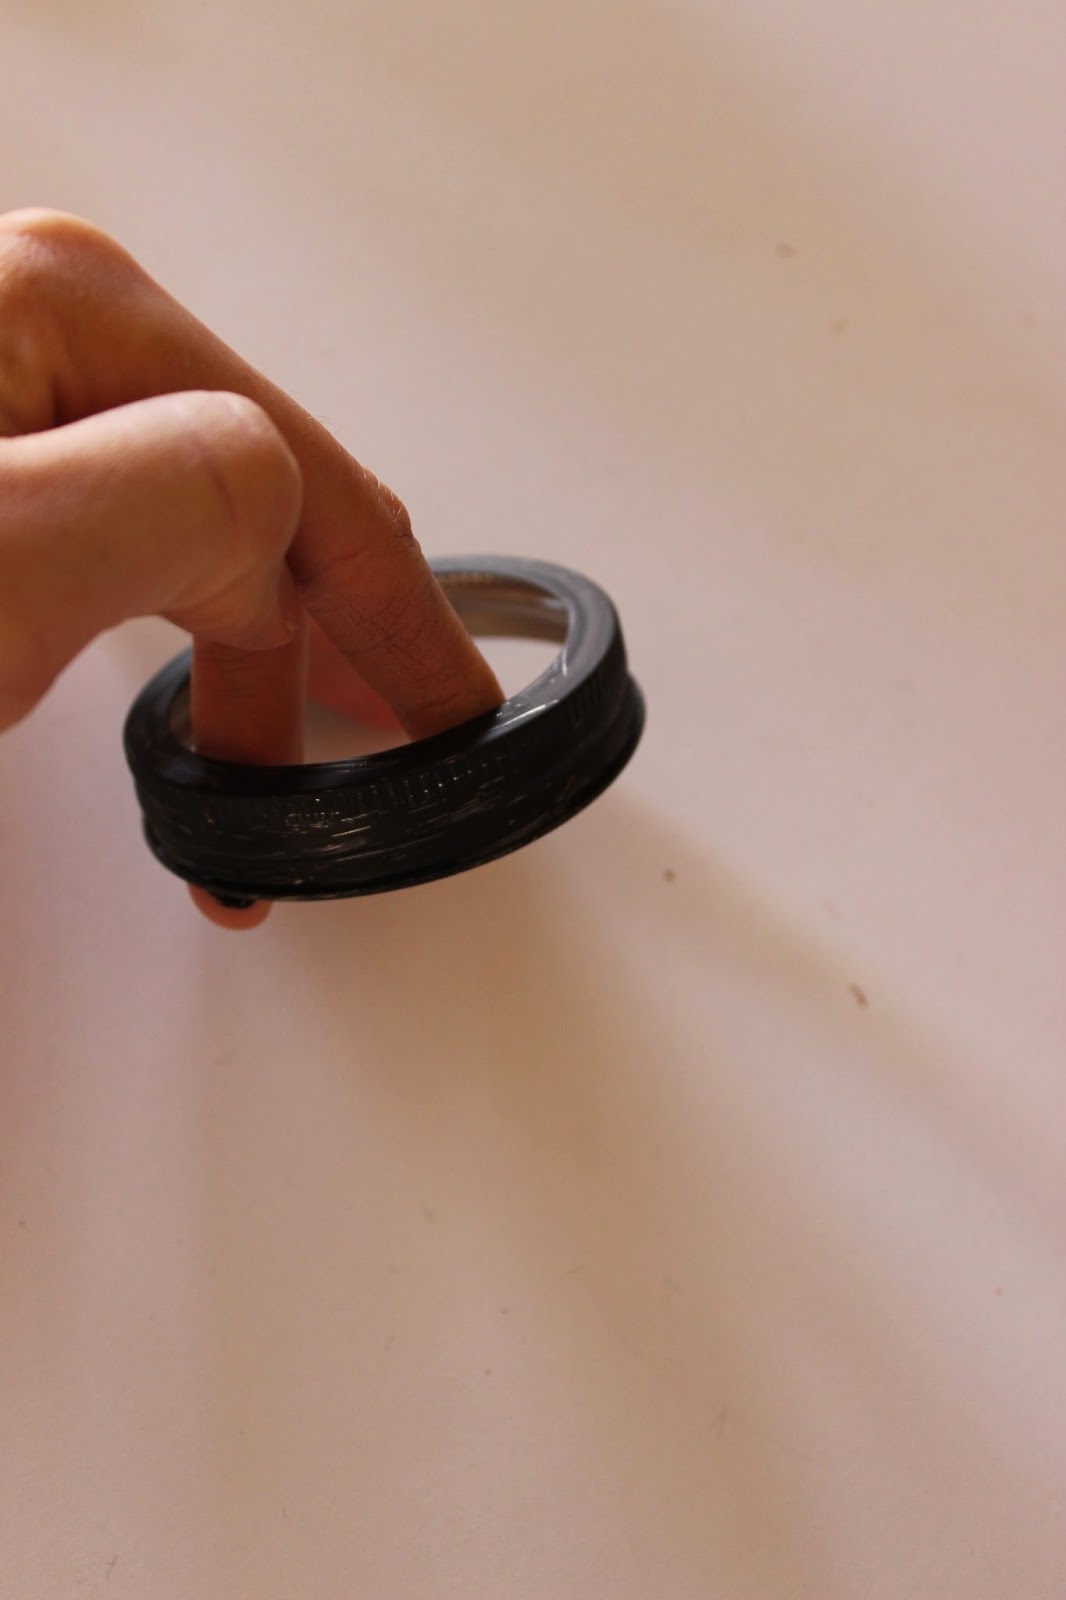
Paint the lid (both pieces) black. Don’t worry if it’s not perfect. It adds character. I like that the brush strokes are visible and you can see through to the lid in some areas.
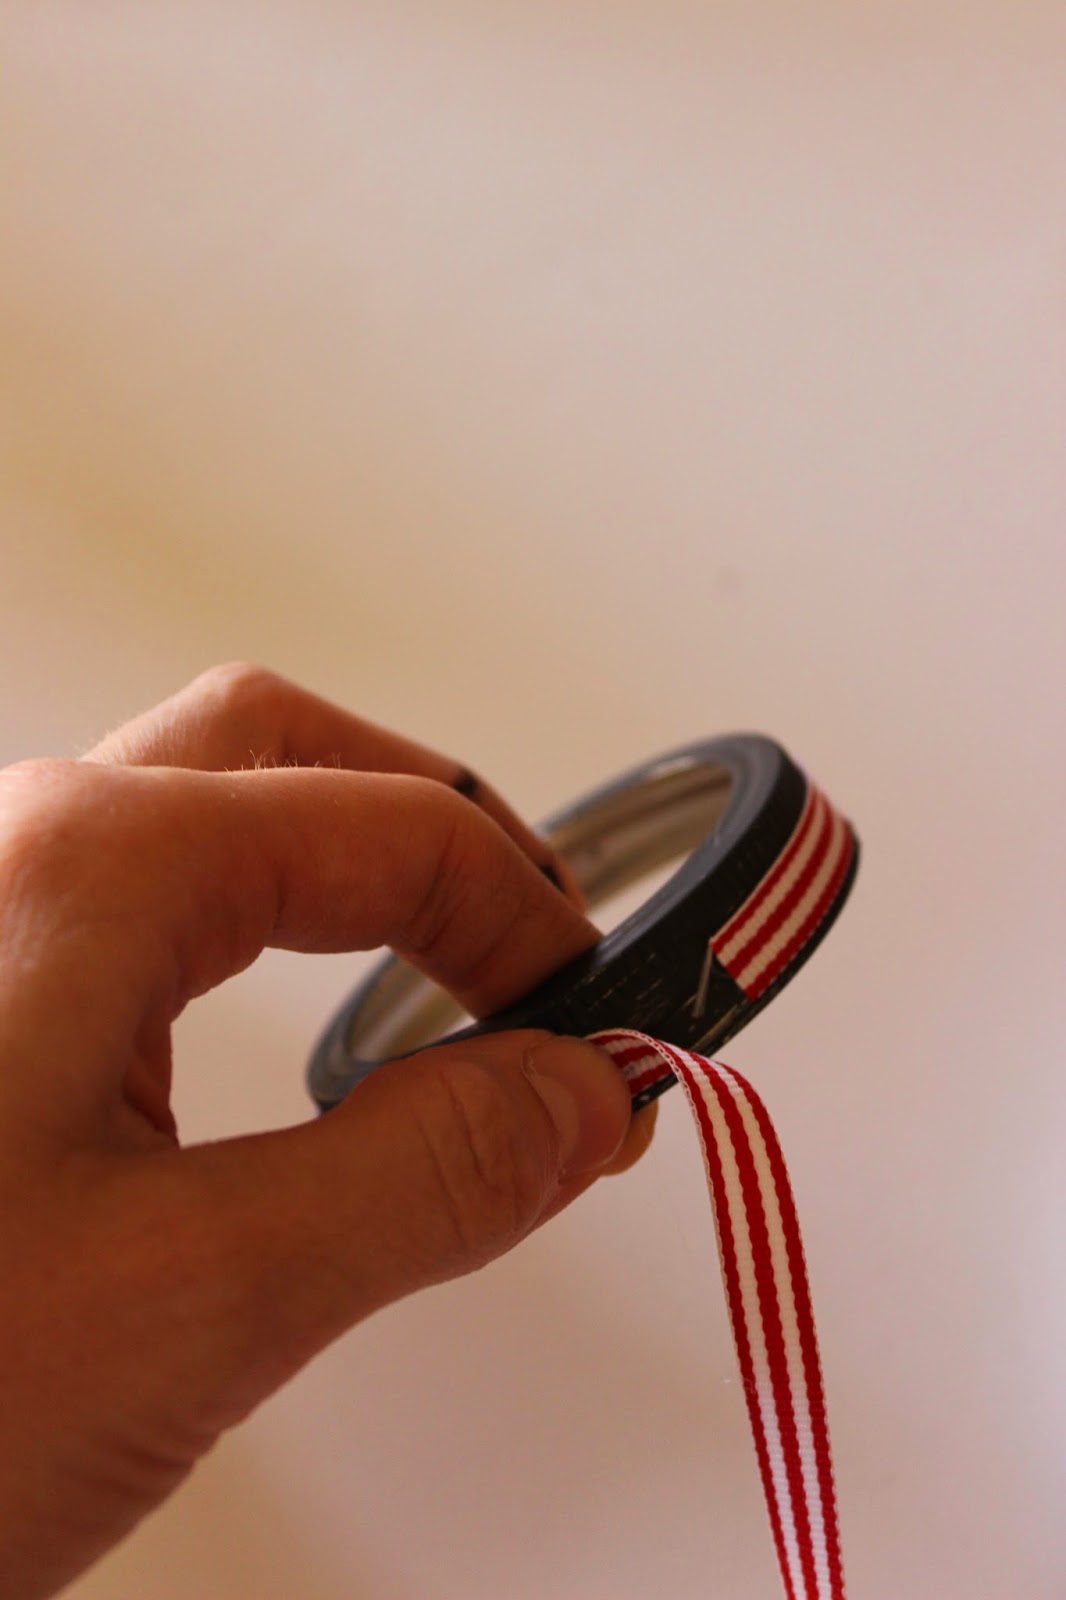
Hot glue your ribbon onto the lid. Mine wasn’t wide enough, so I layered it in two sections.
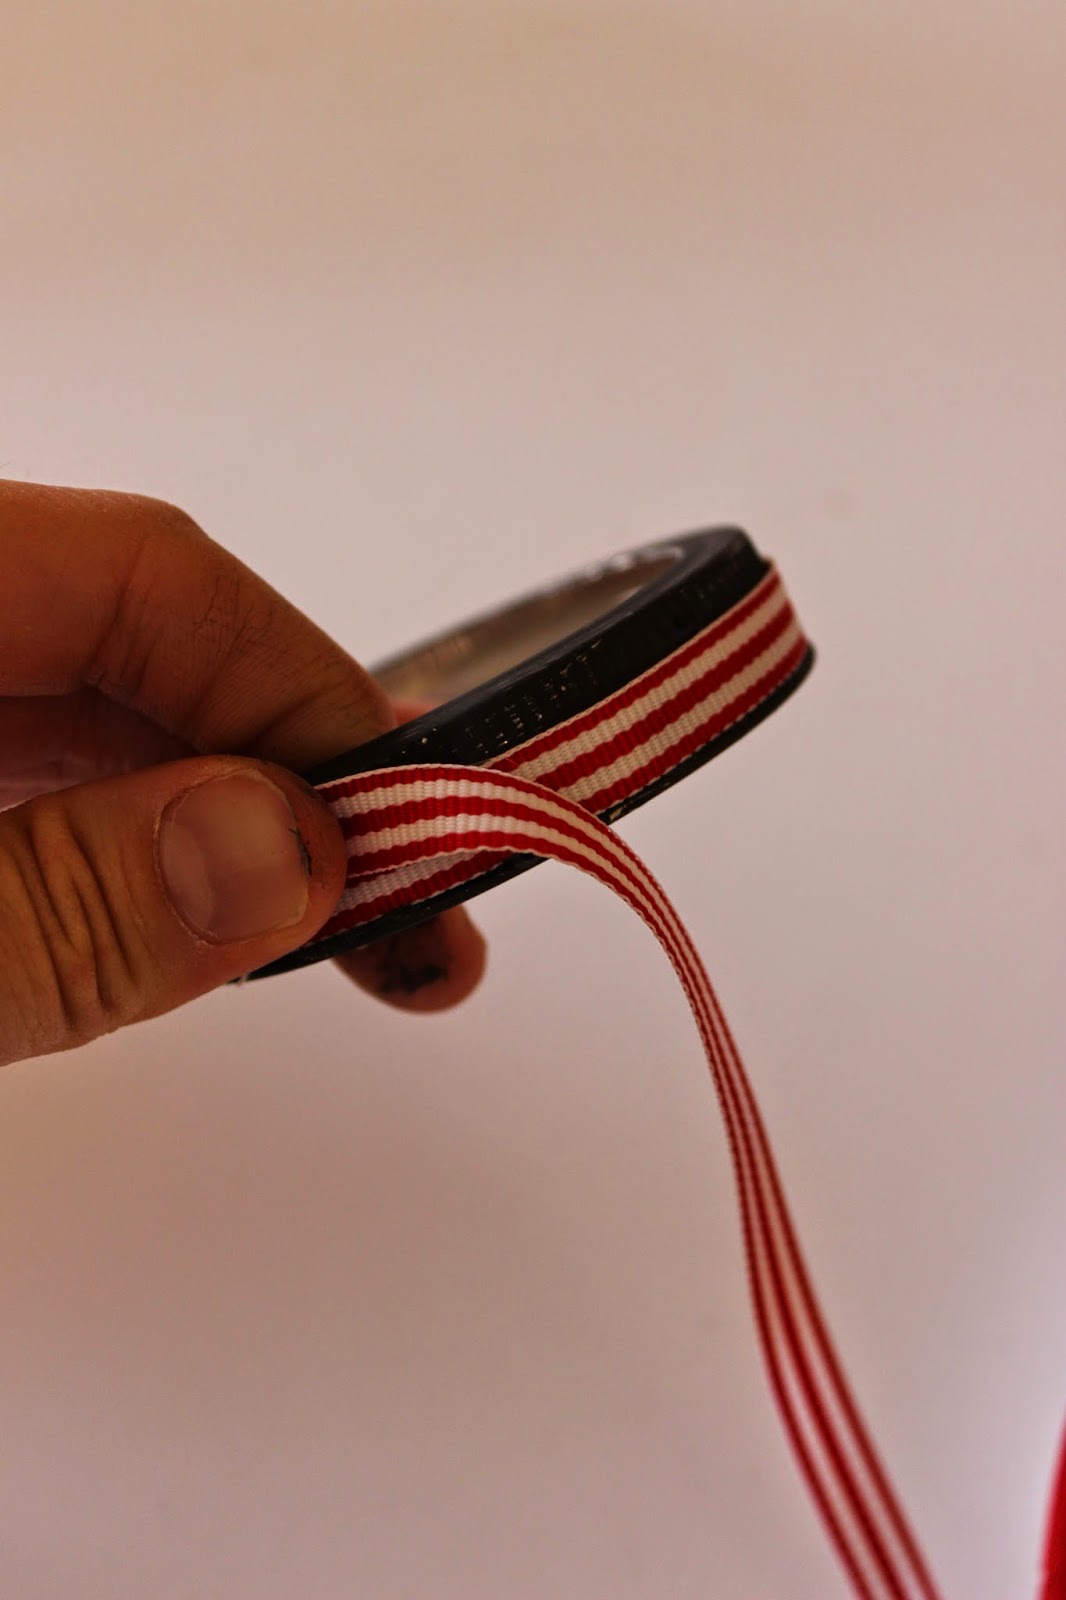
Here’s the second layer. Just make sure it overlaps the first and that you start in the same place with both layers.
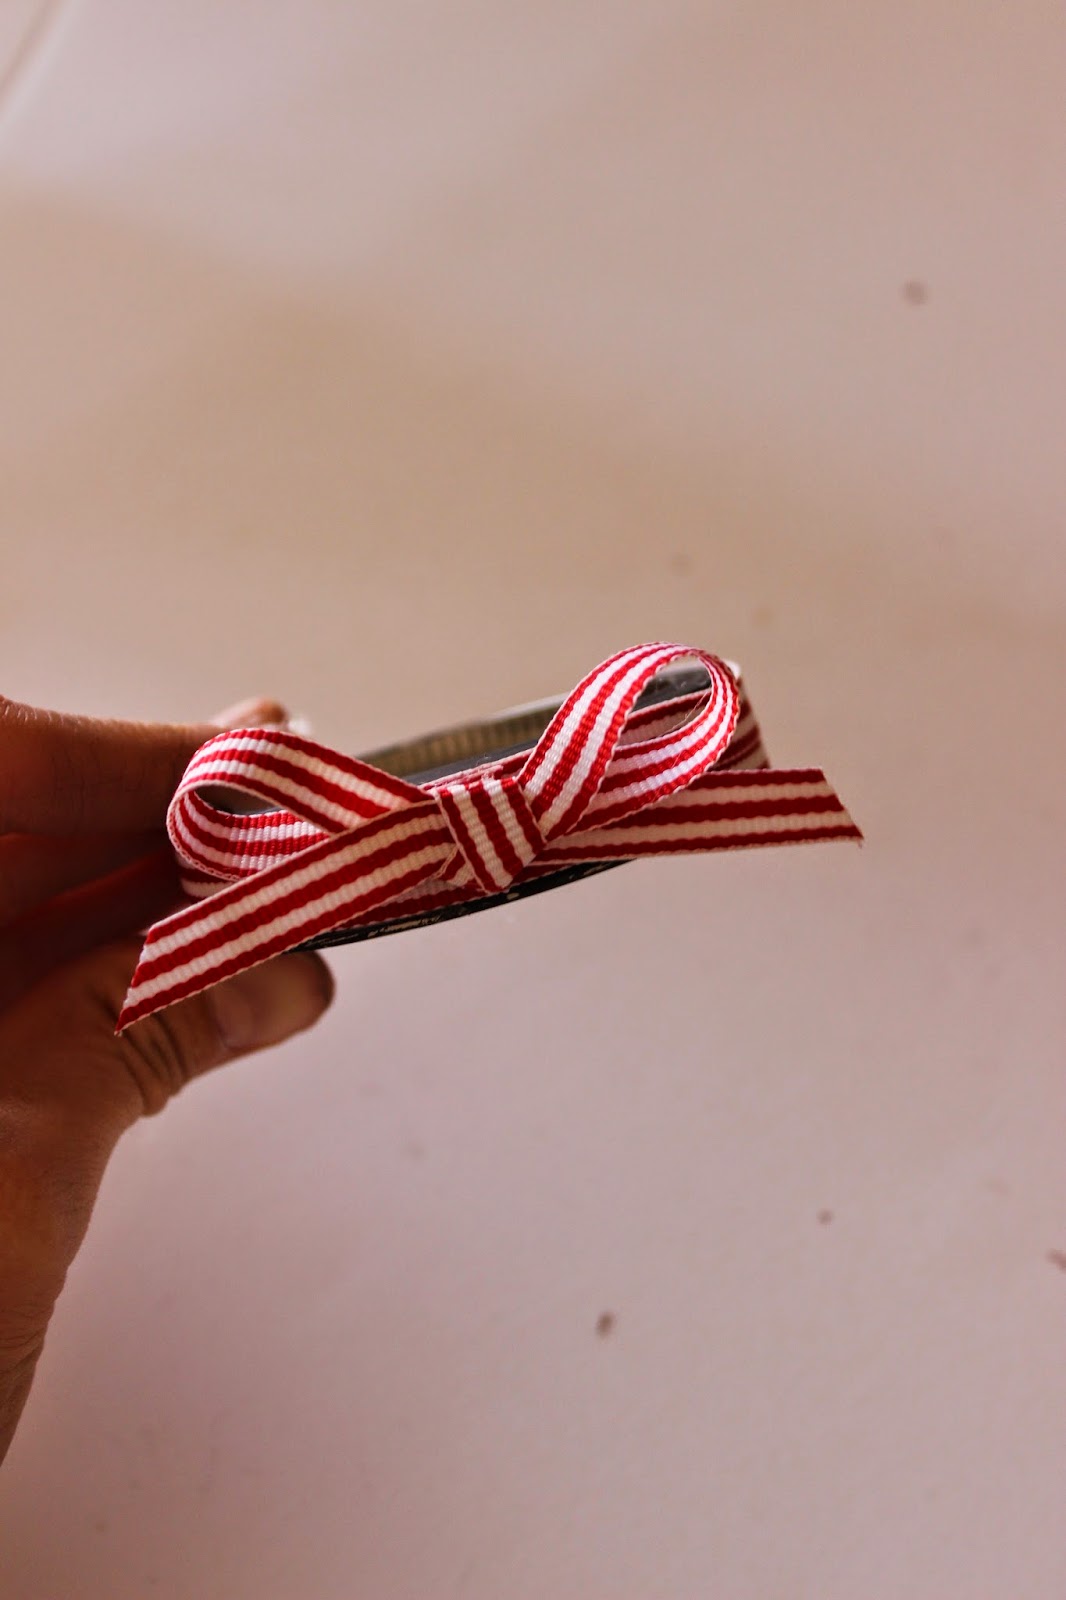
Now tie another piece of red and white striped ribbon in a bow and hot glue it to the lid. I glued mine over the seam to cover it nicely.
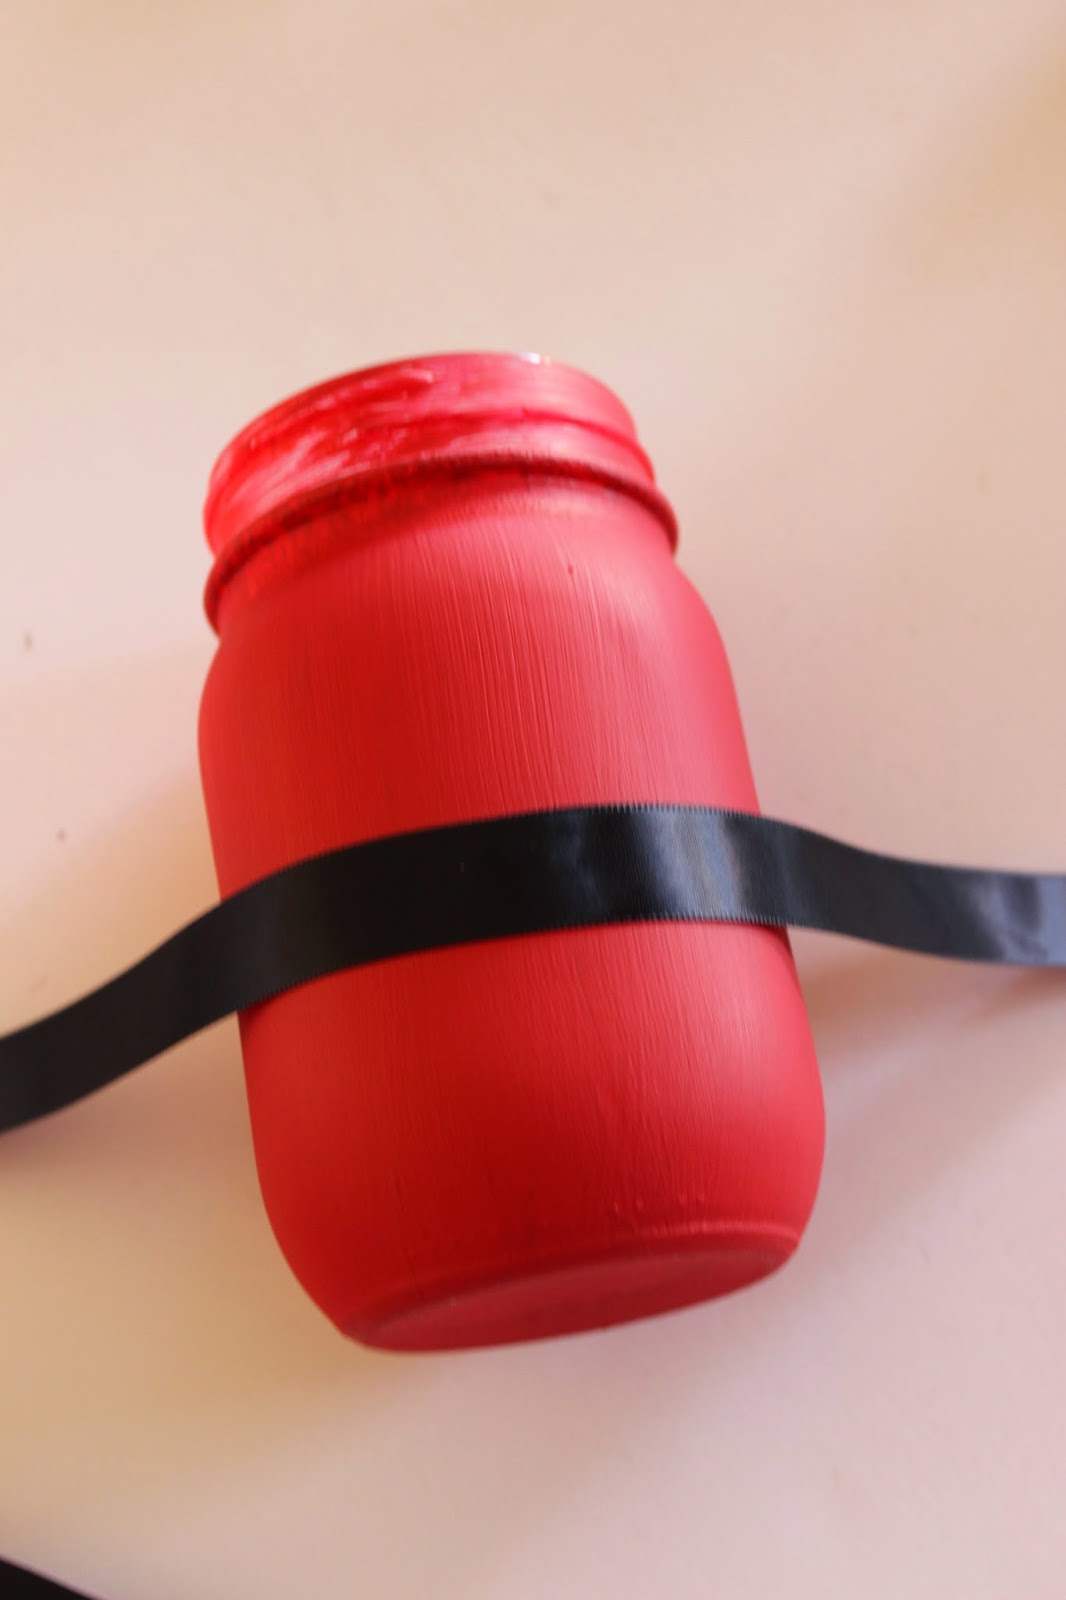
Cut a piece of black satin ribbon, measuring first to make sure it will go all the way around your jar. Glue it to the front of your jar, making sure it’s centered and positioned where you’d like it.
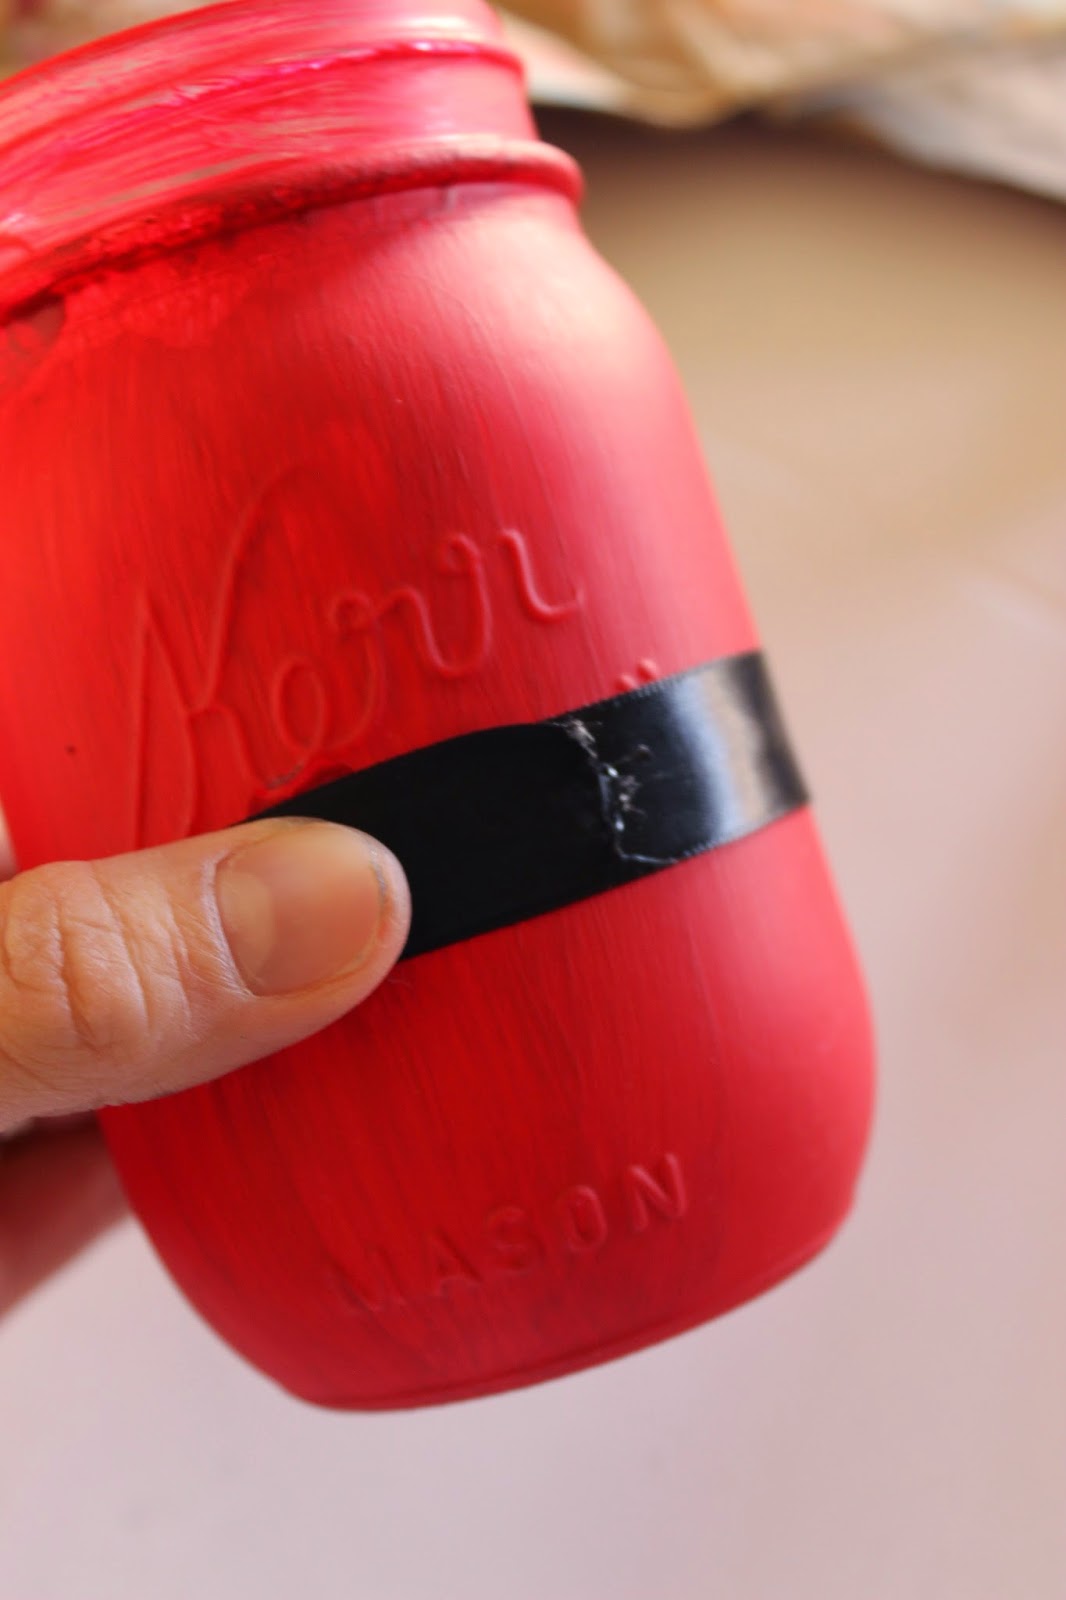
Now wrap one side of ribbon around and add a little glue in a few places to keep it in place. Wrap the other side around and glue in the back.
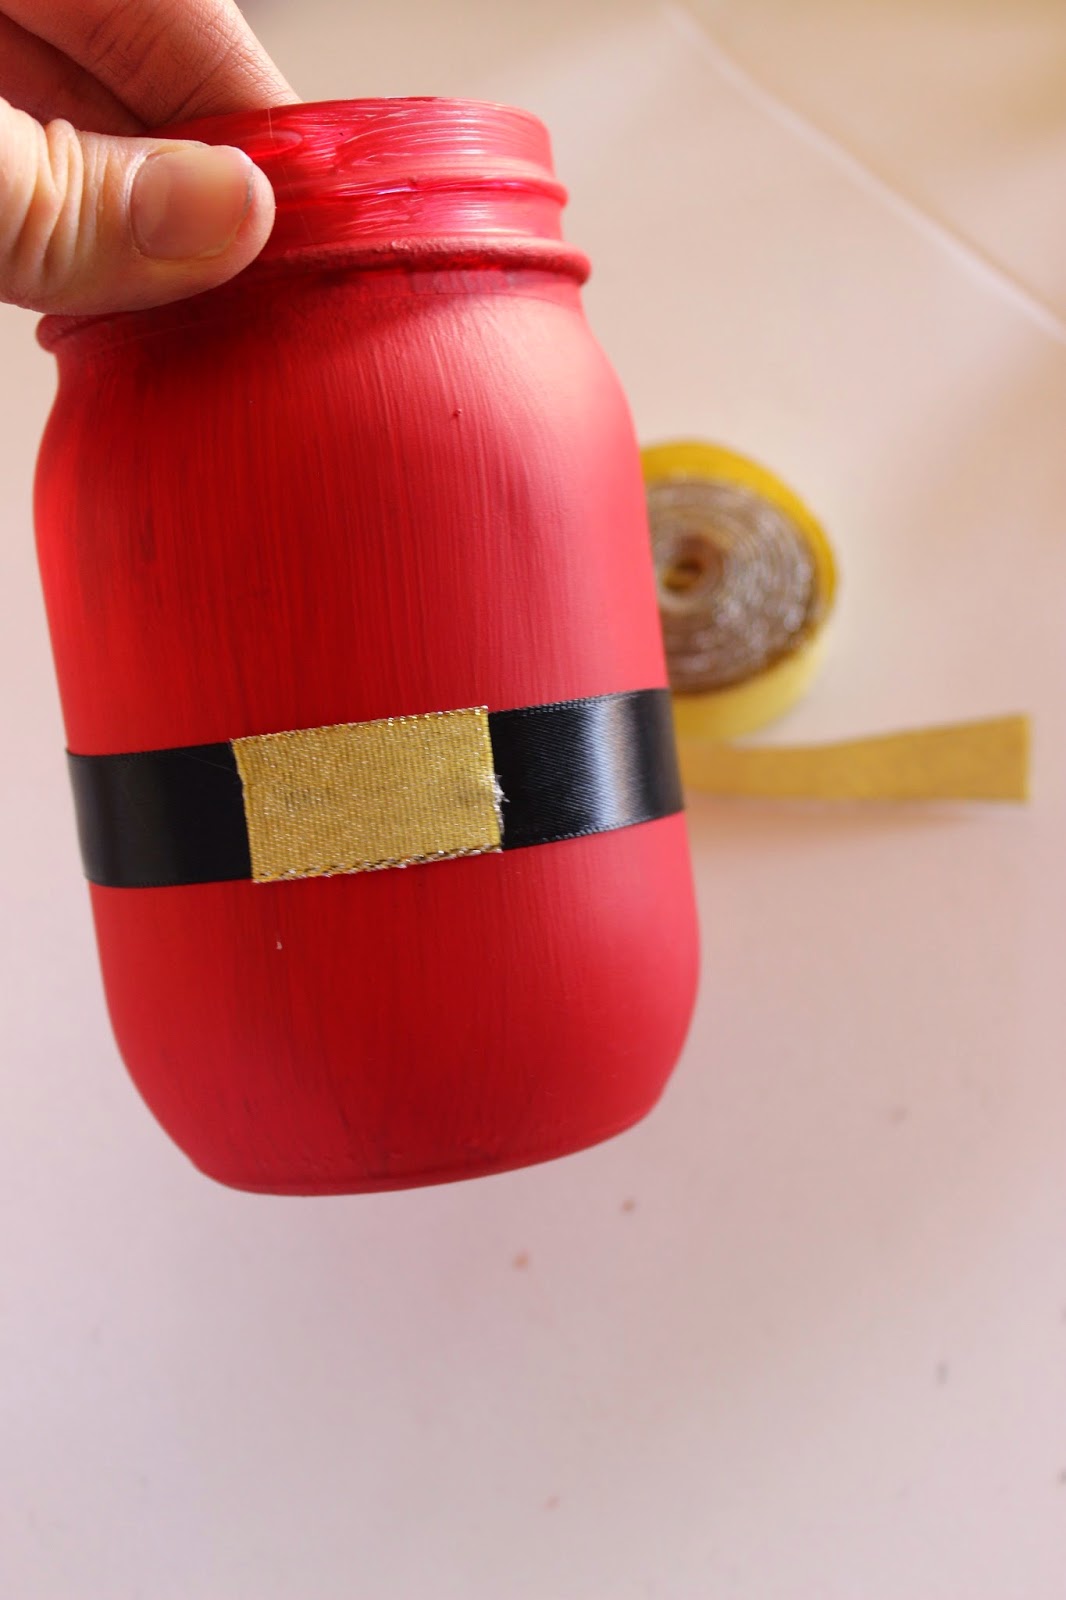
Cut a small rectangle out of your gold ribbon and glue to the front center of your jar on the black ribbon. I love the fun metallic look of this ribbon! It’s just the perfect amount of shimmery, adding a pop of holiday cheer.
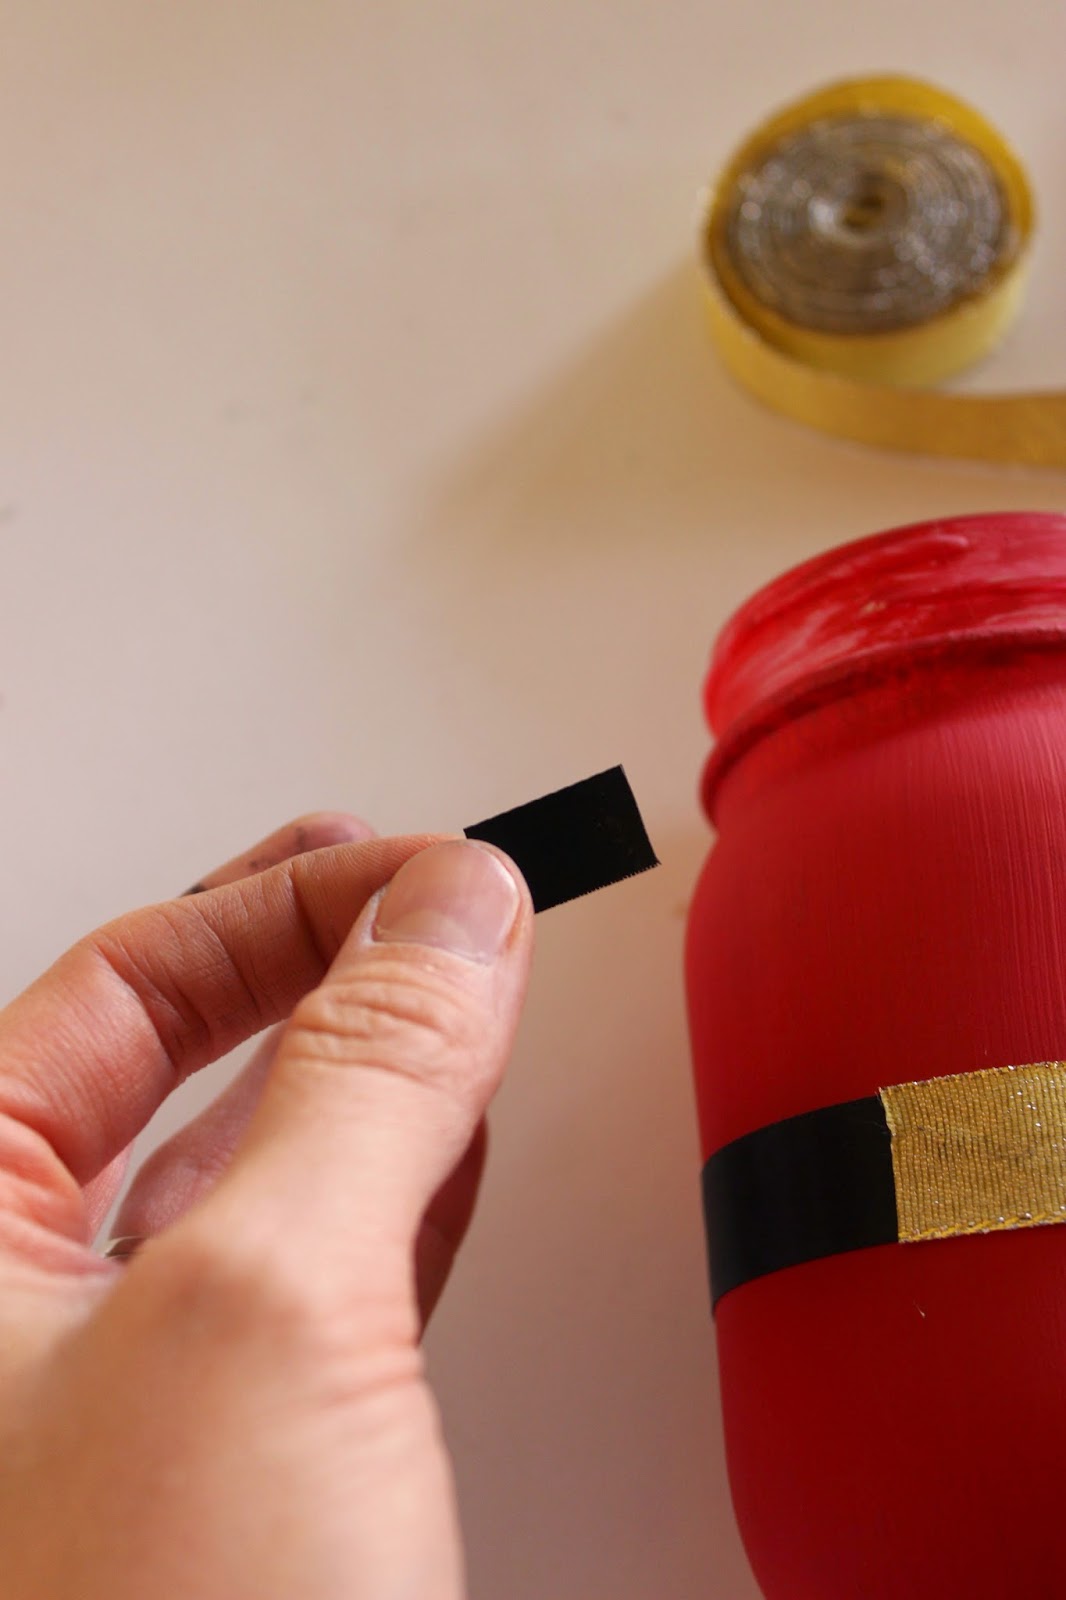
Cut a smaller rectangle out of your black satin ribbon so it will fit inside the gold rectangle and allow gold to show around the edges. This will be Santa’s buckle.
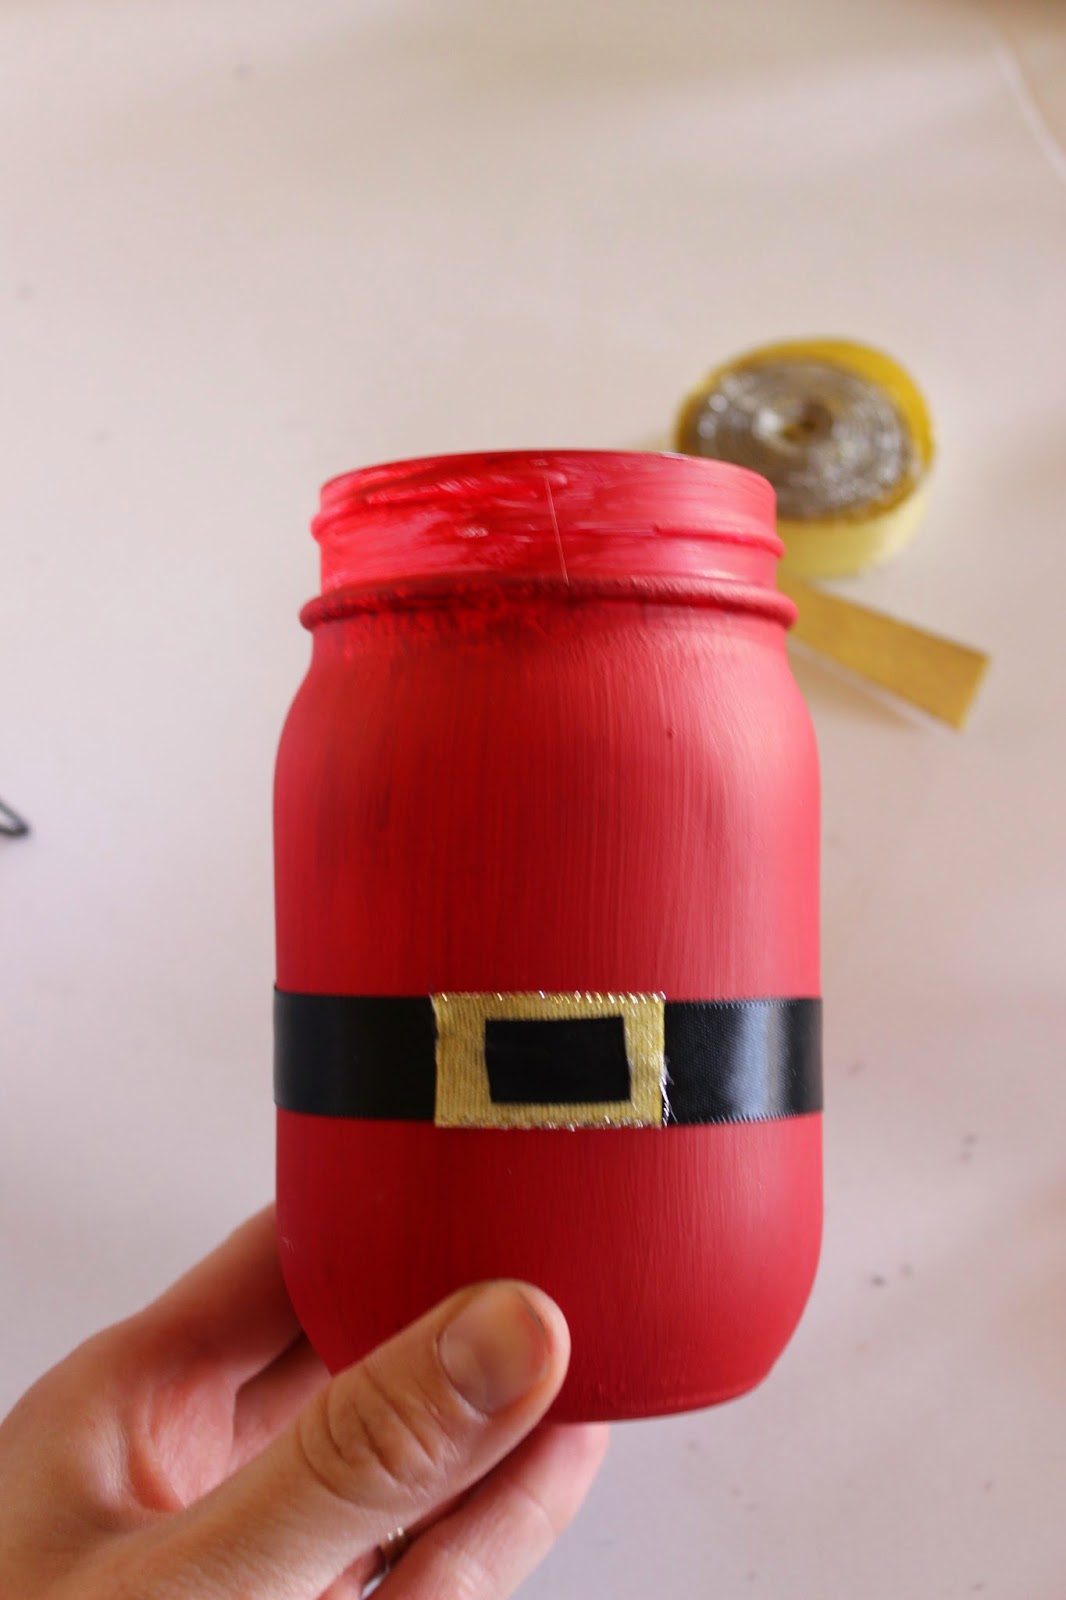
Glue the small black piece inside the gold rectangle.
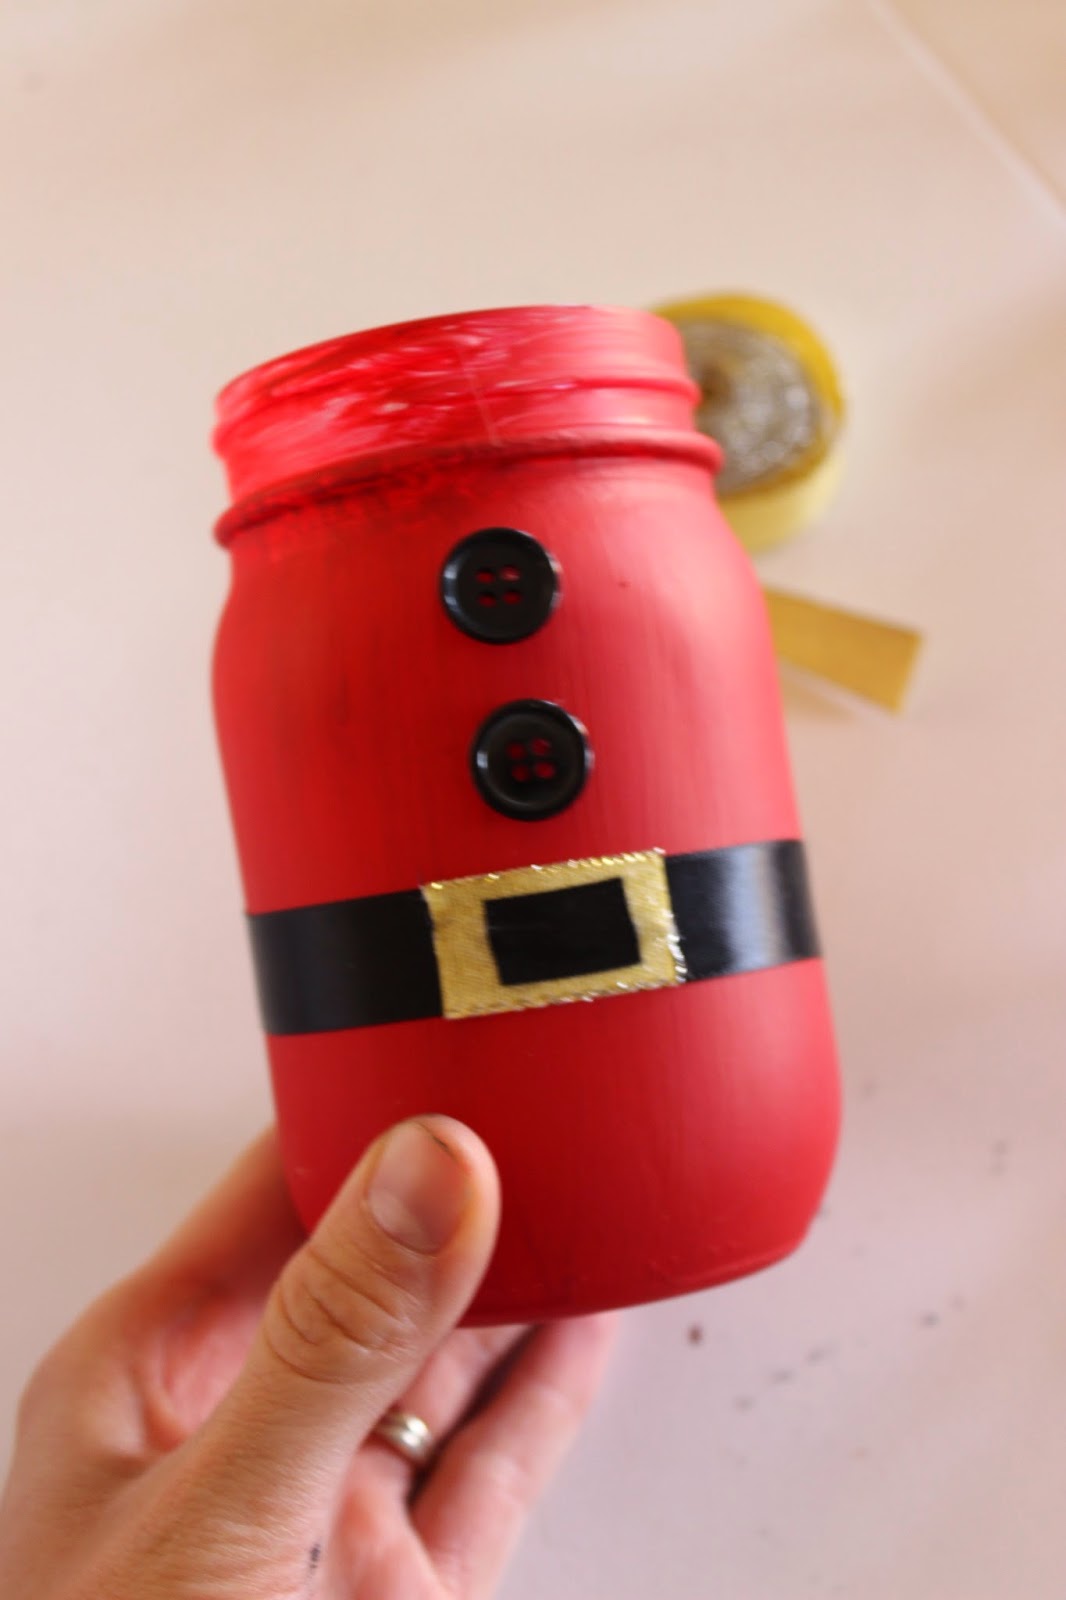
Now glue two small black buttons up the front of the jar.
Fill it with peppermints or other festive treats and give it to someone you love!
How’s that for an inexpensive, adorable gift? Happy holidays!


We are hosting Holiday Best at Tumbleweed Contessa. I'd love it if you shared this cute idea with us.
http://www.tumbleweedcontessa.com/blog/holidaybest/
Linda
Amanda @TexMexCrafting