This shop is part of a social shopper marketing insight campaign with Pollinate Media Group® and Sharpie, but all my opinions are my own. #pmedia #PaintYourWay http://my-disclosur.es/OBsstV.
This DIY “Outdoor Boredom Busters Crate” holds the keys to my sanity this summer with young children, and I can say that from experience. 🙂

Yep. That’s right! I’ve heard “I’m bored!” way too many times already, and there are still months of summer break left, so I pulled out the big guns and came up with at least ten hard-to-refute reasons for that phrase never to be repeated again. 🙂
If your kids are like mine, it’s analogous to pulling teeth to get them off the couch, away from the TV to do something active or creative. I don’t recall having that problem growing up, but my mom might tell you otherwise. 🙂 Anyway, after getting that “push” from Mom to go outdoors and have an adventure, my kids typically will trudge out there, only to return in under 10 minutes, saying “There’s nothing to do!” (insert whines).
So in my desperation, I put together a simple crate filled with inexpensive outdoor activity prompts to keep my little ones busy and entertained this summer.
Here’s a few things that you’ll need to make this Outdoor Boredom Busters crate:

-Unfinished Wood Crate (mine measures 10 3/4″ wide x 14 1/2″ long x 7″ tall)
-Sharpie Paint Markers (I used oil-based for durability since this will be kept outdoors. I recommend using a medium or broad tip for this project)
-Acrylic Paint (I used Peony Pink and Sea Breeze)
-Masking Tape
-Foam Paint Brushes
-spray paint for hardware (optional)
-Waterproof or Water Resistant Paint Sealant Spray (optional, as this box should be kept under a patio or somewhere where it won’t receive direct exposure to the elements)
-spray paint for hardware (optional)
-Waterproof or Water Resistant Paint Sealant Spray (optional, as this box should be kept under a patio or somewhere where it won’t receive direct exposure to the elements)

You’ll also of course need some Outdoor Entertainment Supplies to put inside. I included bubbles, a sprinkler, blow-up bounce balloons, water balloons, sponges and plastic cups for water fights, a jump rope, sidewalk chalk, a small ball, sunglasses, and a slinky.

Summertime to me is all about color! I love to bring the natural shades of in-season fruits and flowers into my decor and creative activities. Today’s fun project happened to be inspired by one of my favorite summer treats…watermelon! Can you see the resemblance? Just makes me want to go bite into a juicy piece right now.
Here’s how it all comes together:

Remove your hardware/side handles.

Mask off the areas that you don’t want to be painted with the first color. I decided to paint the slats pink and the rest of the body in green. The “Wood Box” text that came on the crate took quite a few coats of paint to cover, but it wasn’t a big deal.

Paint the first color, remove the tape, then mask the areas where you just painted that you don’t want to be marred by the next color of paint.

Paint the green areas. I also painted the screws in the grooves.
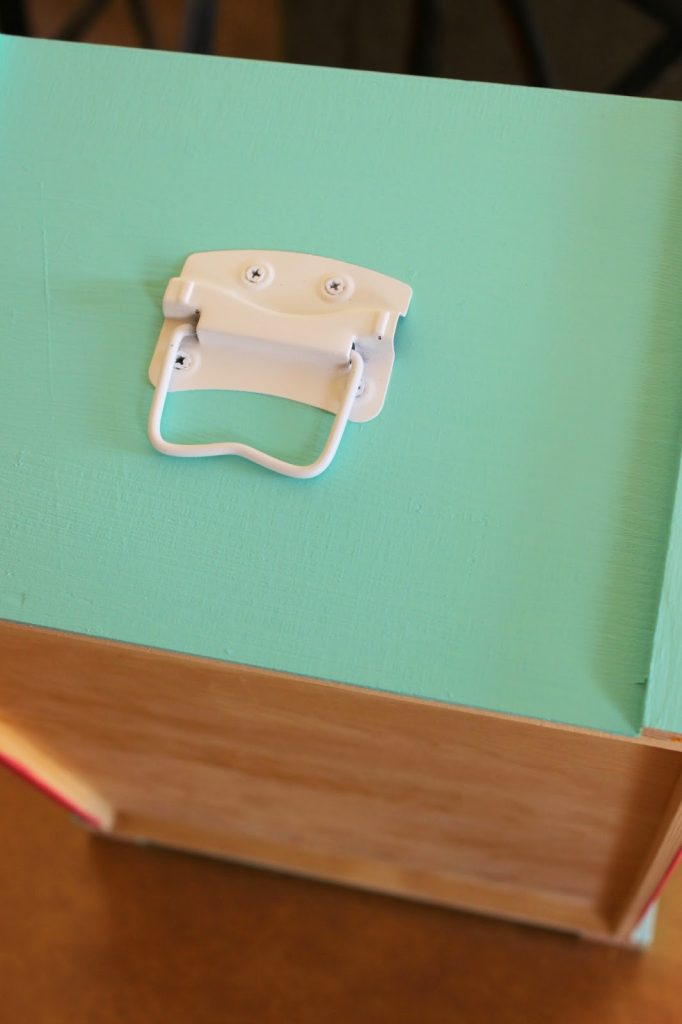
I sprayed painted my hardware white to give it a fresh, clean look, but that’s totally optional. And as long as we’re talking about optional, I chose not to paint the bottom or the inside of the box as I wanted to preserve some of the original, natural wood. But it doesn’t make much of a difference because the inside will be covered mostly by filler items anyway.

I grabbed some awesome Sharpie Paint Markers at Michael’s and labeled that crate in a snap! They’re available in tons of colors, in water-based and oil-based, fine, medium, and bold tips. They’re fast-drying and can be used on virtually any surface (metal, pottery, wood, glass, plastic, stone and more).

I drew in a few cute watermelon pieces, to tie in the theme. I love the metallic look of the paint marker against the pink? White would have looked cute too, though.Sharpie Paint Markers are so fun and simple to use! I selected the fine tipped markers for mine, but in hindsight, I’d definitely recommend the wider tips for this project, as they have much better flow over the wood surface. Be sure to follow the usage instructions on the markers for best results.
The paint marker label adds a unique, personal touch to the piece, don’t you think? And whipping out a marker is much quicker than cutting vinyl. I’m a fan.

Now fill it with fun things for the kids to do outside!

What do you think?
This was such an enjoyable project! The kids couldn’t wait to get their hands on the treasures inside and have already put them to great use! It’s a great way to encourage young ones to get outdoors, be active, and create their own fun!
Are you just itching to get your hands on some Sharpie Paint Markers now? Be sure to look for great deals on Sharpie Paint Markers at your local Michael’s! Check out michaels.com for more fun products.
Happy creating!
Be sure to follow Sharpie on Facebook and Twitter for more fantastic ways to add color to your life!
——–
What will you make with Sharpie Paint Markers? I’d love to hear your ideas!


Blessings,
Shari