I just love homemade decorations, especially when they involve the fall season, so today I’m sharing some simple DIY pumpkin art using looped ribbon!
I originally shared this project over on The Ribbon Retreat where I love being a contributor.
I just love decorating with pumpkins. I think their natural colors are so beautiful!
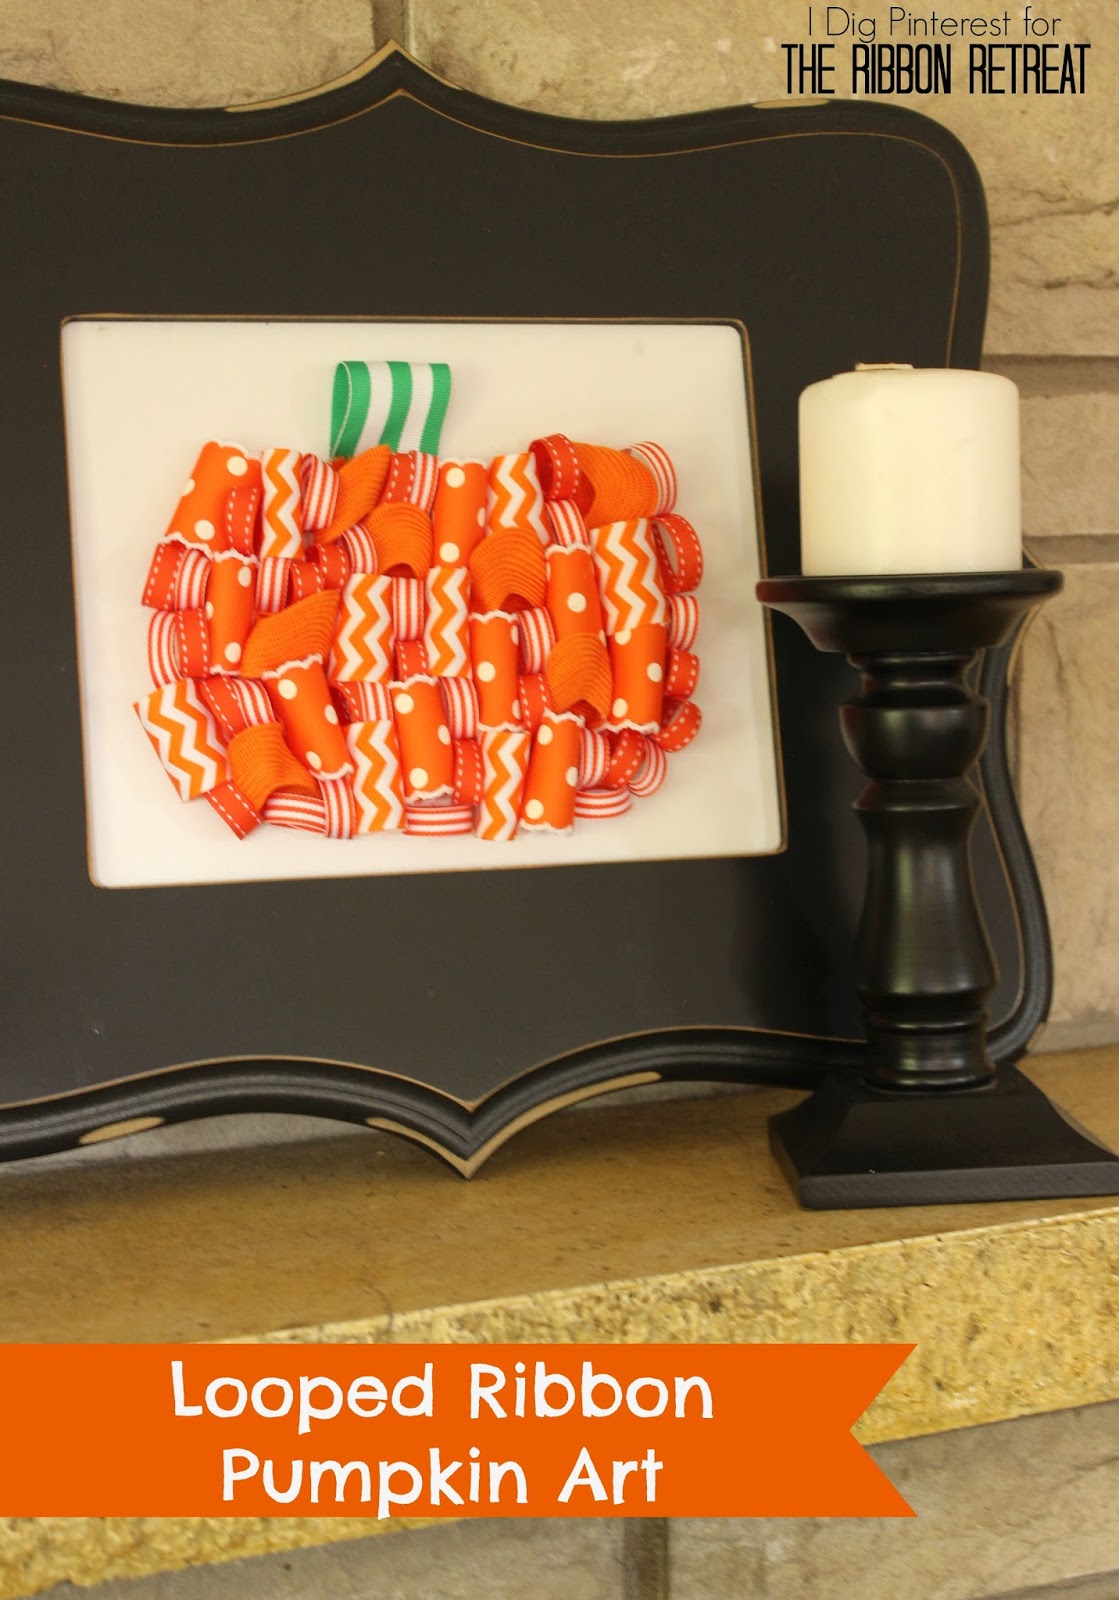
Each year I like to add new elements to my fall/Halloween mantel just to mix things up a little bit. So this time around, I decided to make a fun ribbon pumpkin art piece. I really love how it turned out!
I love that it comes together easily and adds a fun pop of color wherever you choose to put it.
Here’s how it’s done:
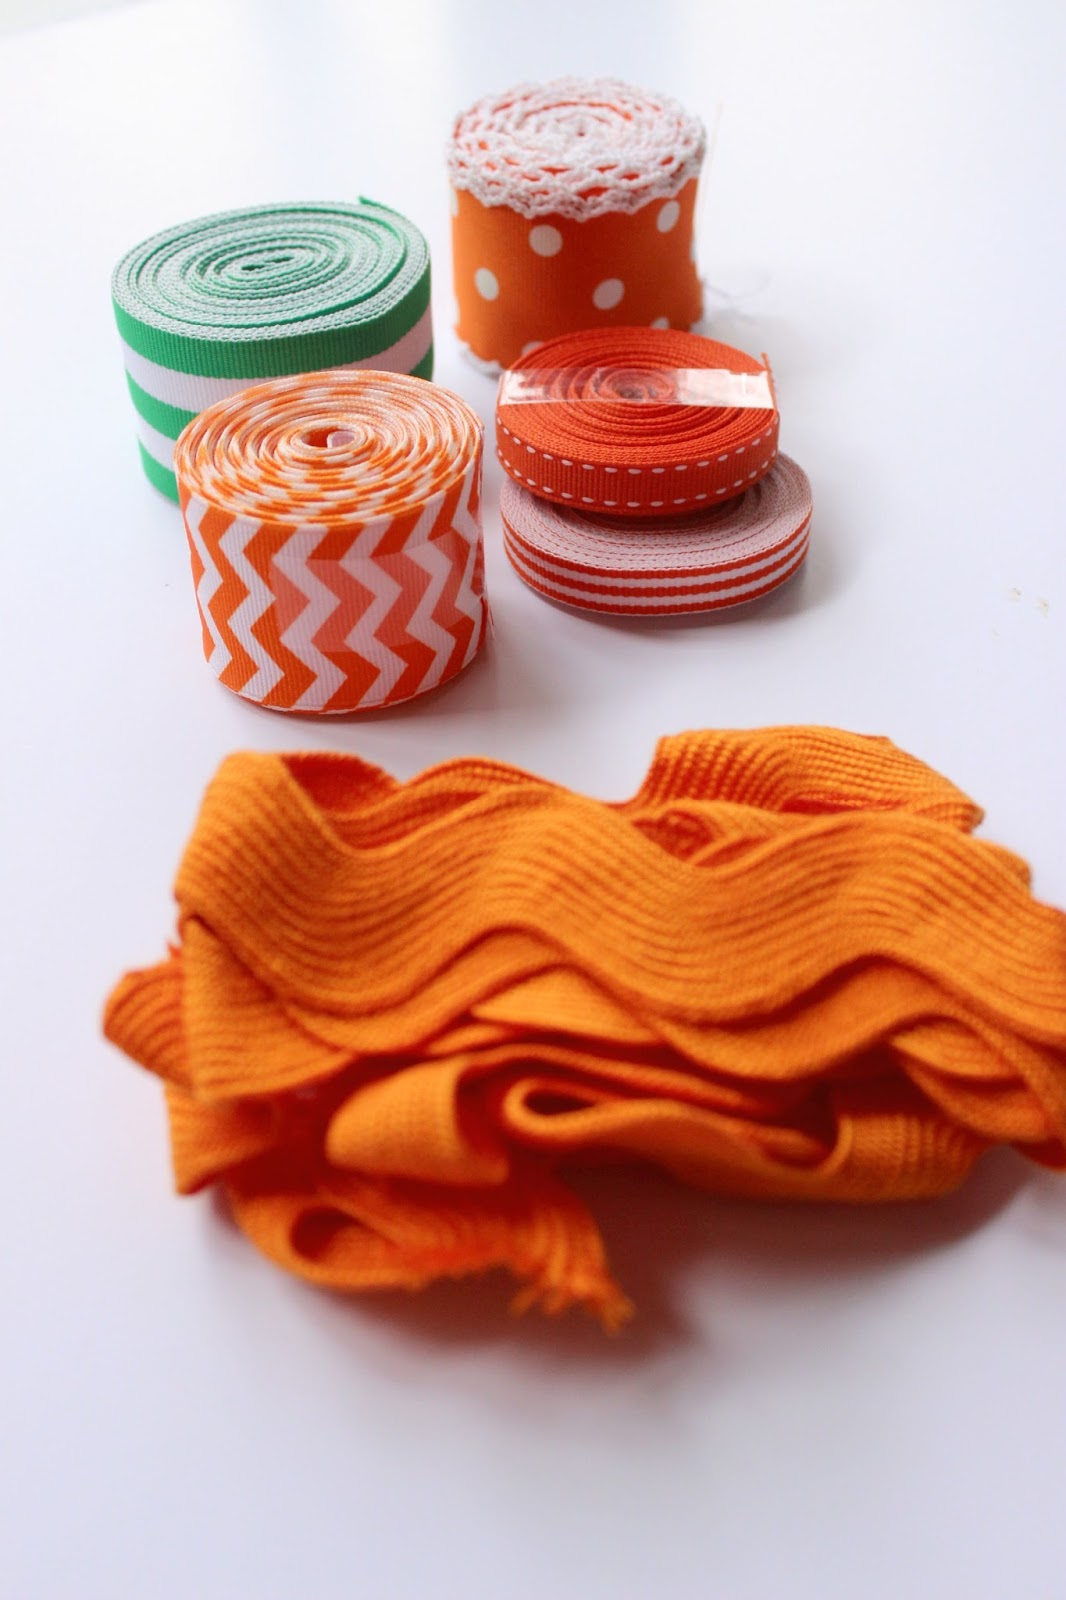
{SUPPLIES}
Moonstitch Orange Polka Dot 1 1/2″
Orange Chevron 1 1/2″
Saddle Stitch Orange 3/8″
Jumbo Orange Ric Rac
Orange and White Stripe 3/8″
Emerald Stripe 1 1/2″
Hot Glue Gun
A Piece of Heavy White Cardstock
Frame
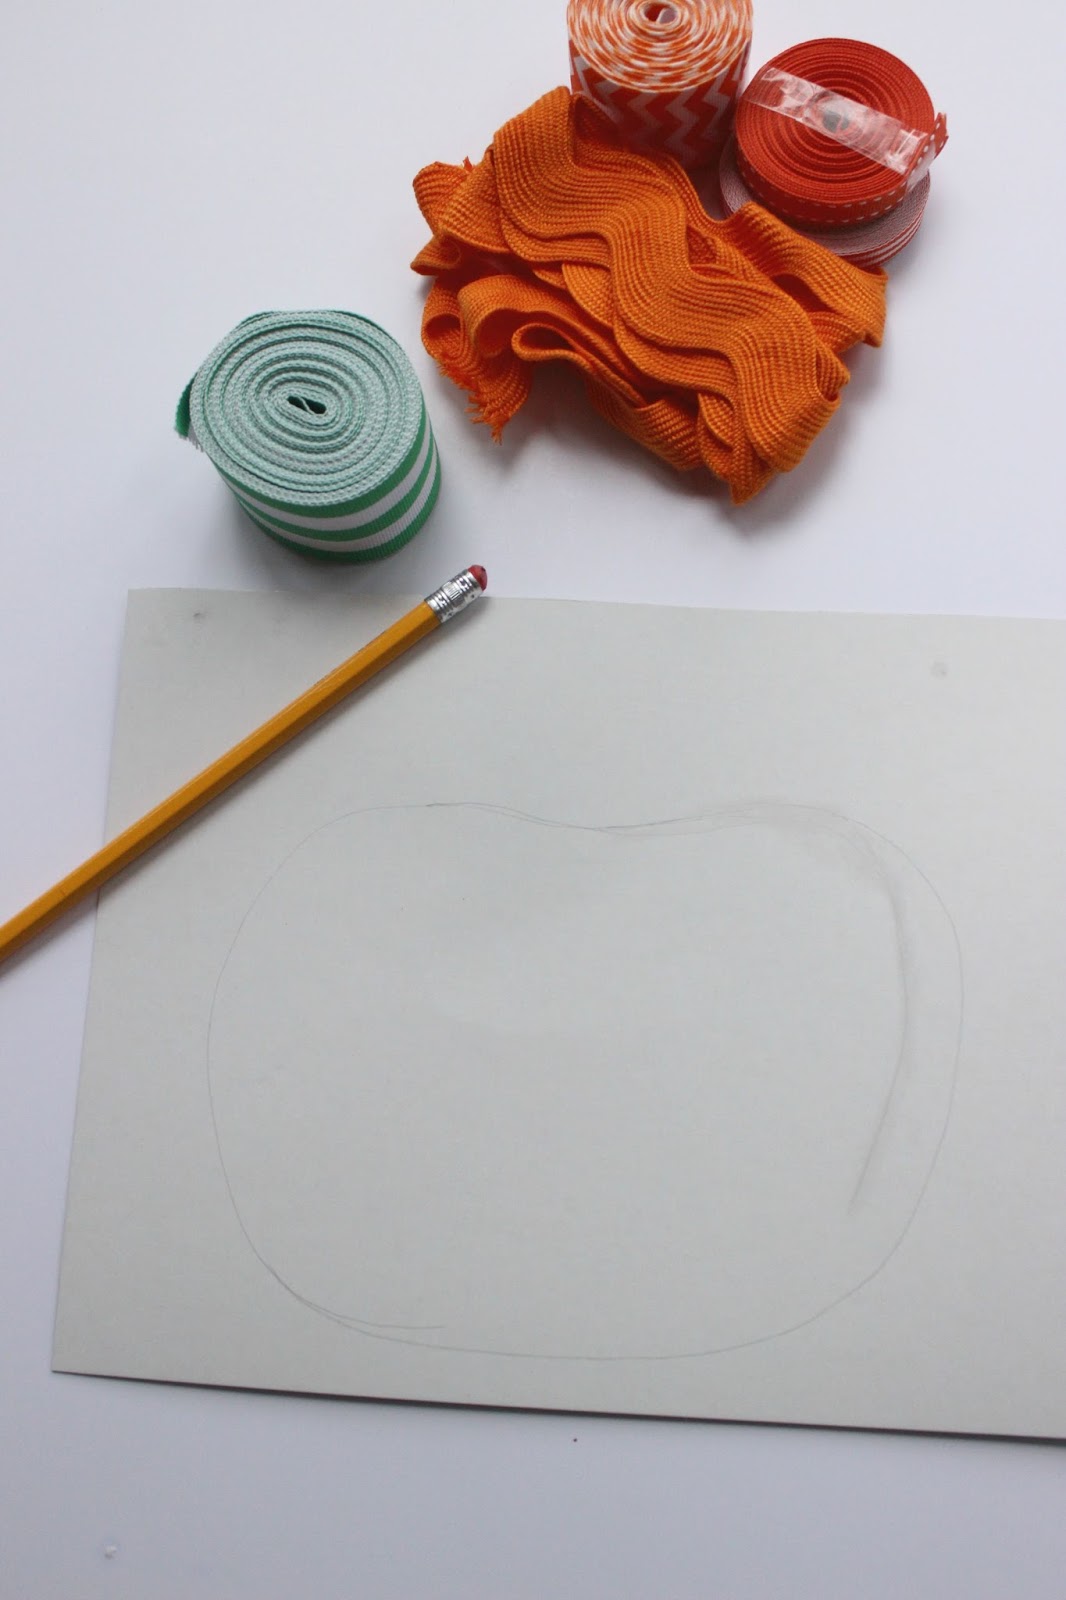
Begin by cutting your heavy cardstock to fit the size of your frame. Mine was 8″x10″. With a pencil, lightly freehand the shape of a pumpkin. You can see where I made a mistake, but the ribbon will cover that up, as long as it’s inside the pumpkin.
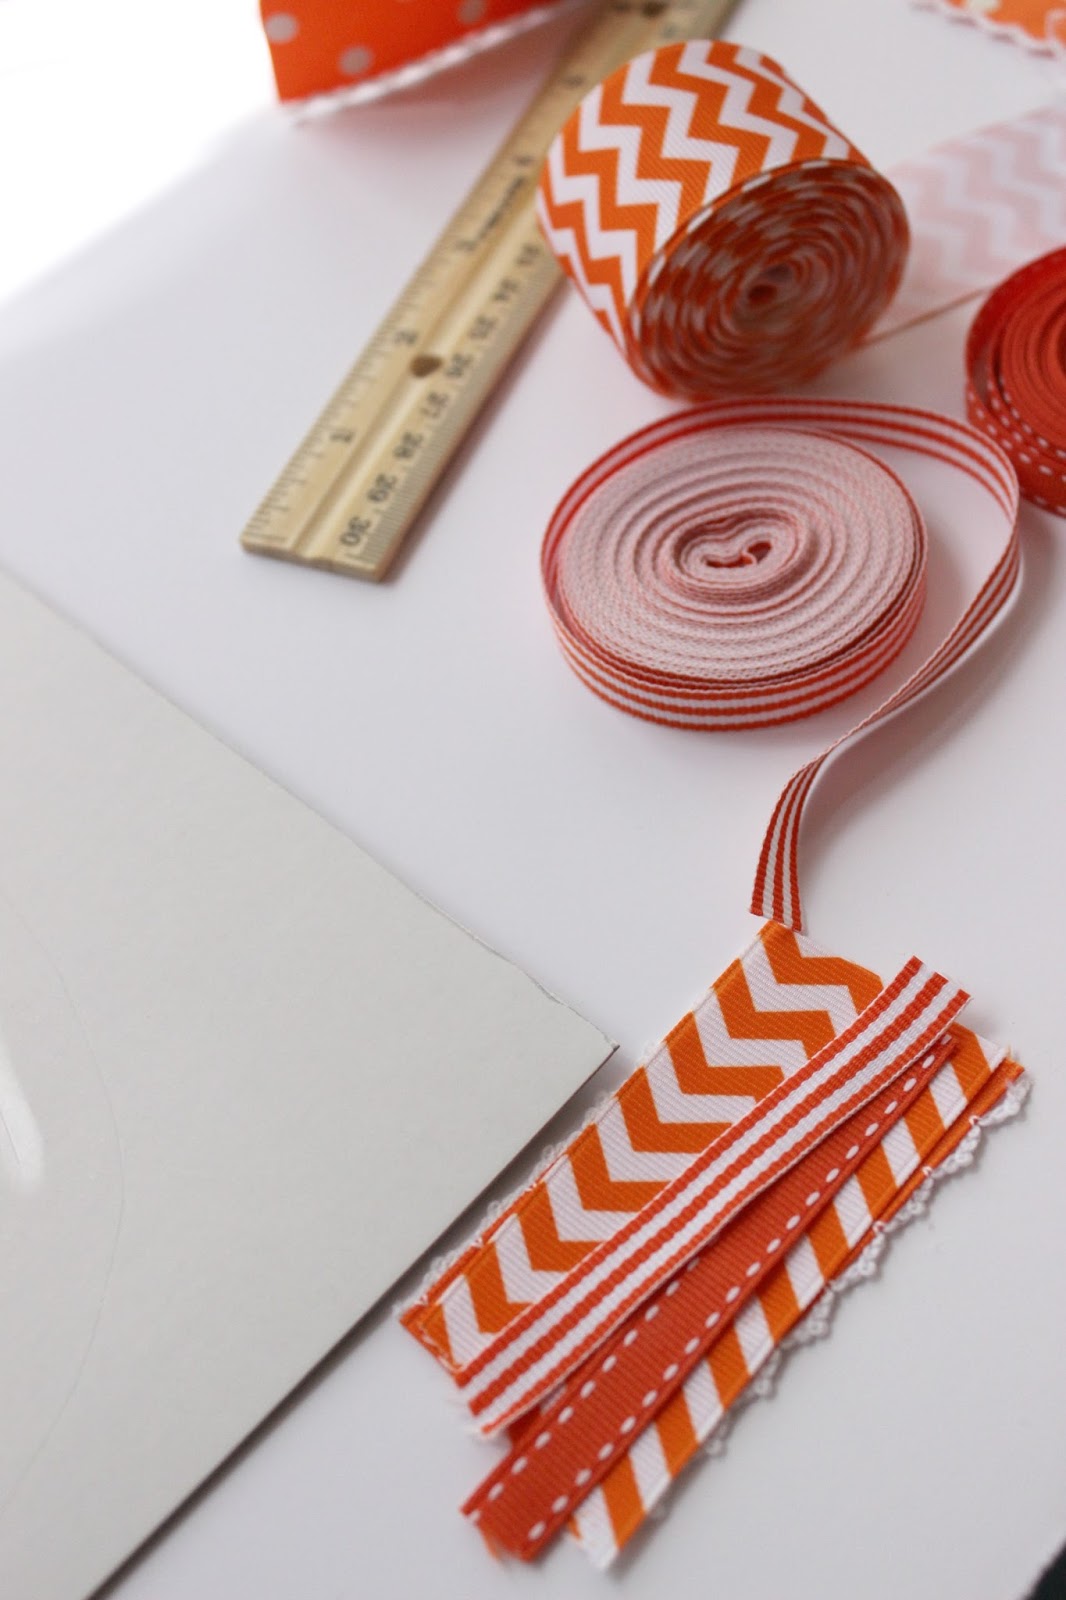
Next, cut plenty of 3″ strips of ribbon in each of the ribbon designs. How many will depend on the size of your pumpkin.
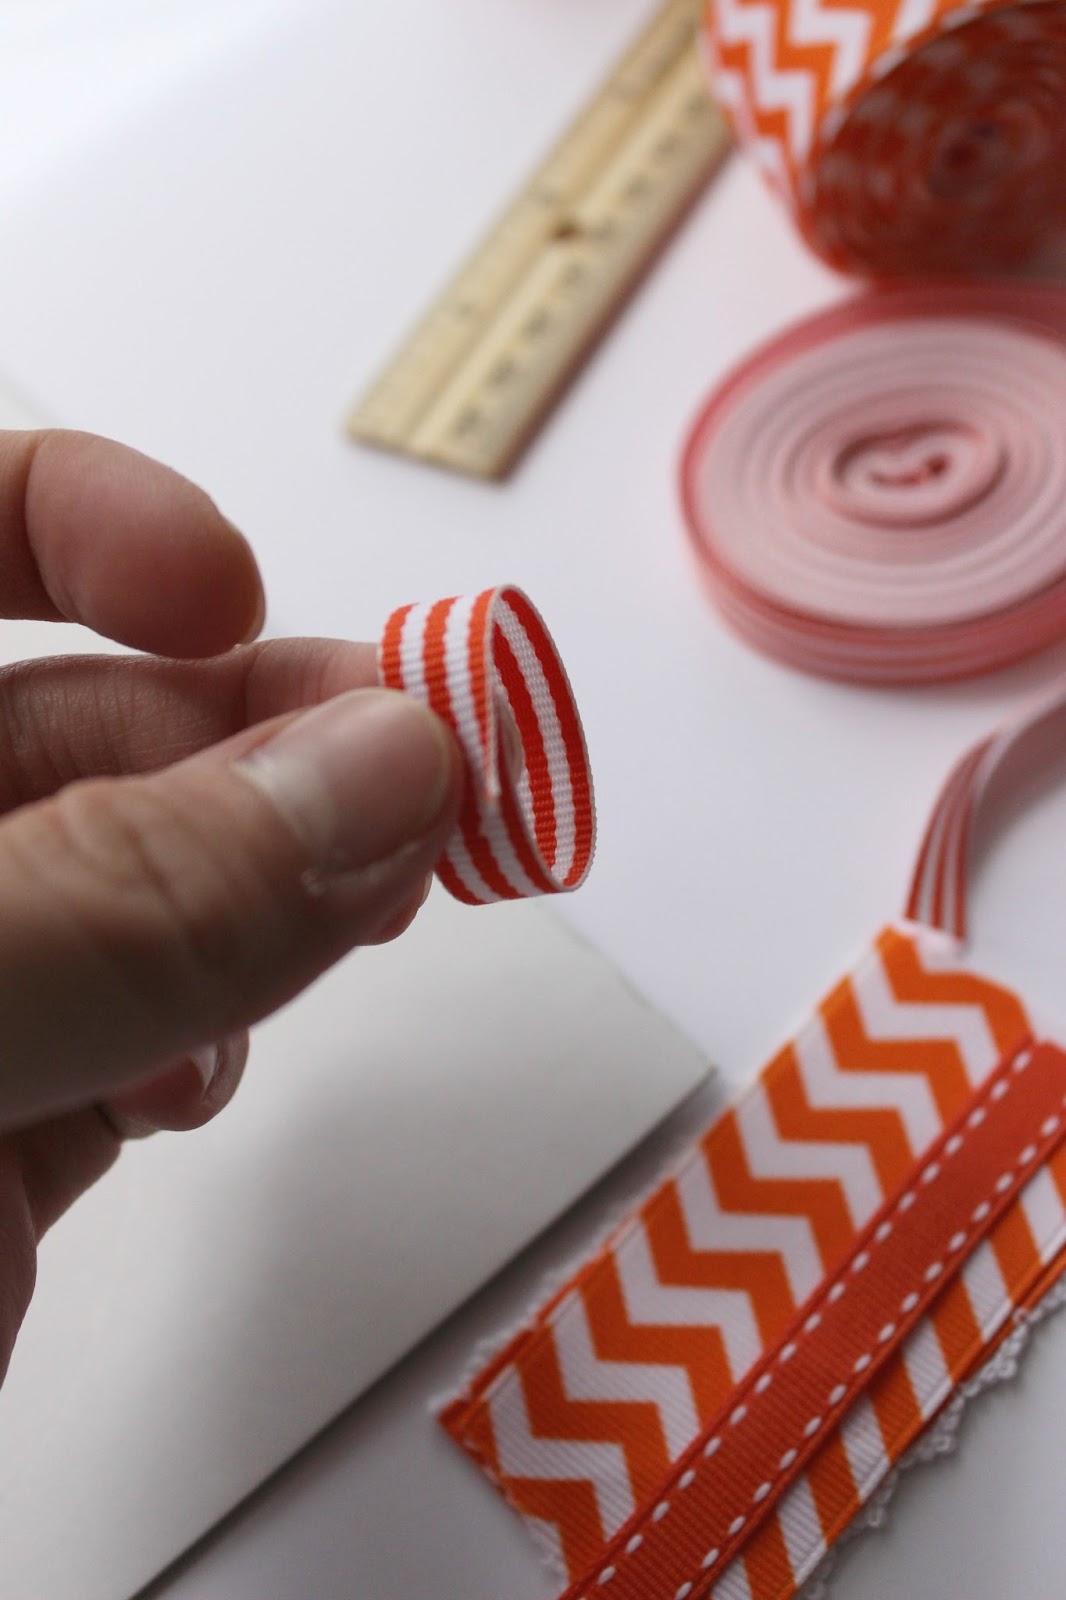
Make a loop with the ribbon and hot glue it together where the ends meet. Repeat for all your ribbon pieces.
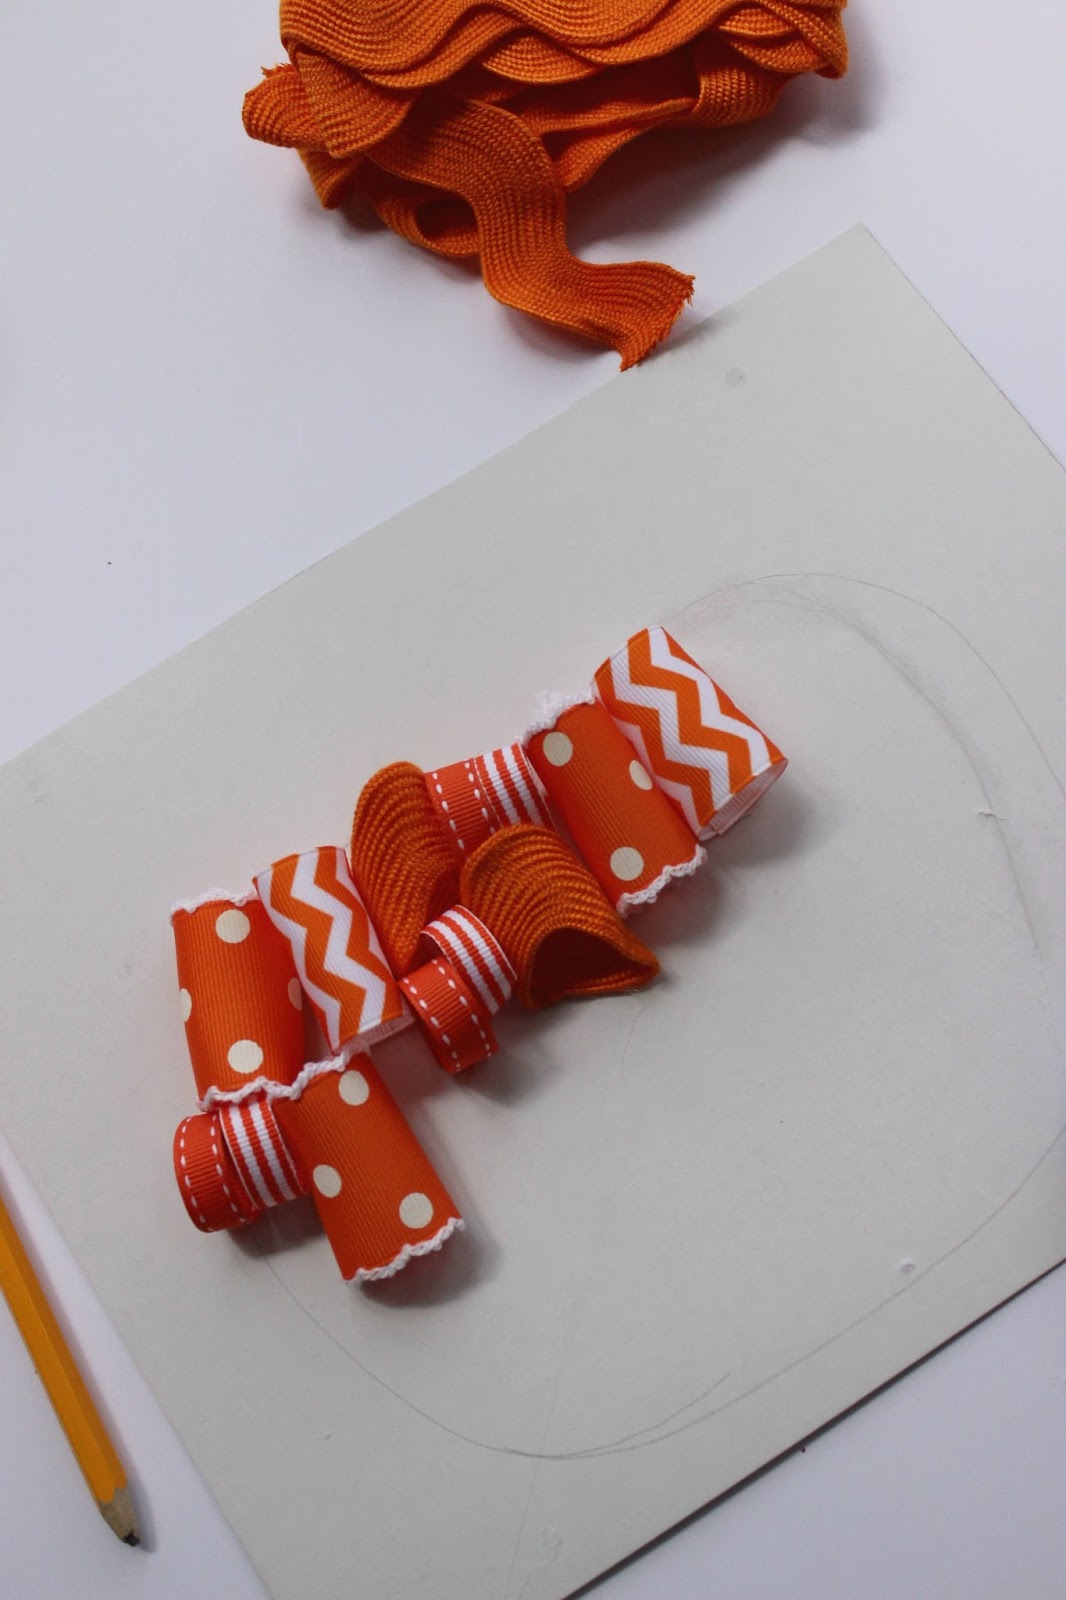
Starting at the top of your pumpkin and working down, hot glue the ribbon loops closely together, alternating the designs. Angle the edge pieces so the finished pumpkin will have curved sides.
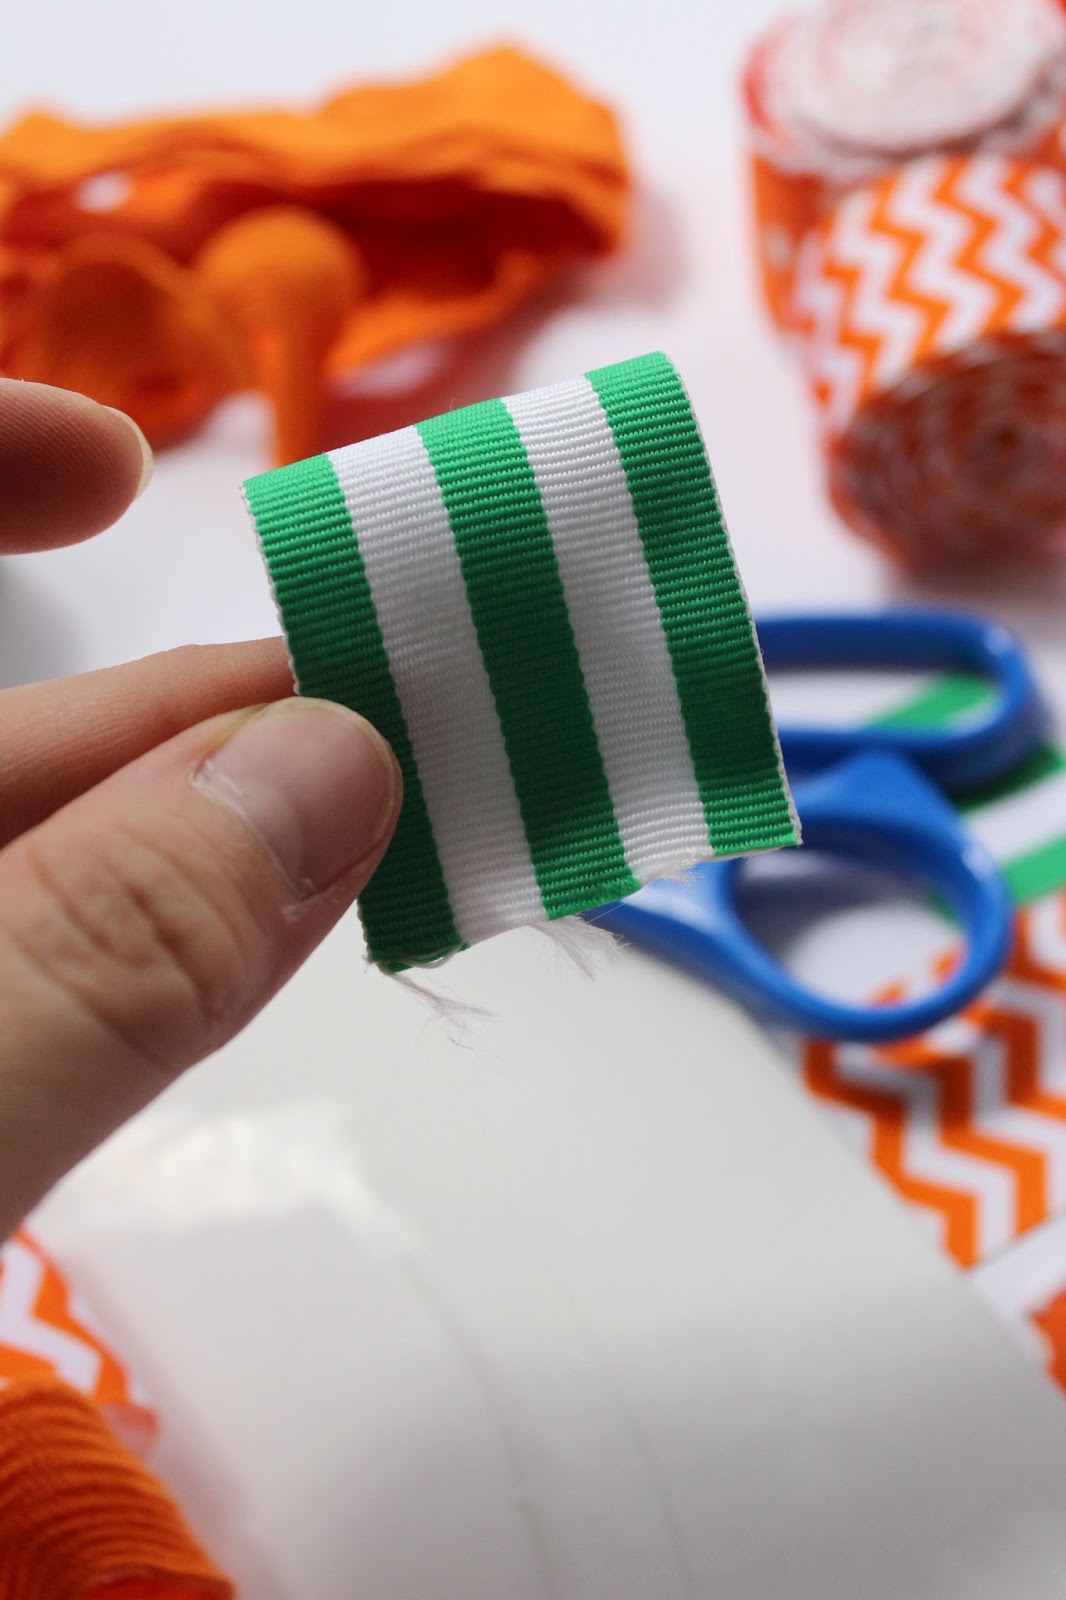
When finished with the orange ribbon, cut a piece of green and white striped ribbon and hot glue the ends together so it’s not completely circular and looks like a stem. Glue it to the top of the pumpkin on the cardstock.
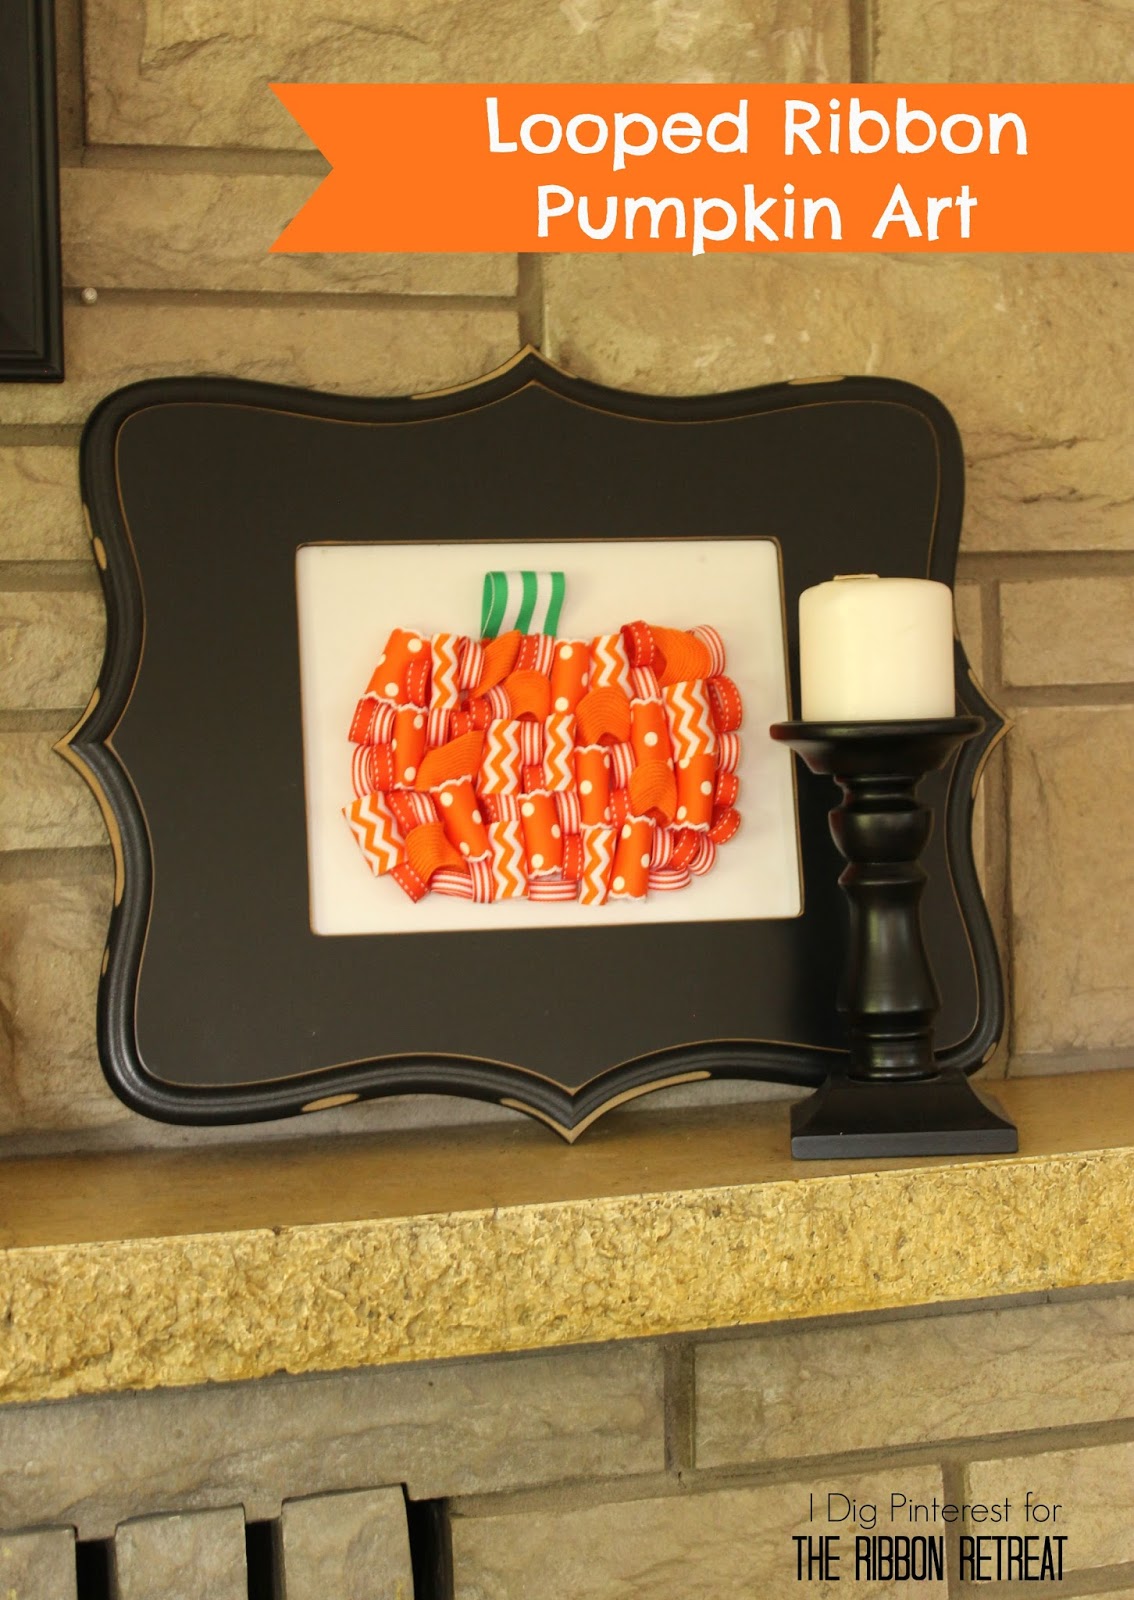
Now add your finished art to a frame, stand back and admire! Hang it on a wall or place it on the mantel to bring a bit of fall into your home!
If you know me, you know that I can’t get enough of polka dots! I love the look of all the fun ribbon patterns together.Happy Halloween crafting!