Decorate a gift, a card, or whatever you can dream up with an inexpensive and pretty tissue paper flower! You can easily coordinate them with any color scheme!
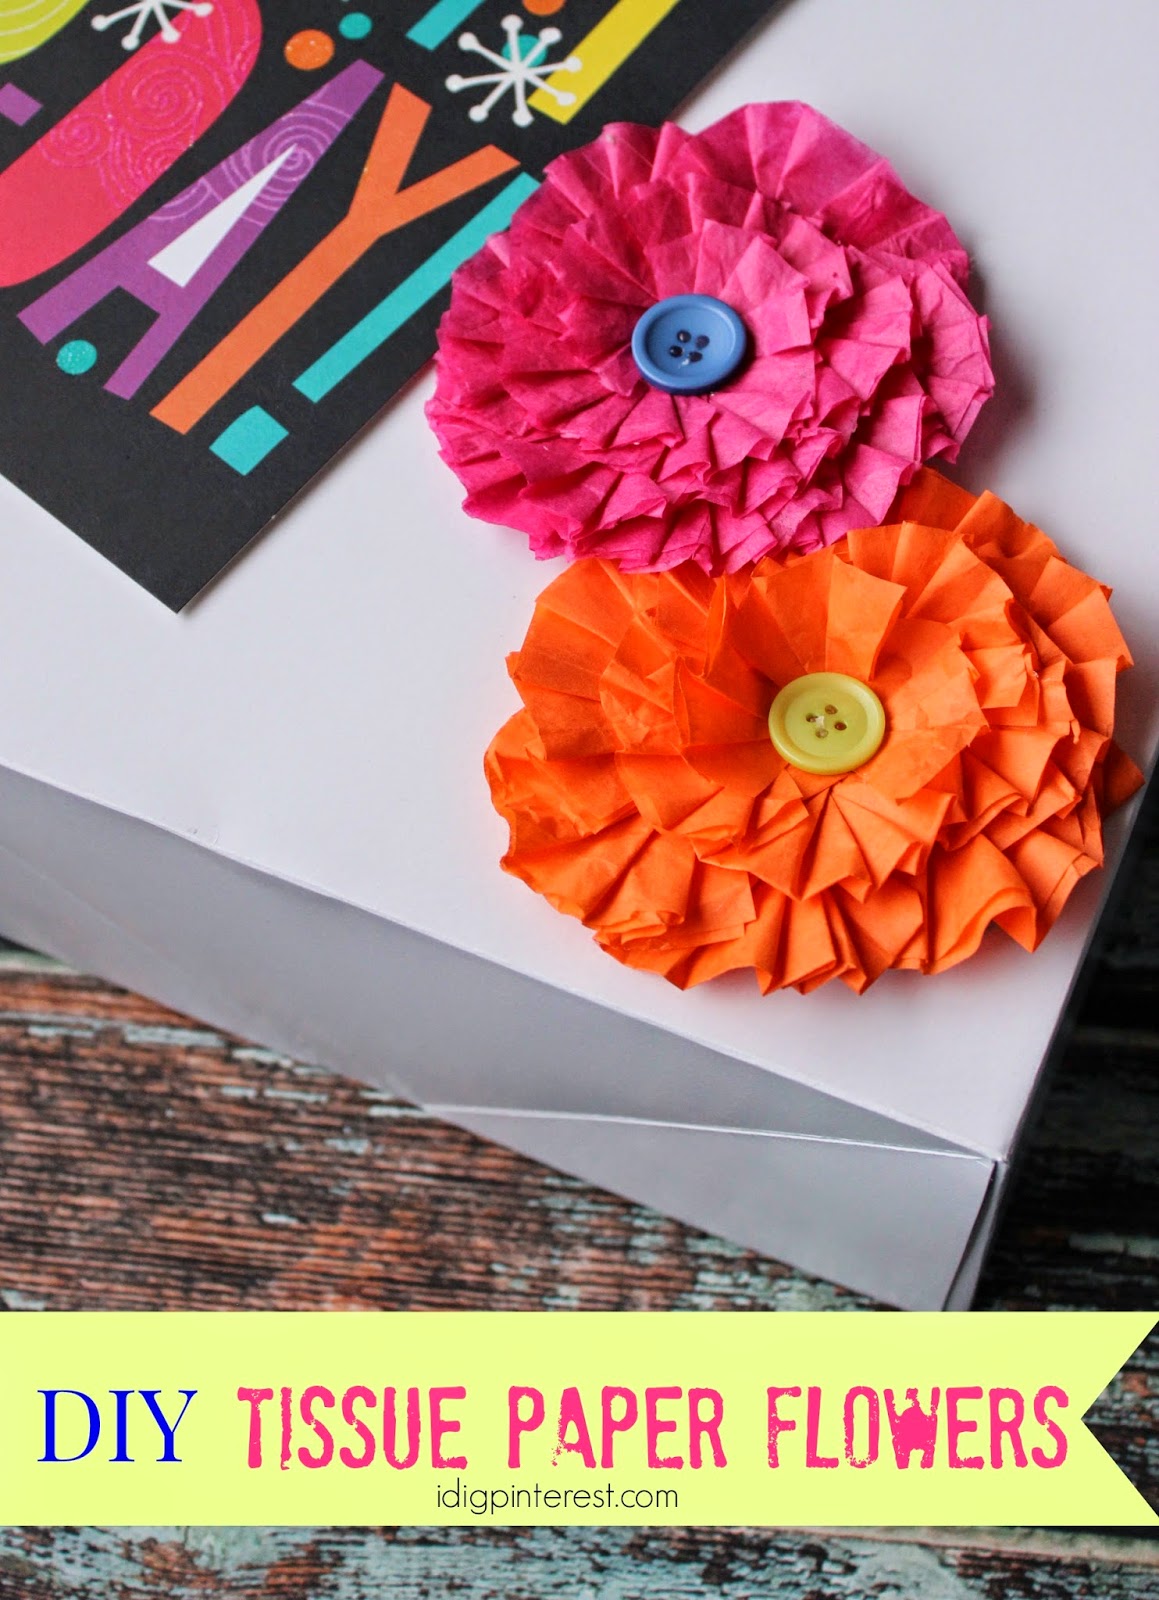
The other day when I made this Birthday in a Box, I wanted a little something to embellish the outside of the gift. I didn’t have any fabric flowers on hand, but I had a bunch of scrap tissue paper, so the wheels in my head started turning. After a little bit of folding, snipping and gluing, the beautiful tissue paper flower was born!
I especially appreciate that it doesn’t take much time to make, can be made with supplies you probably already have on hand, AND there are so many uses for it!
Flowers are such a happy thing, don’t you think? They make me smile.
{SUPPLIES}
Tissue paper
Cardstock
Glue Gun
Buttons
Scissors
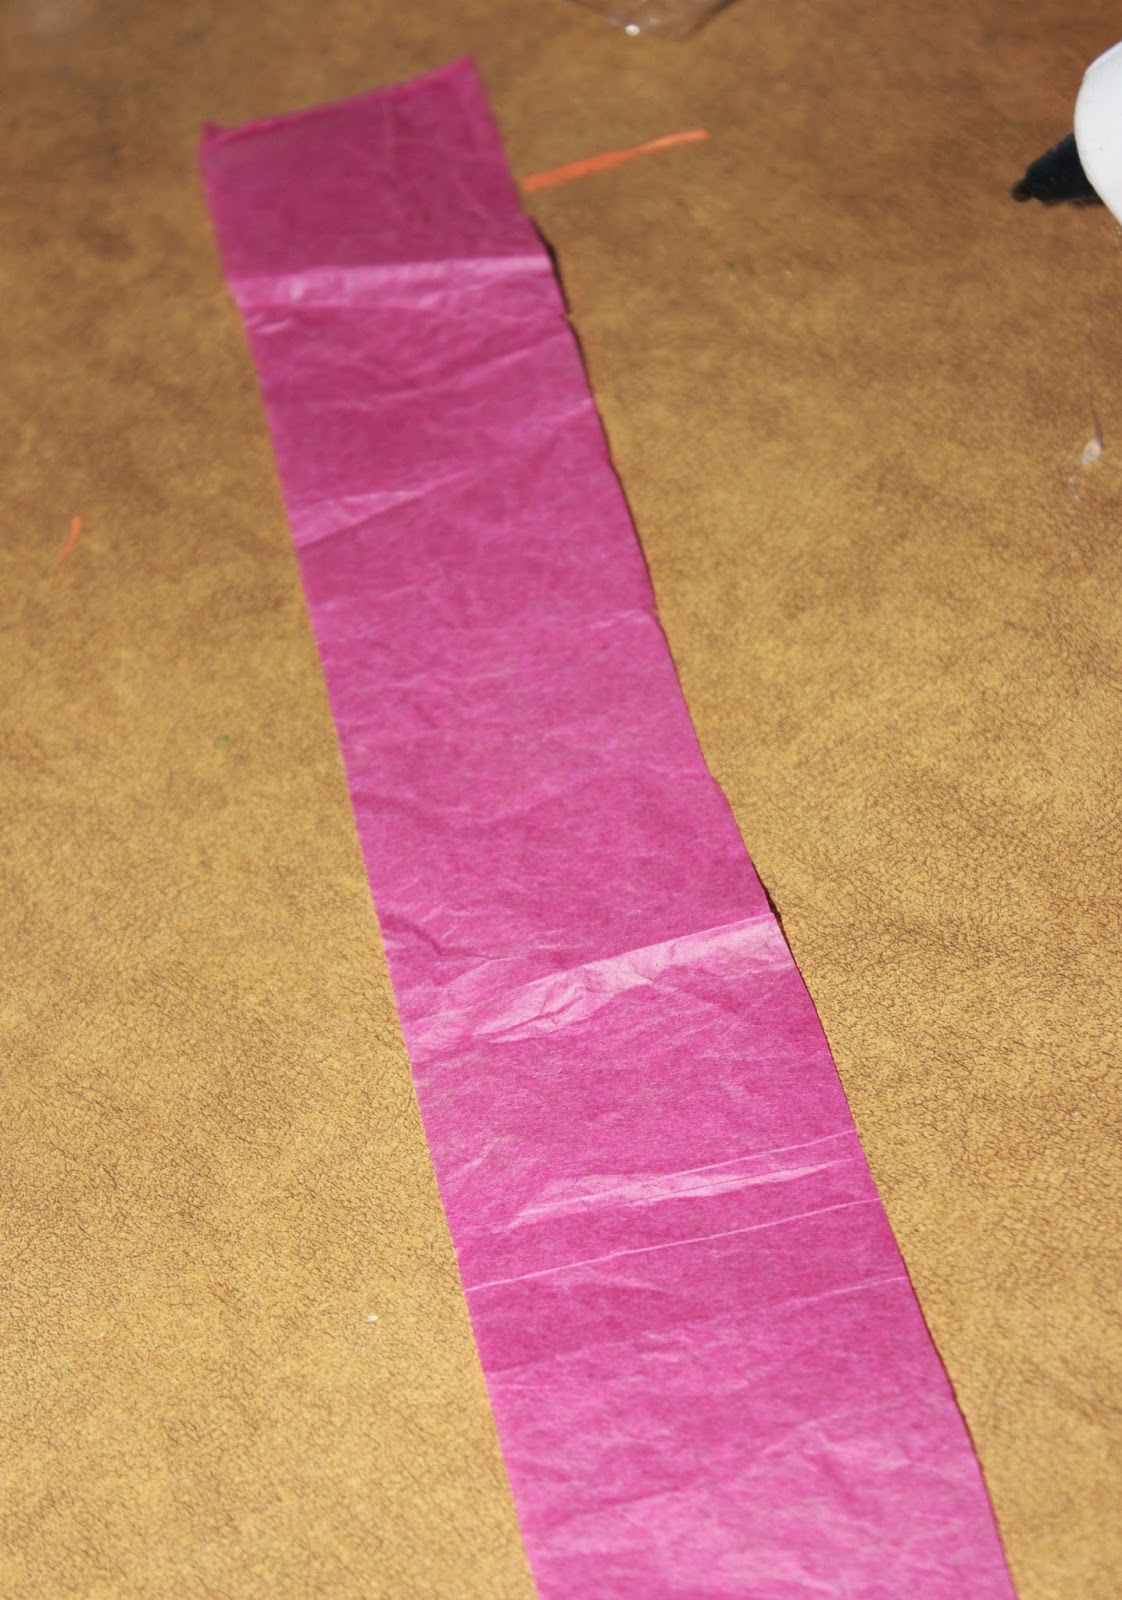
Start by cutting a strip the entire length of your tissue paper. How wide you make it will determine the width of your layers, but I made mine about 1 1/2″.
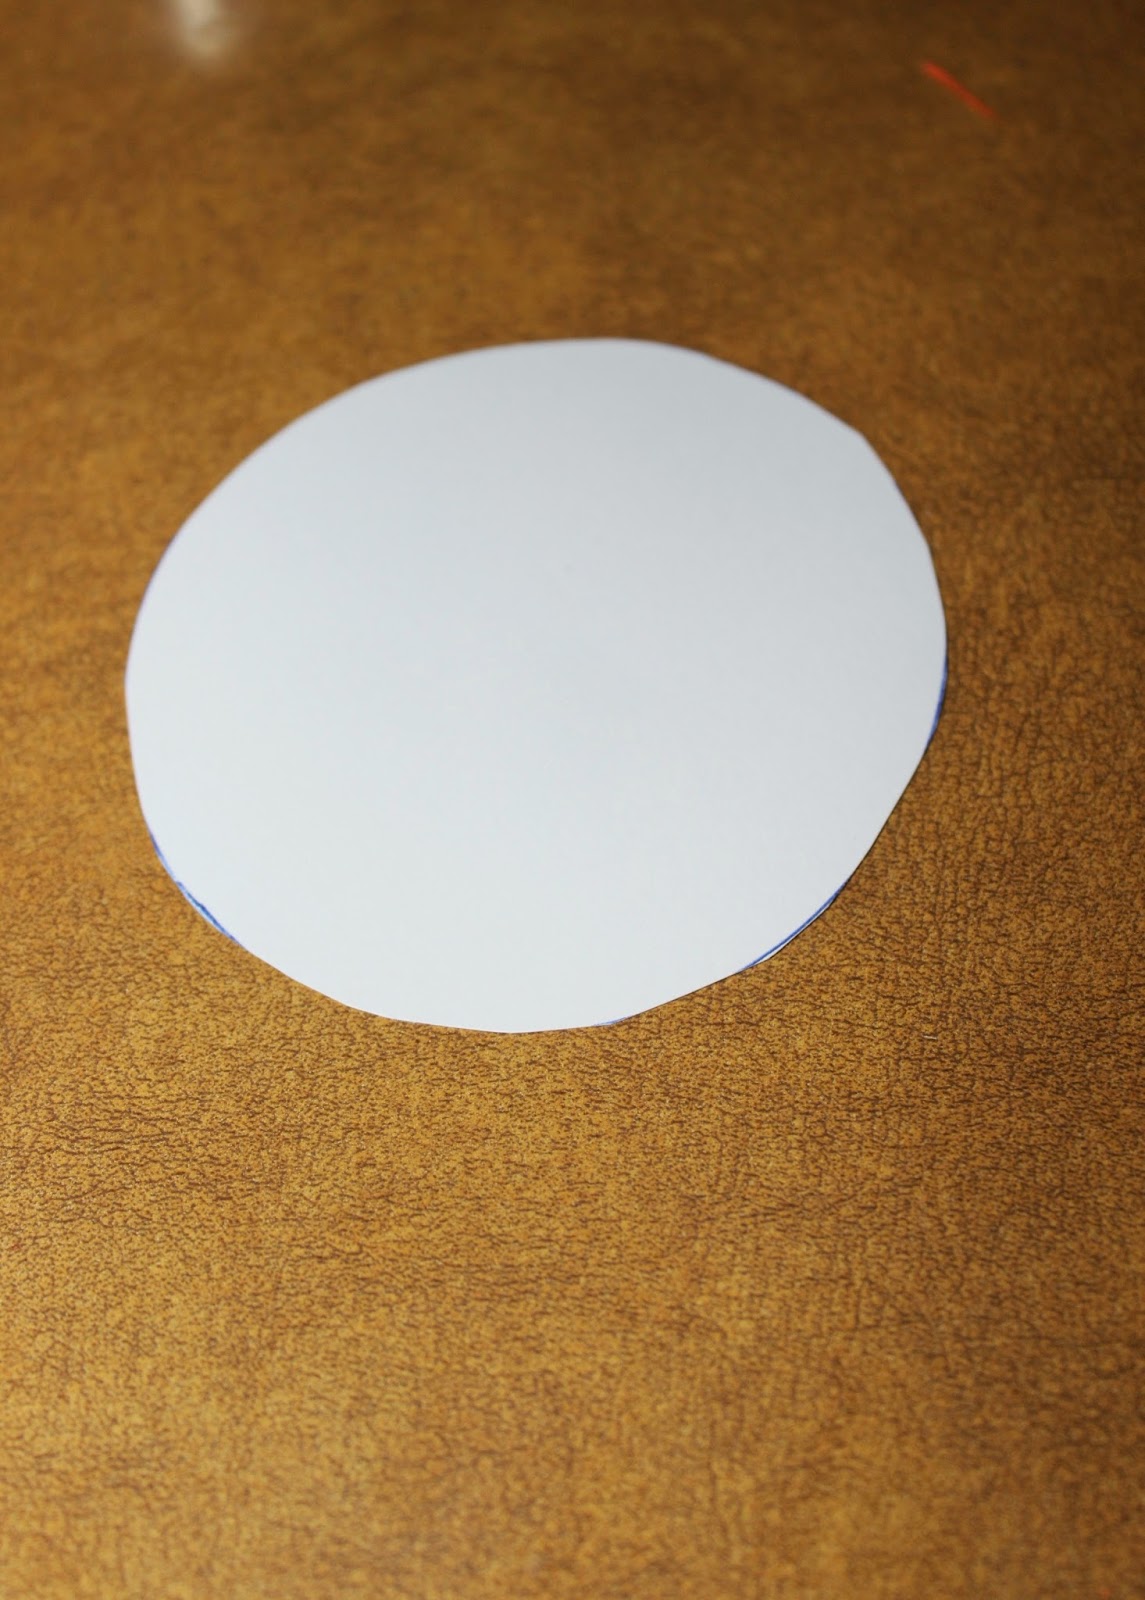
Cut a circle out of your cardstock. I just traced the bottom of a kitchen cup. This will be the form for your flower, so however large it is will determine the final size of your flower.

Fold your tissue paper in half lengthwise.
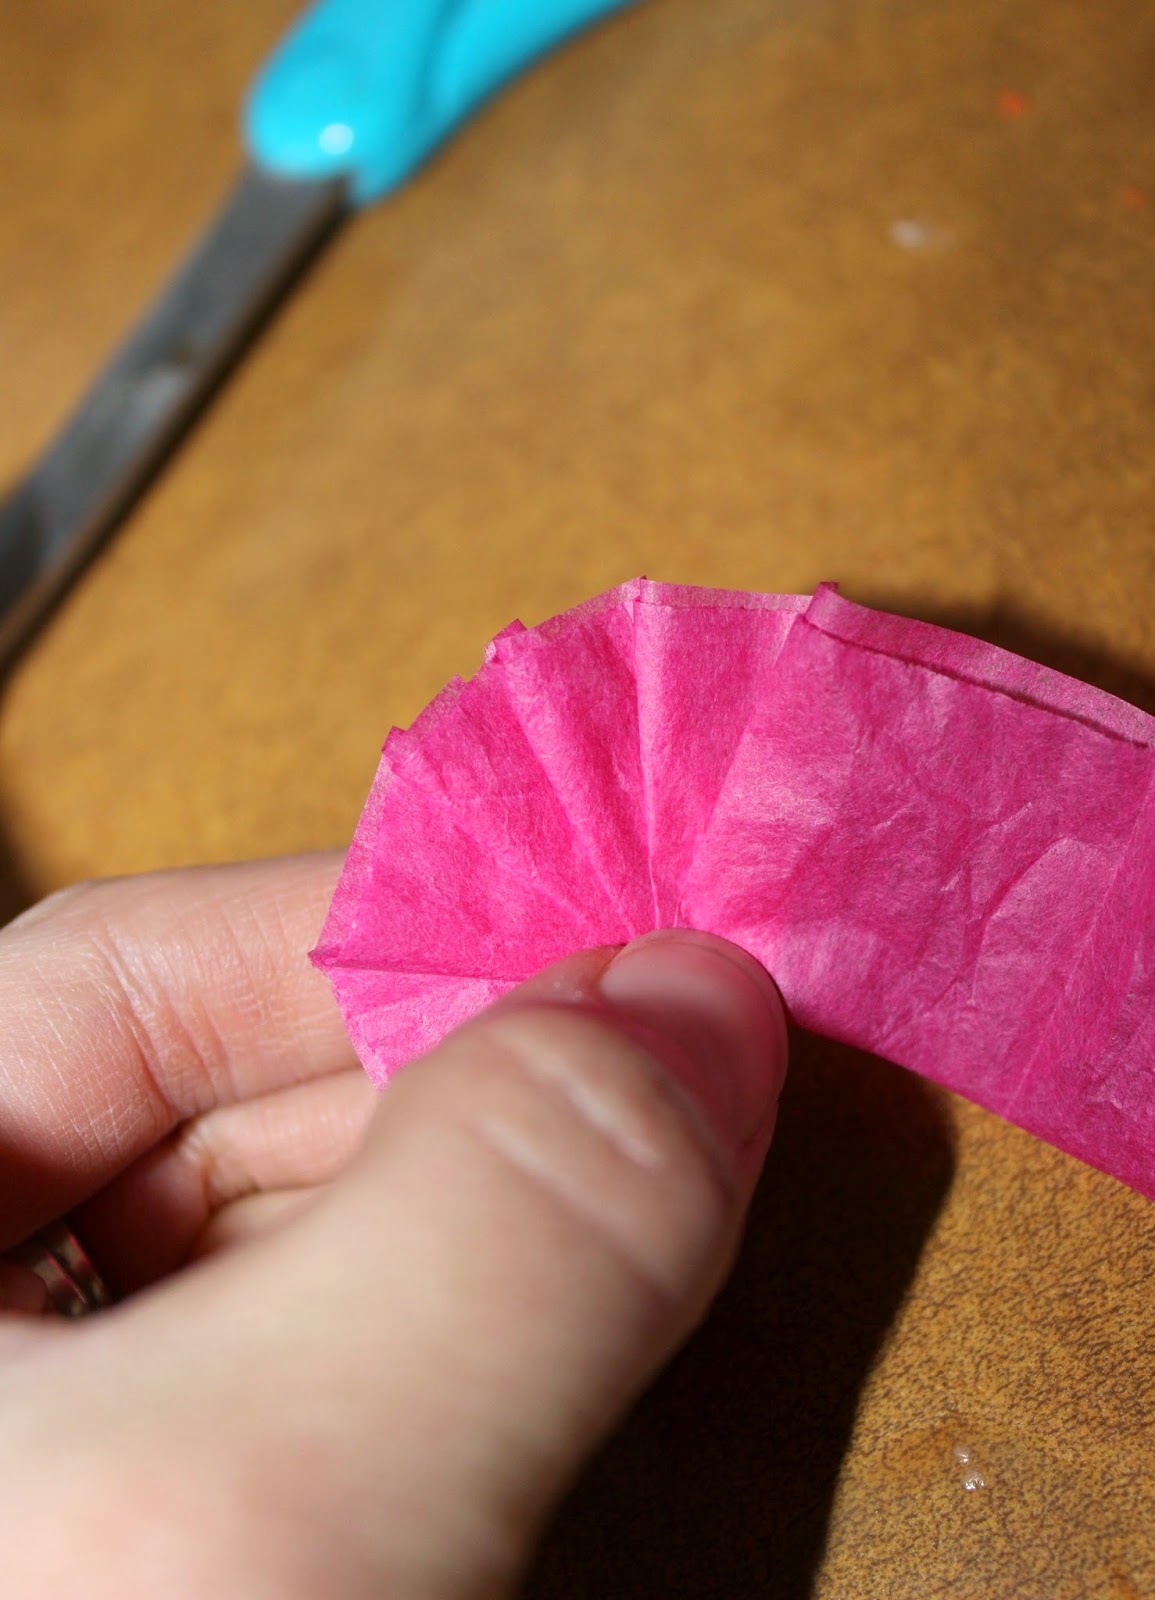
Now begin folding it accordion-style, but keeping the layers in a fan shape.
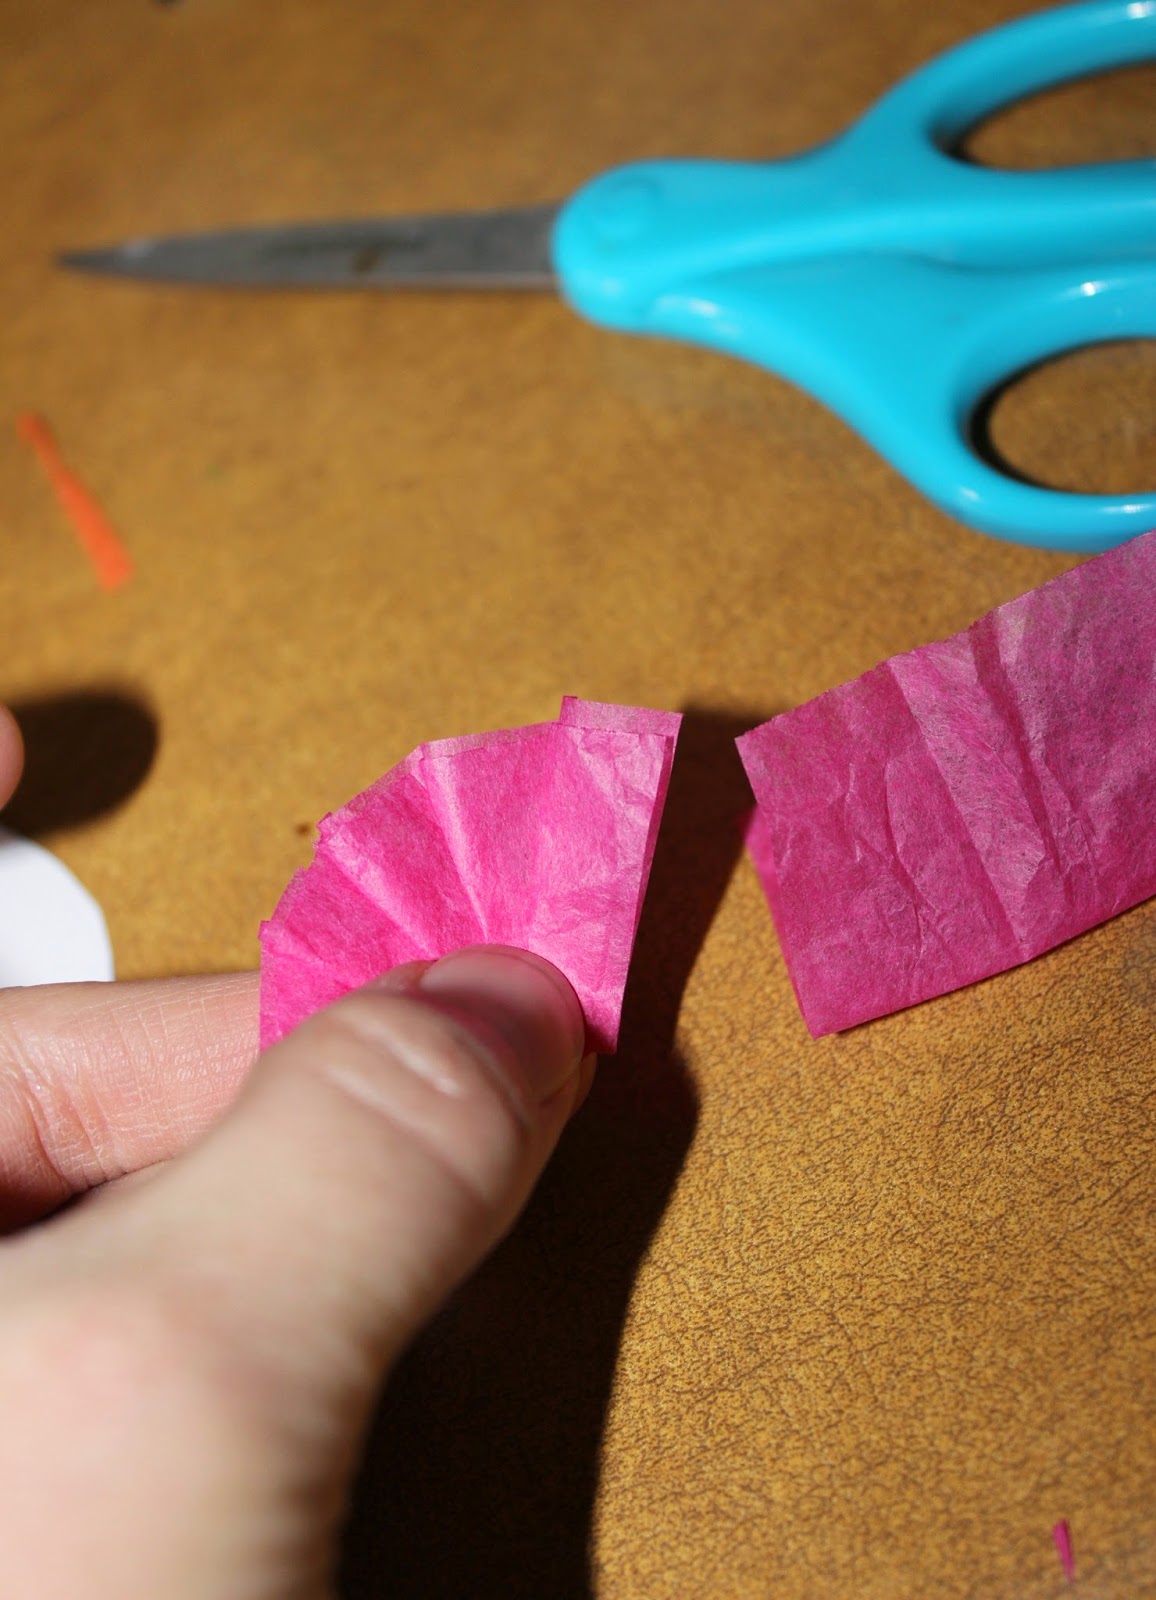
When your folds start to not fan out nicely, cut at a diagonal. Hot glue this piece onto the outer edge of your circle form, ensuring you cannot see the cardstock below. Repeat with the remainder of your folded tissue paper strip, gluing the mini fans in between. Cut another strip of tissue paper exactly the same size if you run out, and repeat the process.
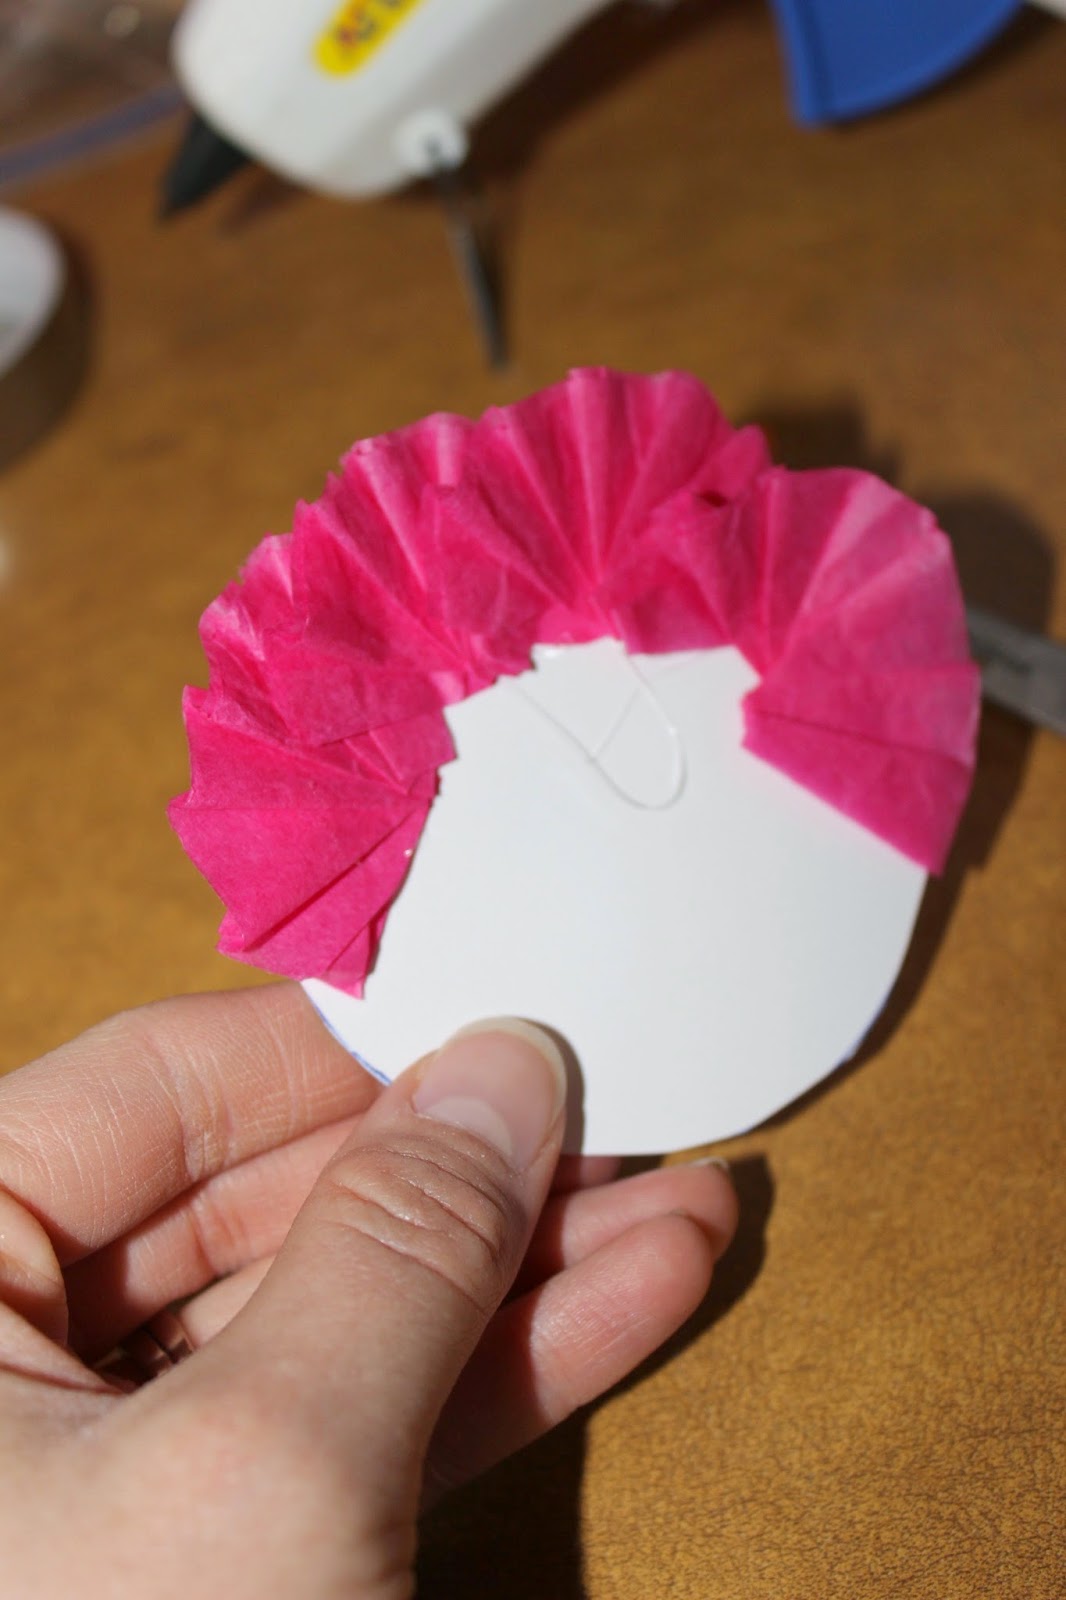
Continue layering and gluing your tissue paper fans side by side, beginning from the outside of the circle and spiraling your way in.
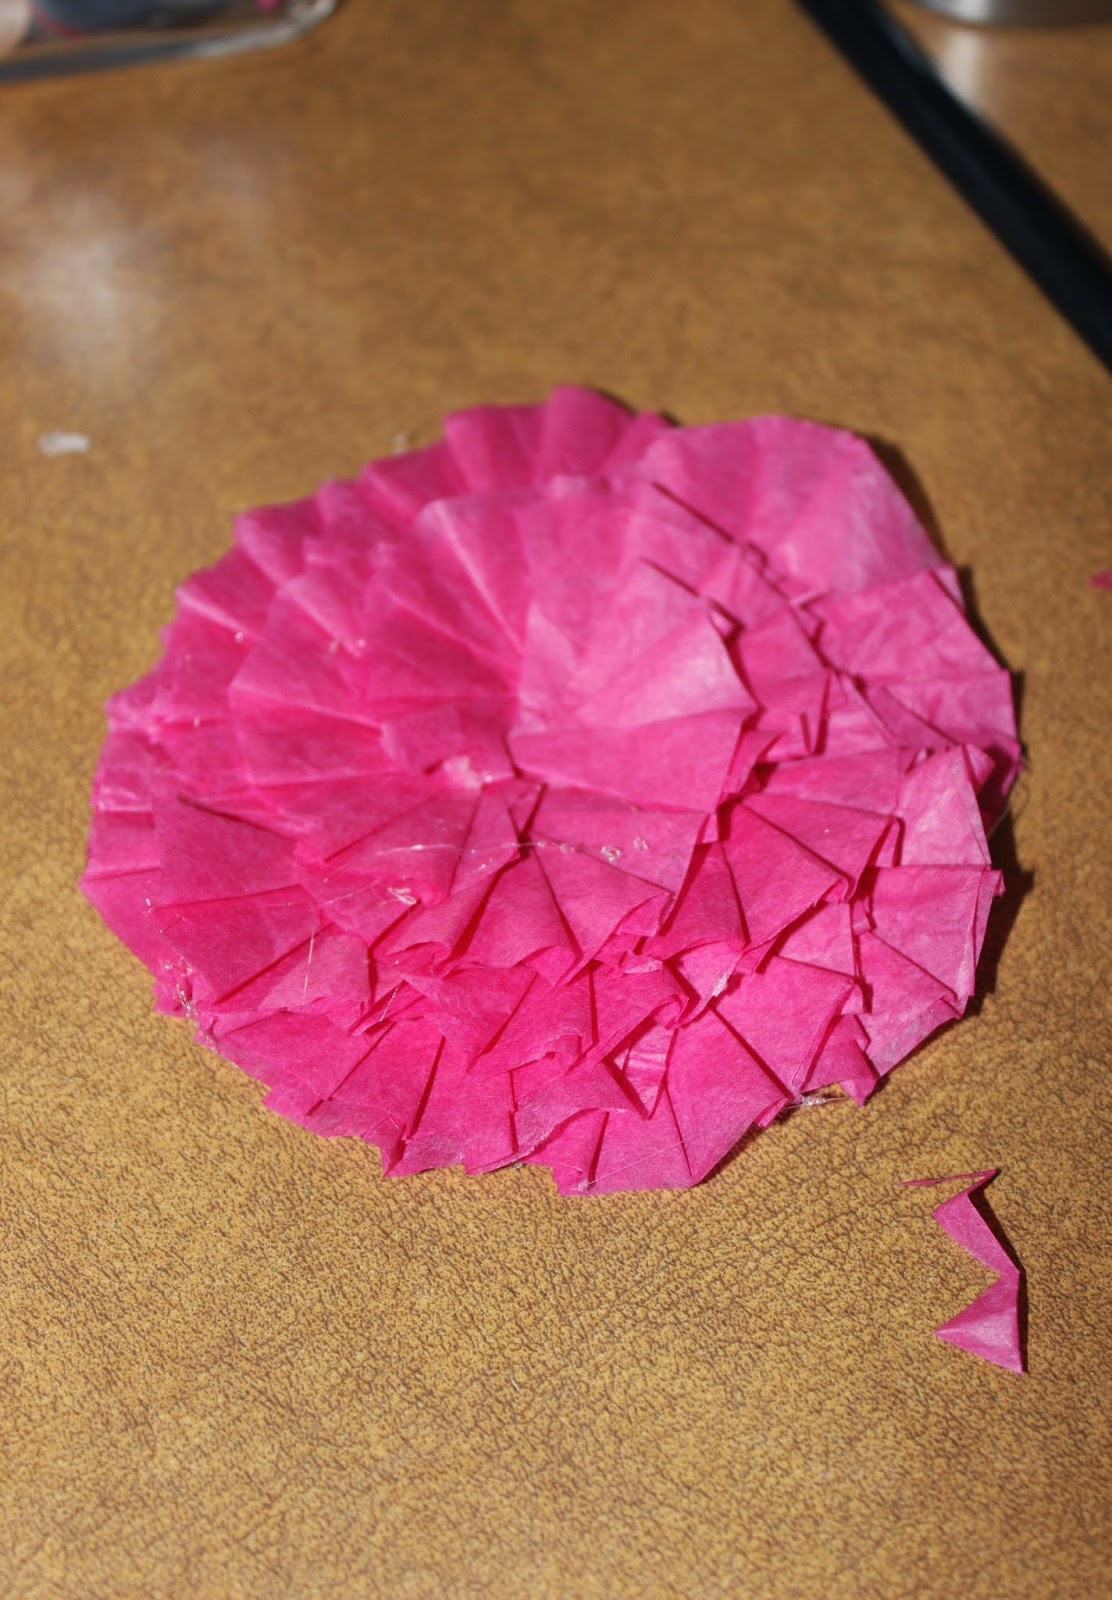
My finished flower ended up having about three layers by the time I made it to the center.
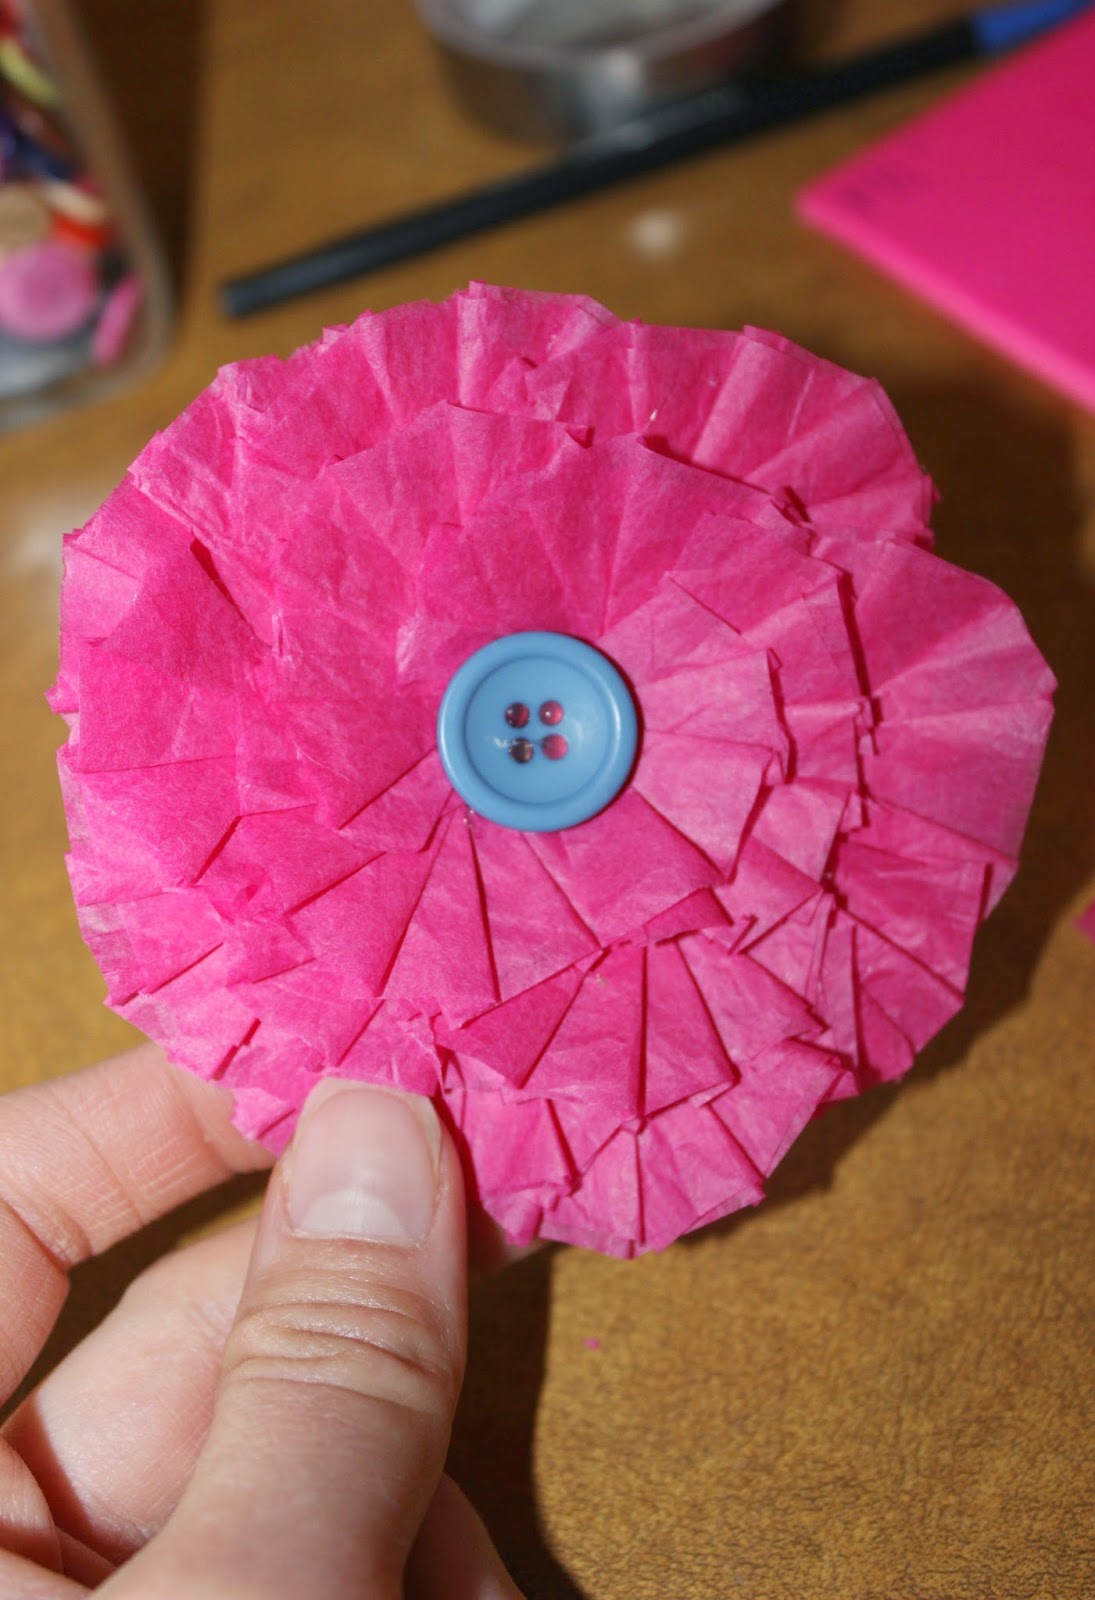
Now hot glue a cute button in the center, and you’re done!

Make a bunch of flowers in coordinating colors of tissue paper, in a variety of sizes if you’d like, and use them to decorate gift boxes, gift bags, cards, banners, photo frames, art, or whatever else you can dream up! They’re so versatile and fun!
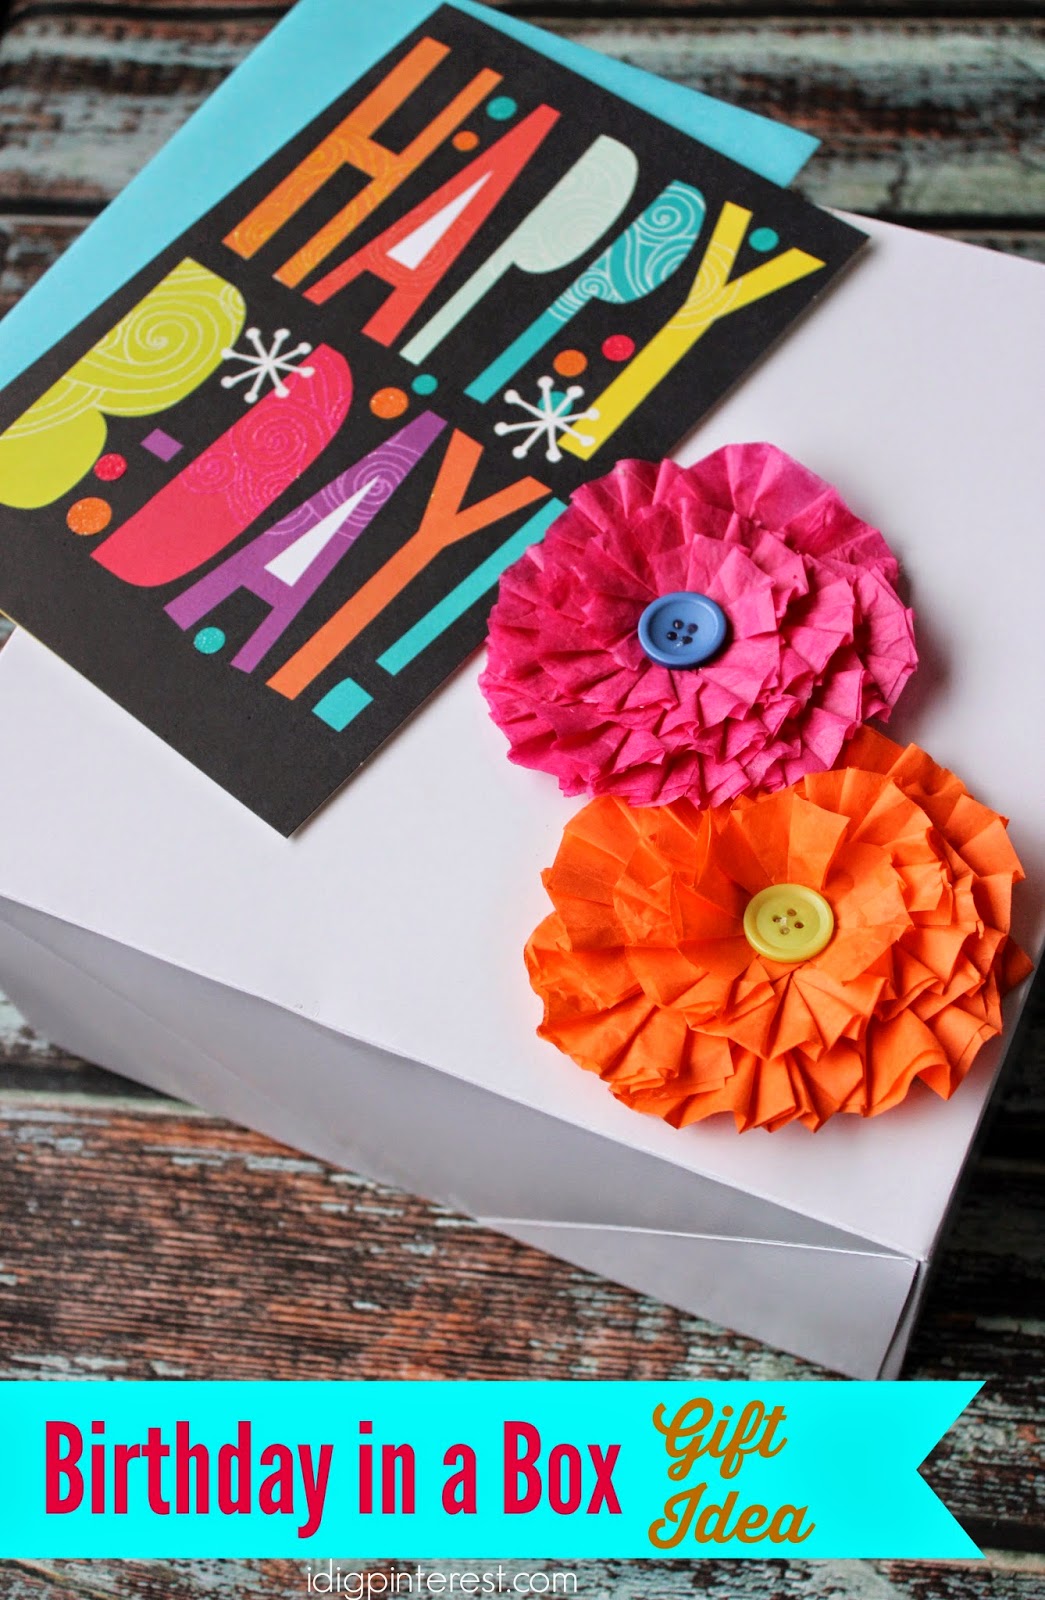
They sure made a beautiful addition to my plain white gift box! Sometimes a flower is all you need to give a project that special finished touch!
I hope you find a use for these simple yet elegant tissue paper flowers!
Let me know if you have any questions in the comments below, and I’m more than happy to answer them. 🙂


carolyn : homework
Hi there
Just stopped by to let you know that I featured this on my Saturday Spotlight post this week!
Saturday Spotlight
Thanks again for linking up! Hope you have a great weekend!
Jill @ Creating my way to Success