Today it’s my pleasure to introduce you to Olivia from DIY Mother. She’s here sharing a perfectly practical and genius home project…a DIY Rolling Garment Rack.

Hey everyone! I’m Olivia from DIY Mother and I’m thrilled because I get to share one of my projects with
you! I can’t say that I’ve used each and every DIY project I’ve ever made, but this one in particular will
be in our bedroom until it’s inevitably torn apart by my toddler. We’ve already had to tell her countless
times to stop trying to ride it.
I have a modest closet, and while it fits my husband and my clothes, I don’t have a great view of them
because the space is so narrow. I’d been wanting to make a commercial-grade clothing rack for awhile,
but I never had time. But after we finished redoing our floors, I had some leftover floor boards and a
little bit of time to kill.
If you’d like to check out other projects of mine, head over to DIY
Mother!
Materials I used
Base:
Laminate floor panels
Plywood
Steel plate
Top:
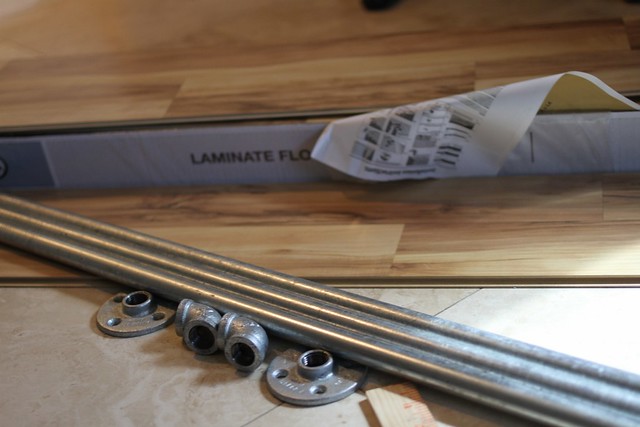
2 floor flanges (1/2” diameter)
2 elbows (1/2” diameter)
(2) 60” plumbing pipes (1/2” diameter)
(1) 40” plumbing pipe (1/2” diameter)
1. For me, using the floorboards was easier than sanding and staining a piece of wood. I couldn’t find the
type I used online, but you can look around here for an idea. First, I sawed off the hanging edges of the laminate
flooring. After I did that, I traced along the plywood using the floorboards. I wanted to have a sturdy
base with no extra wood sticking out.
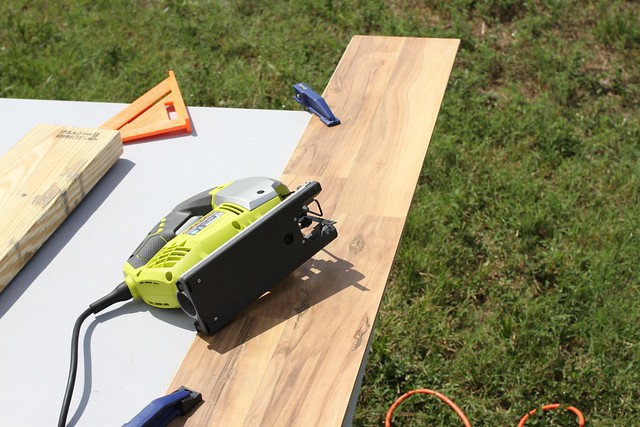
2. After I was done tracing the floorboards onto the plywood, I sawed the plywood to size.

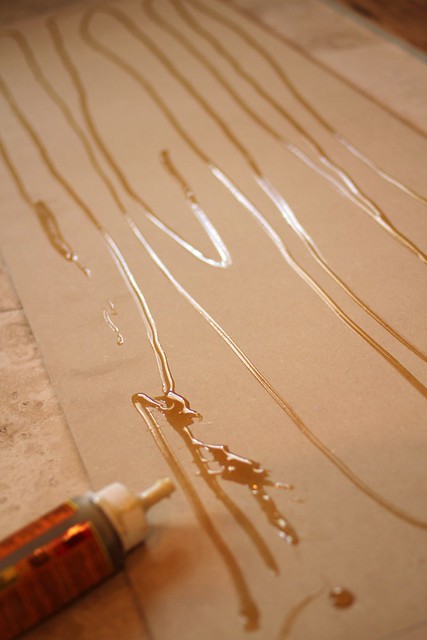
3. Once everything was cut, I used gorilla glue and adhered the floorboards to the plywood base.
4. When the glue was done drying, I screwed the wheels into the base. I made sure to buy commercial
grade wheels, made out of steel. I originally bought some plastic wheels, but the rack wouldn’t move
fluidly enough. After looking at the base, I noticed that it was sinking in the middle.
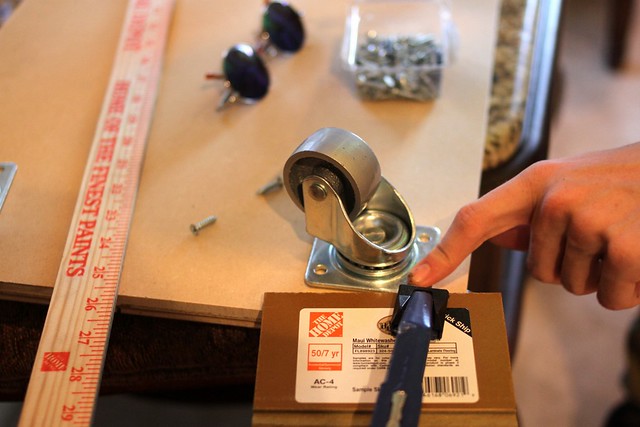
So I bought some steel enforcers to make sure the base was level and wouldn’t dip with the weight of
my shoes.
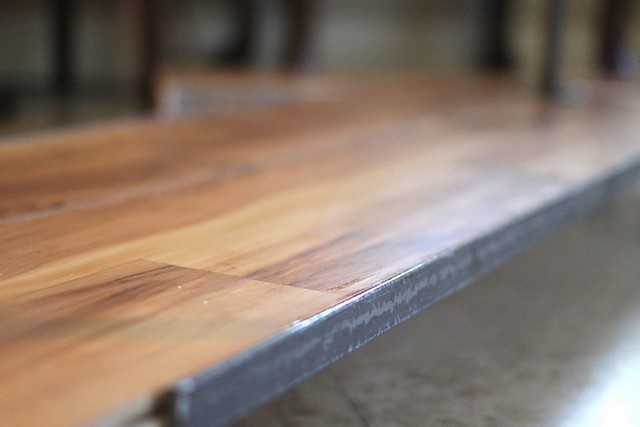
I gorilla-glued the steel as well. I”m sure there’s probably a more effective way to put it on, but gorilla
glue has always worked for me.
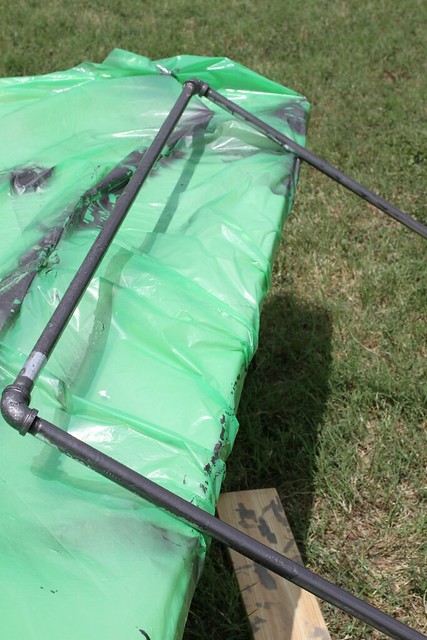
5. I started working on the top next. Working with plumbing pipes is alot like working with an erector
set. Just be sure that the diameter for all of your parts are the same! I put them all together and spray
painted them a bronze color.
6. Once the top was finished, all I did was screw the floor flanges into the wood. It’s super stable,
especially with the steel enforcers.
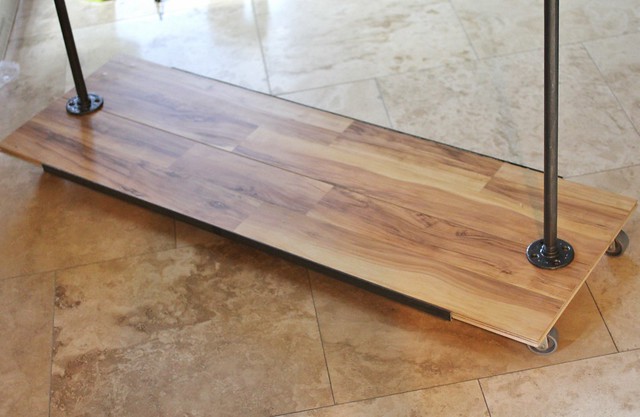
And here’s the finished product! I’m so happy with it!

What a useful project! I need one of these in my entryway closet! I love how it turned out, Olivia! Thanks so much for sharing your talents with us! Be sure to head over to DIY Mother for more great ideas!
Here are a few of my favorites from her fun site:


