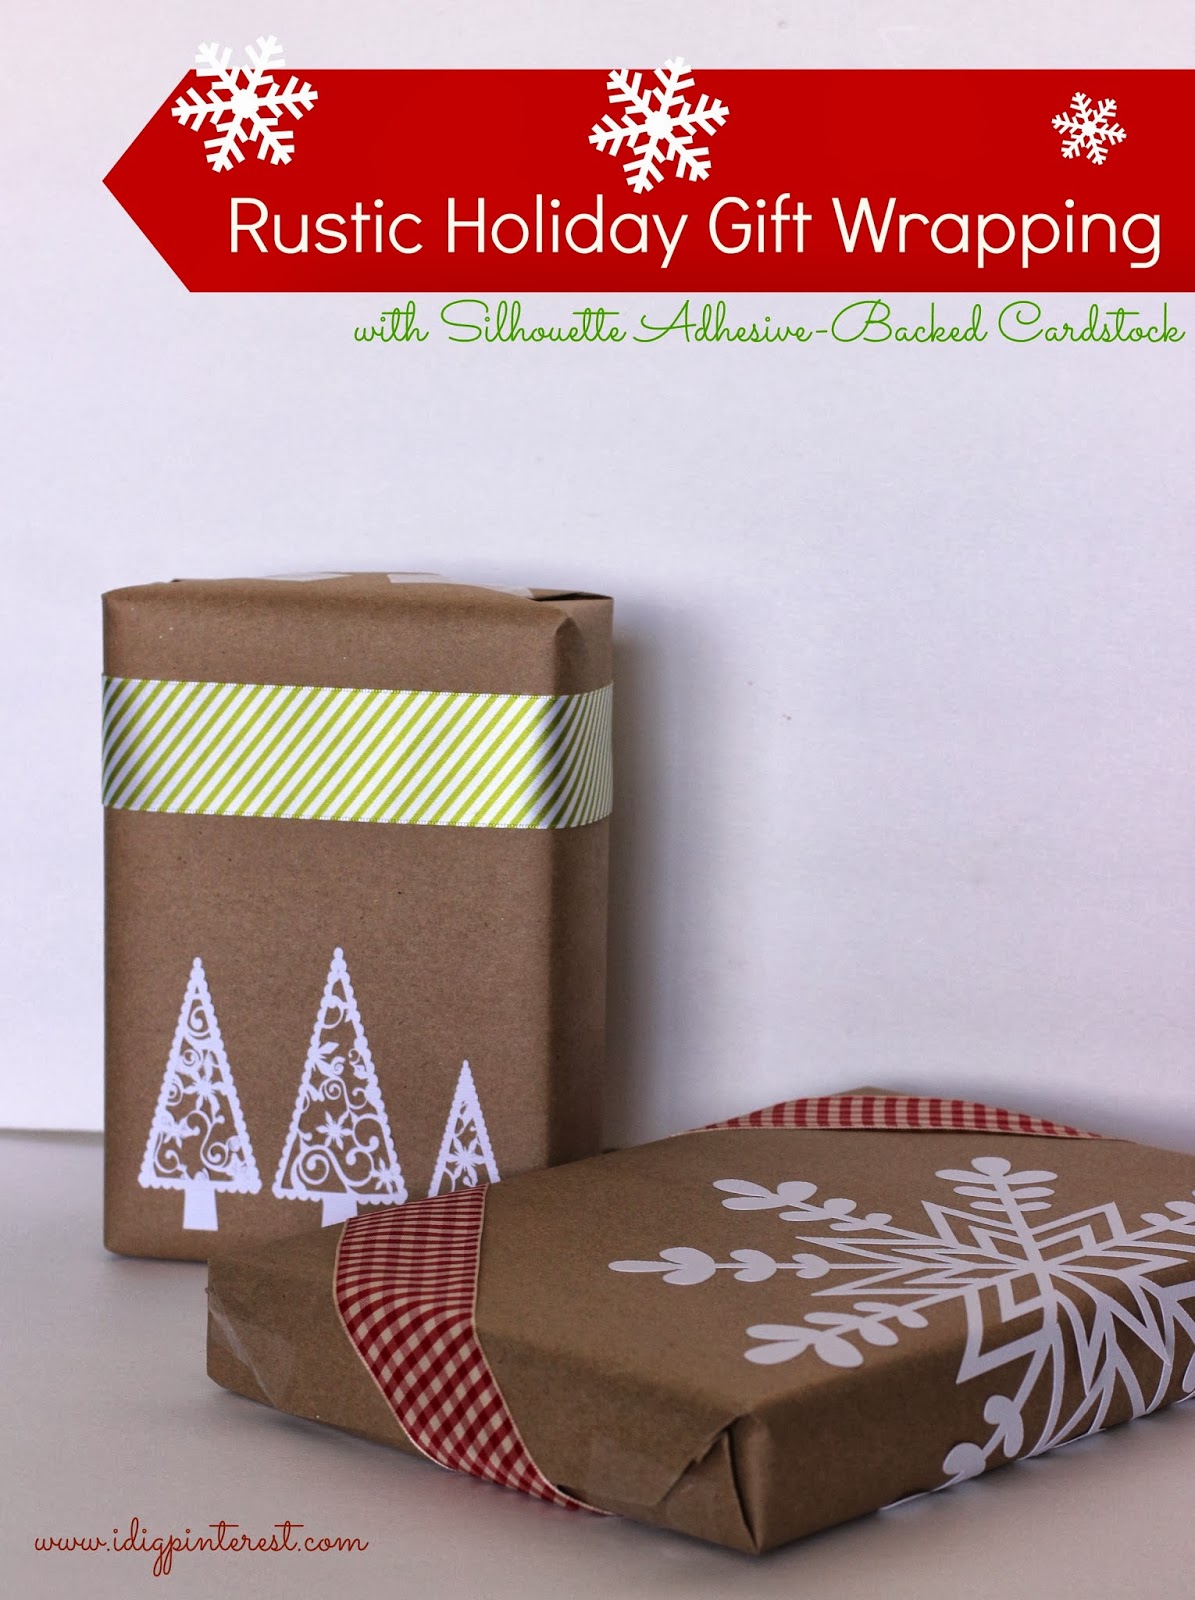

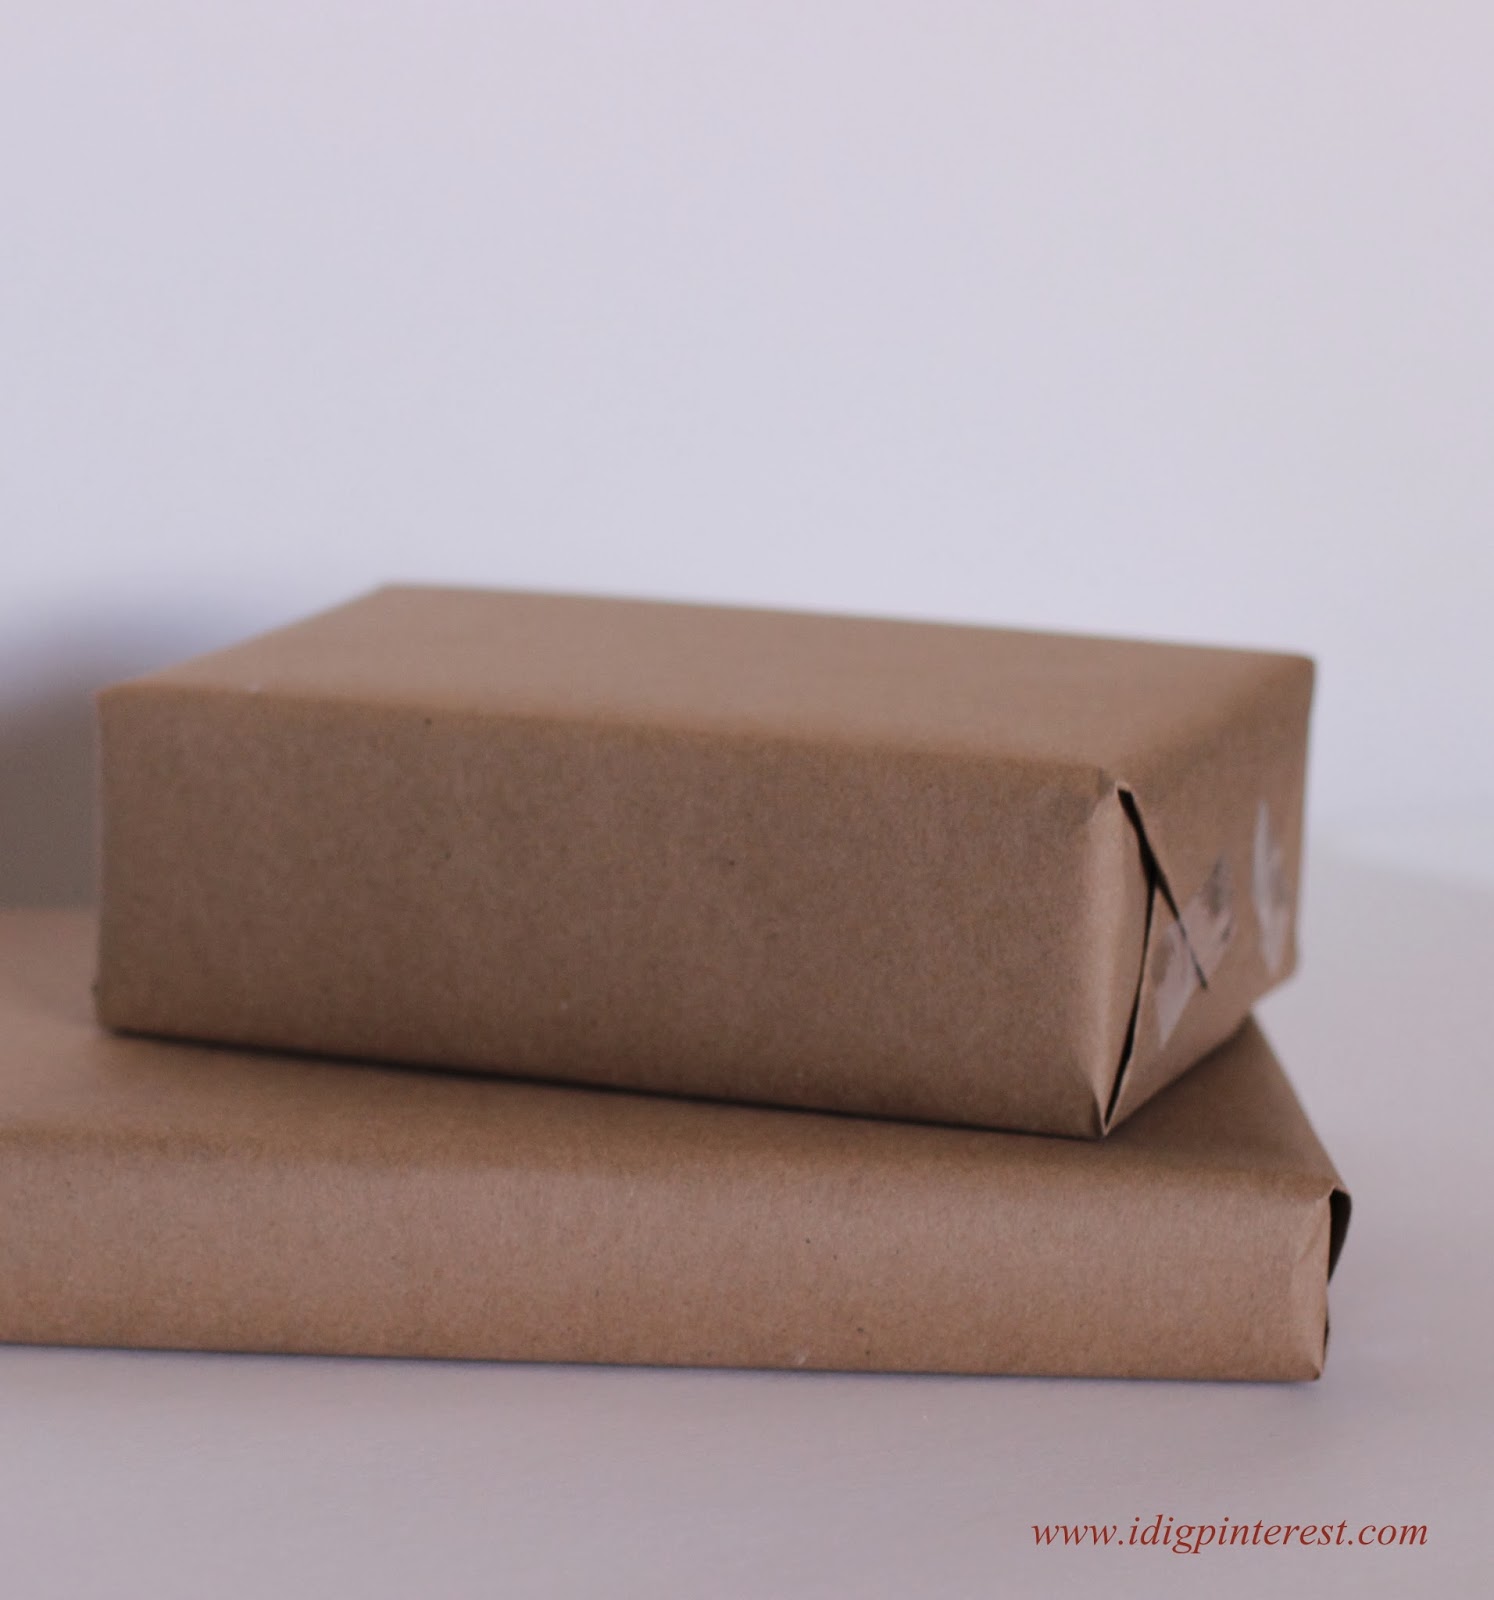
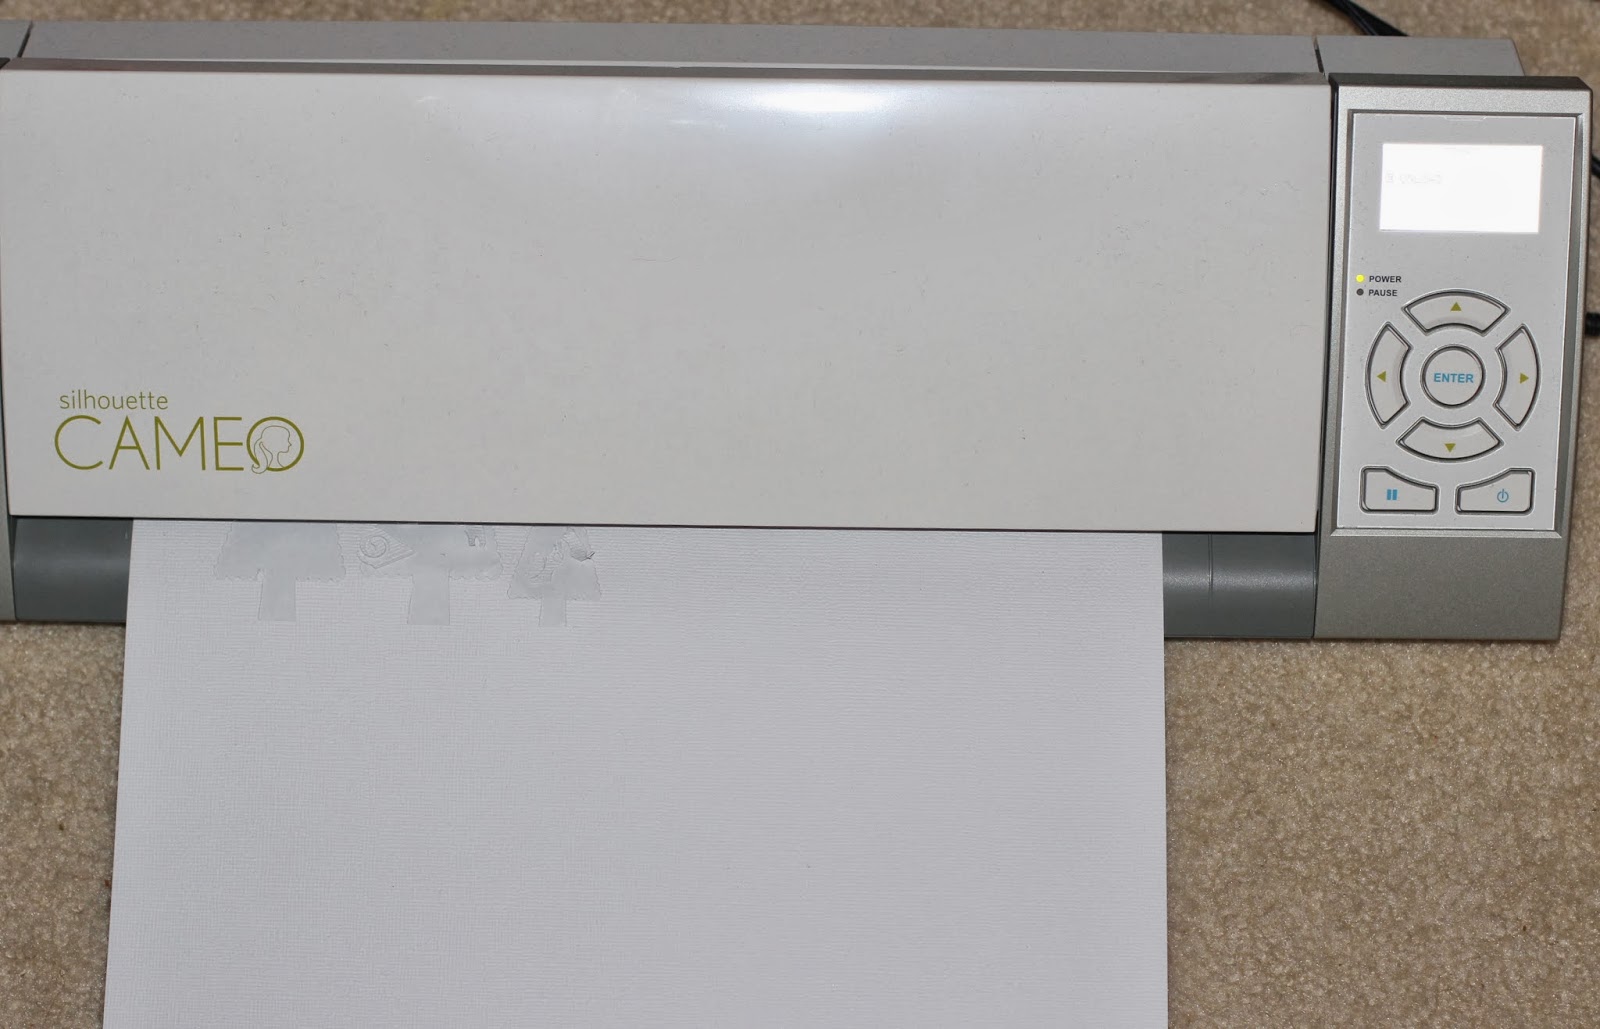
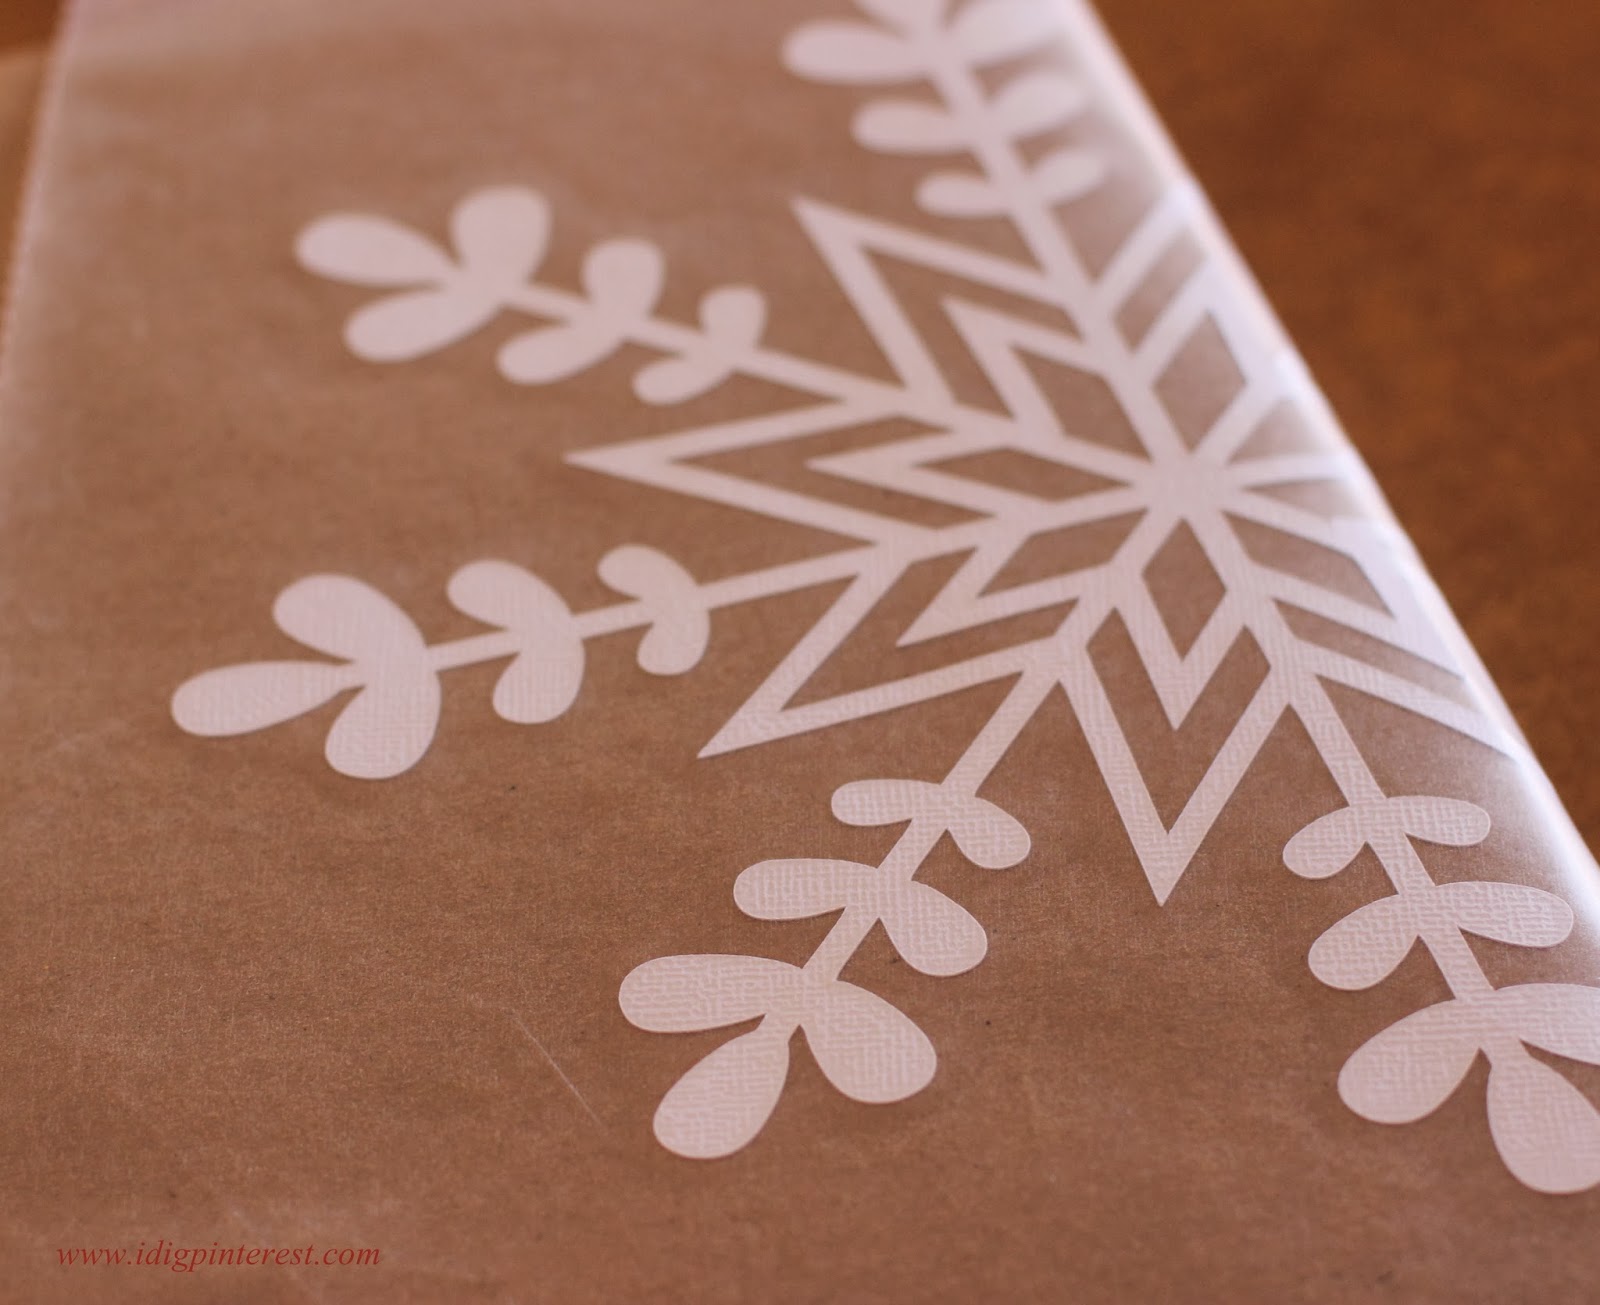
Now apply the design to your gift! The snowflake wraps around the side of mine for effect. I love that the adhesive-backed Cardstock is textured! I used transfer paper to apply the design because it was large and very intricate. But if your design is small enough (or if you’re very adept), transfer paper is not necessary.
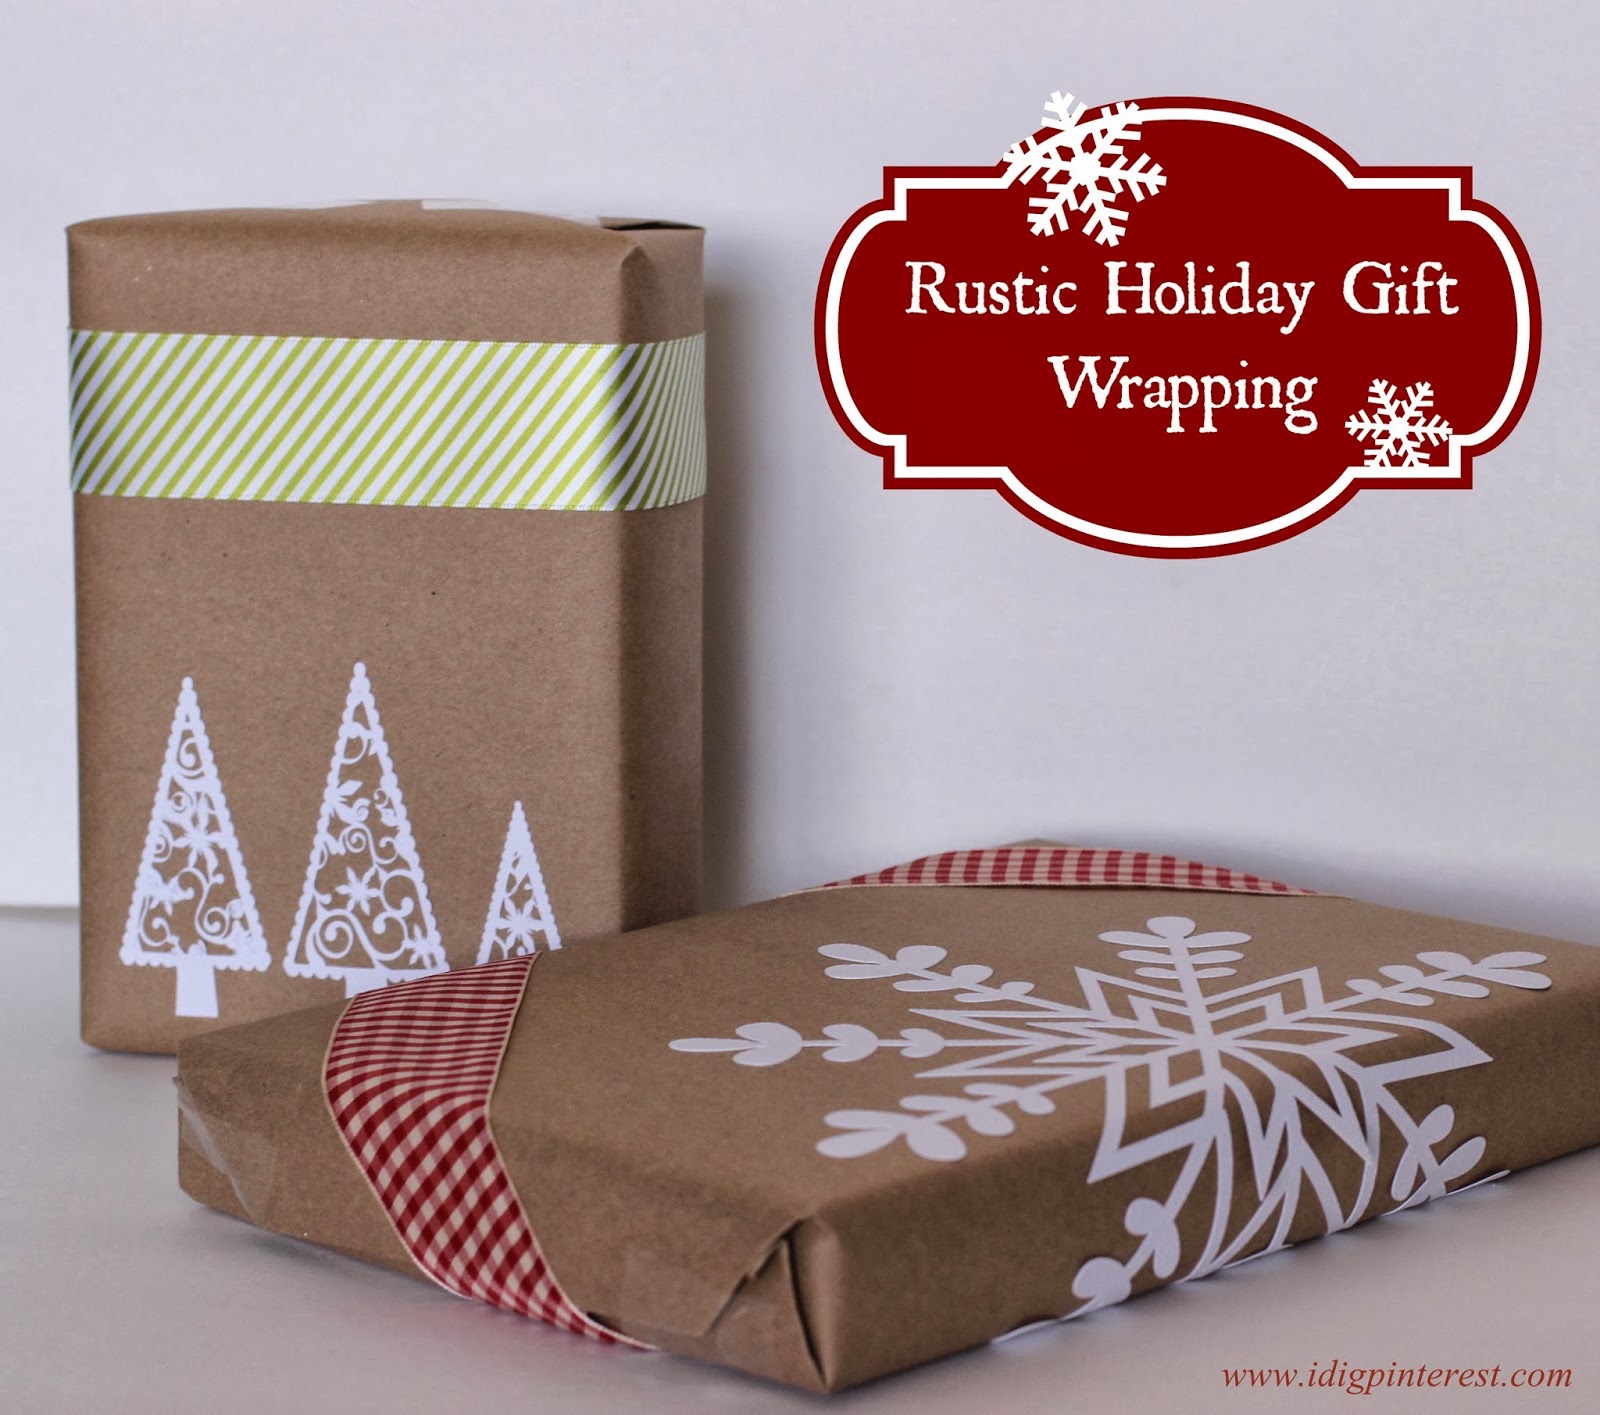
Now add your ribbon and you’re done! I just love that I can cut a super simple or an extremely complex design with my Silhouette in only a few minutes for a one-of-a-kind-wrapped gift. They’re almost too pretty to open. 🙂
My favorite part about this wrapping method is that it’s totally adaptable for any holiday or occasion. Keep the brown craft paper, then simply change up the ribbon and customize a design in Silhouette Studio that’s specific to the event. The options are endless!
Please click HERE to access the Silhouette Black Friday discounts, and don’t forget to enter code: DIGPINTEREST at checkout!
For lots more ideas on what to make with a Silhouette machine, check out the Silhouette Blog. To see other fun projects that I’ve accomplished with my Silhouette, go HERE.
Happy shopping!


I would love it if you stopped by our Facebook page, and said "hello!"
https://www.facebook.com/OurMiniFamily
Your fan,
~Cathy Mini
ourminifamily.com
Shelly
minettesmaze.blogspot.com
http://christyscraftycorner.blogspot.com/2013/12/welcome-back.html
http://www.delineateyourdwelling.com/2013/12/link-it-or-lump-it-party-16.html
Danielle@ Blissful and Domestic
http://www.blissfulanddomestic.com/2013/12/15-christmas-crafts.html?m=1
thank you for provide many many information
send gifts